

[ad_1]
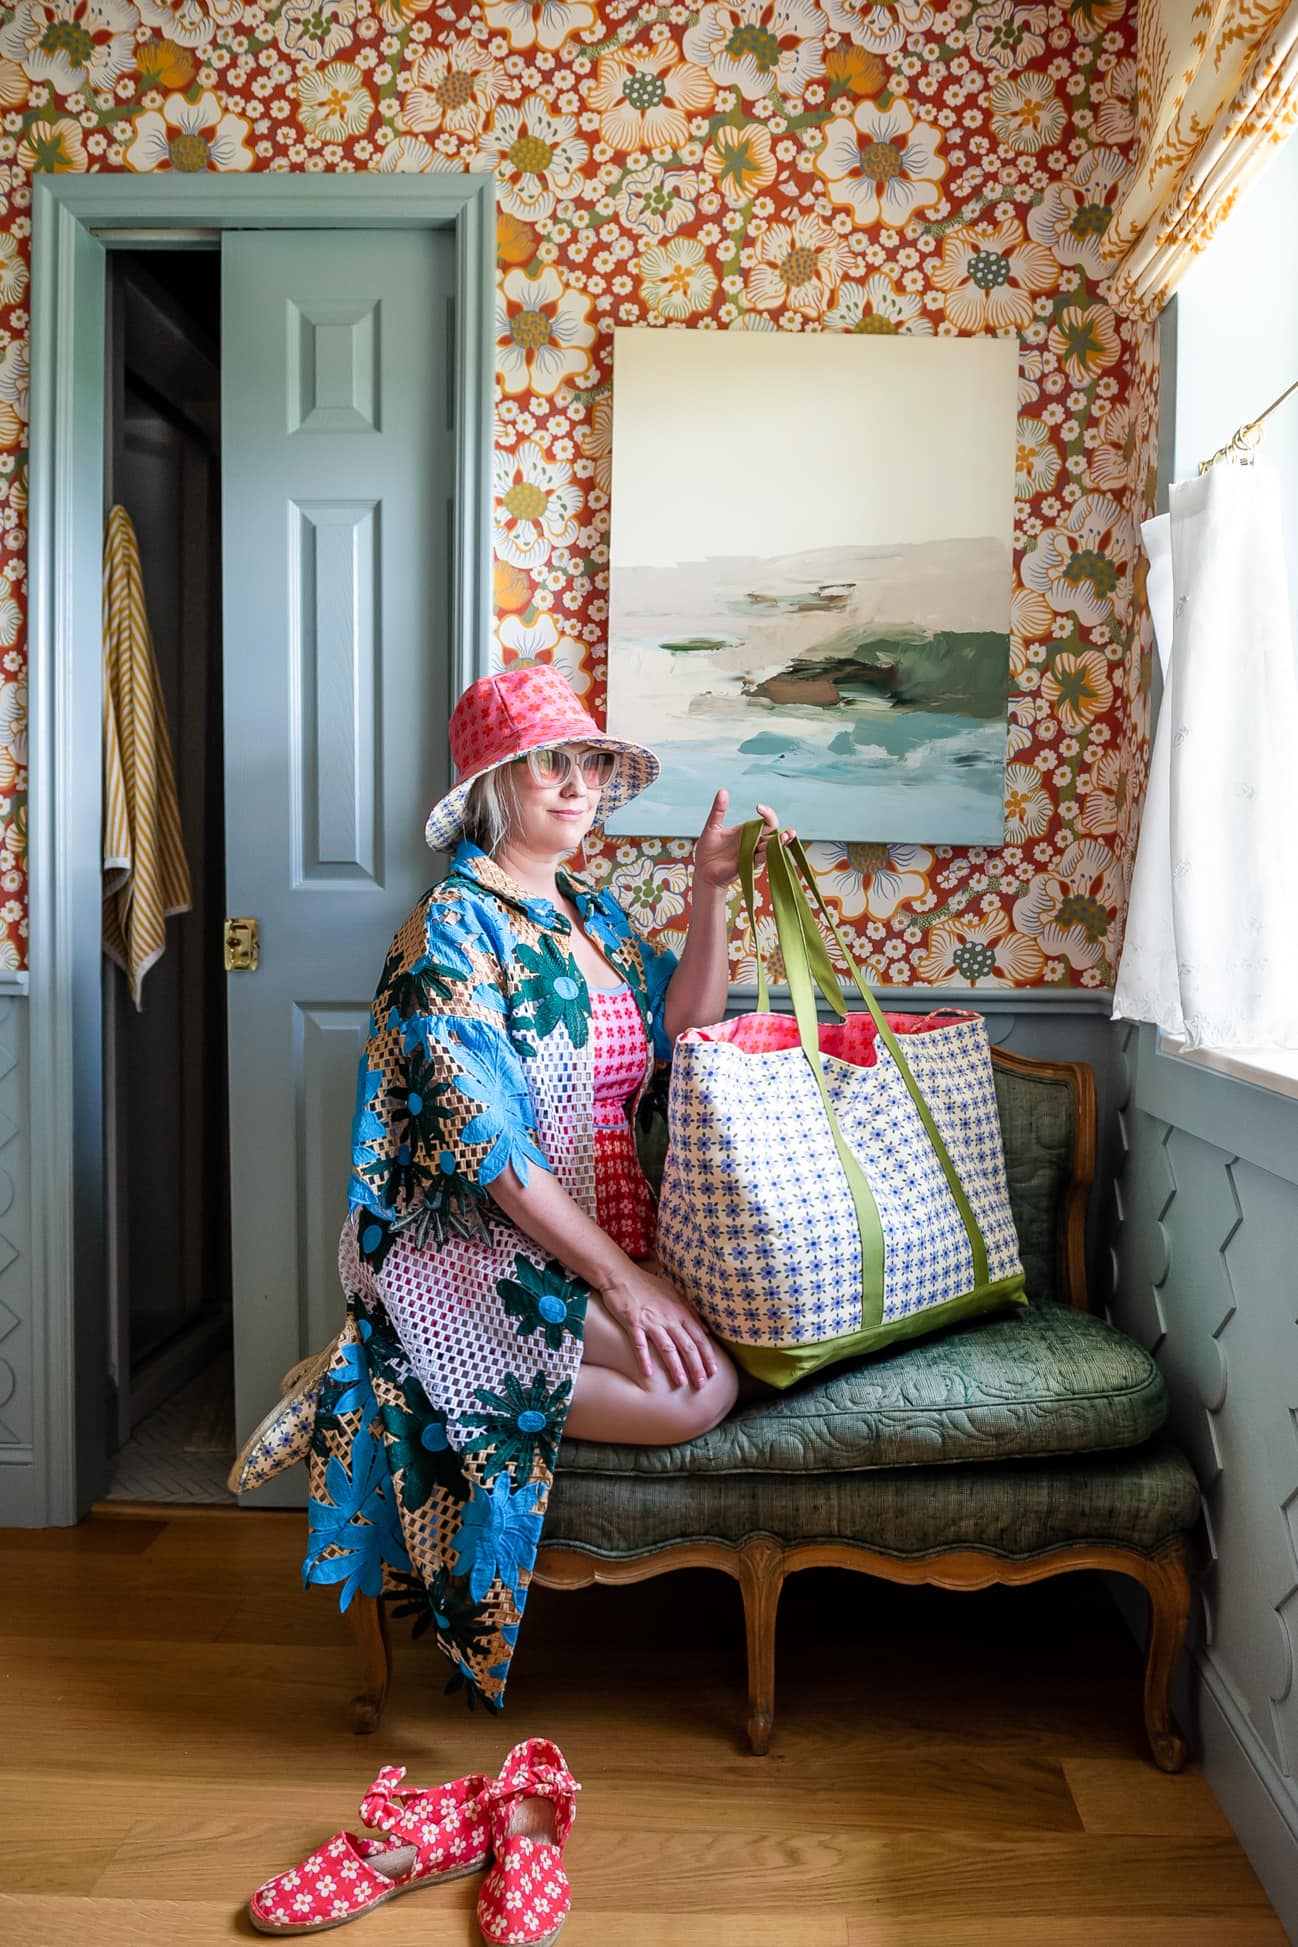
With our Lime Ricki swimsuit assortment going simply swimmingly, we needed to make extra issues out of the materials we designed so we put all of them on our Spoonflower store. You may get the sample in mainly any sort of cloth from jersey to linen to velvet. I used to be aching to make extra equipment to go together with the swimsuits so we turned them into some summer time equipment and in the present day we’re sharing the primary with a DIY seaside bag and a sample to go together with it!
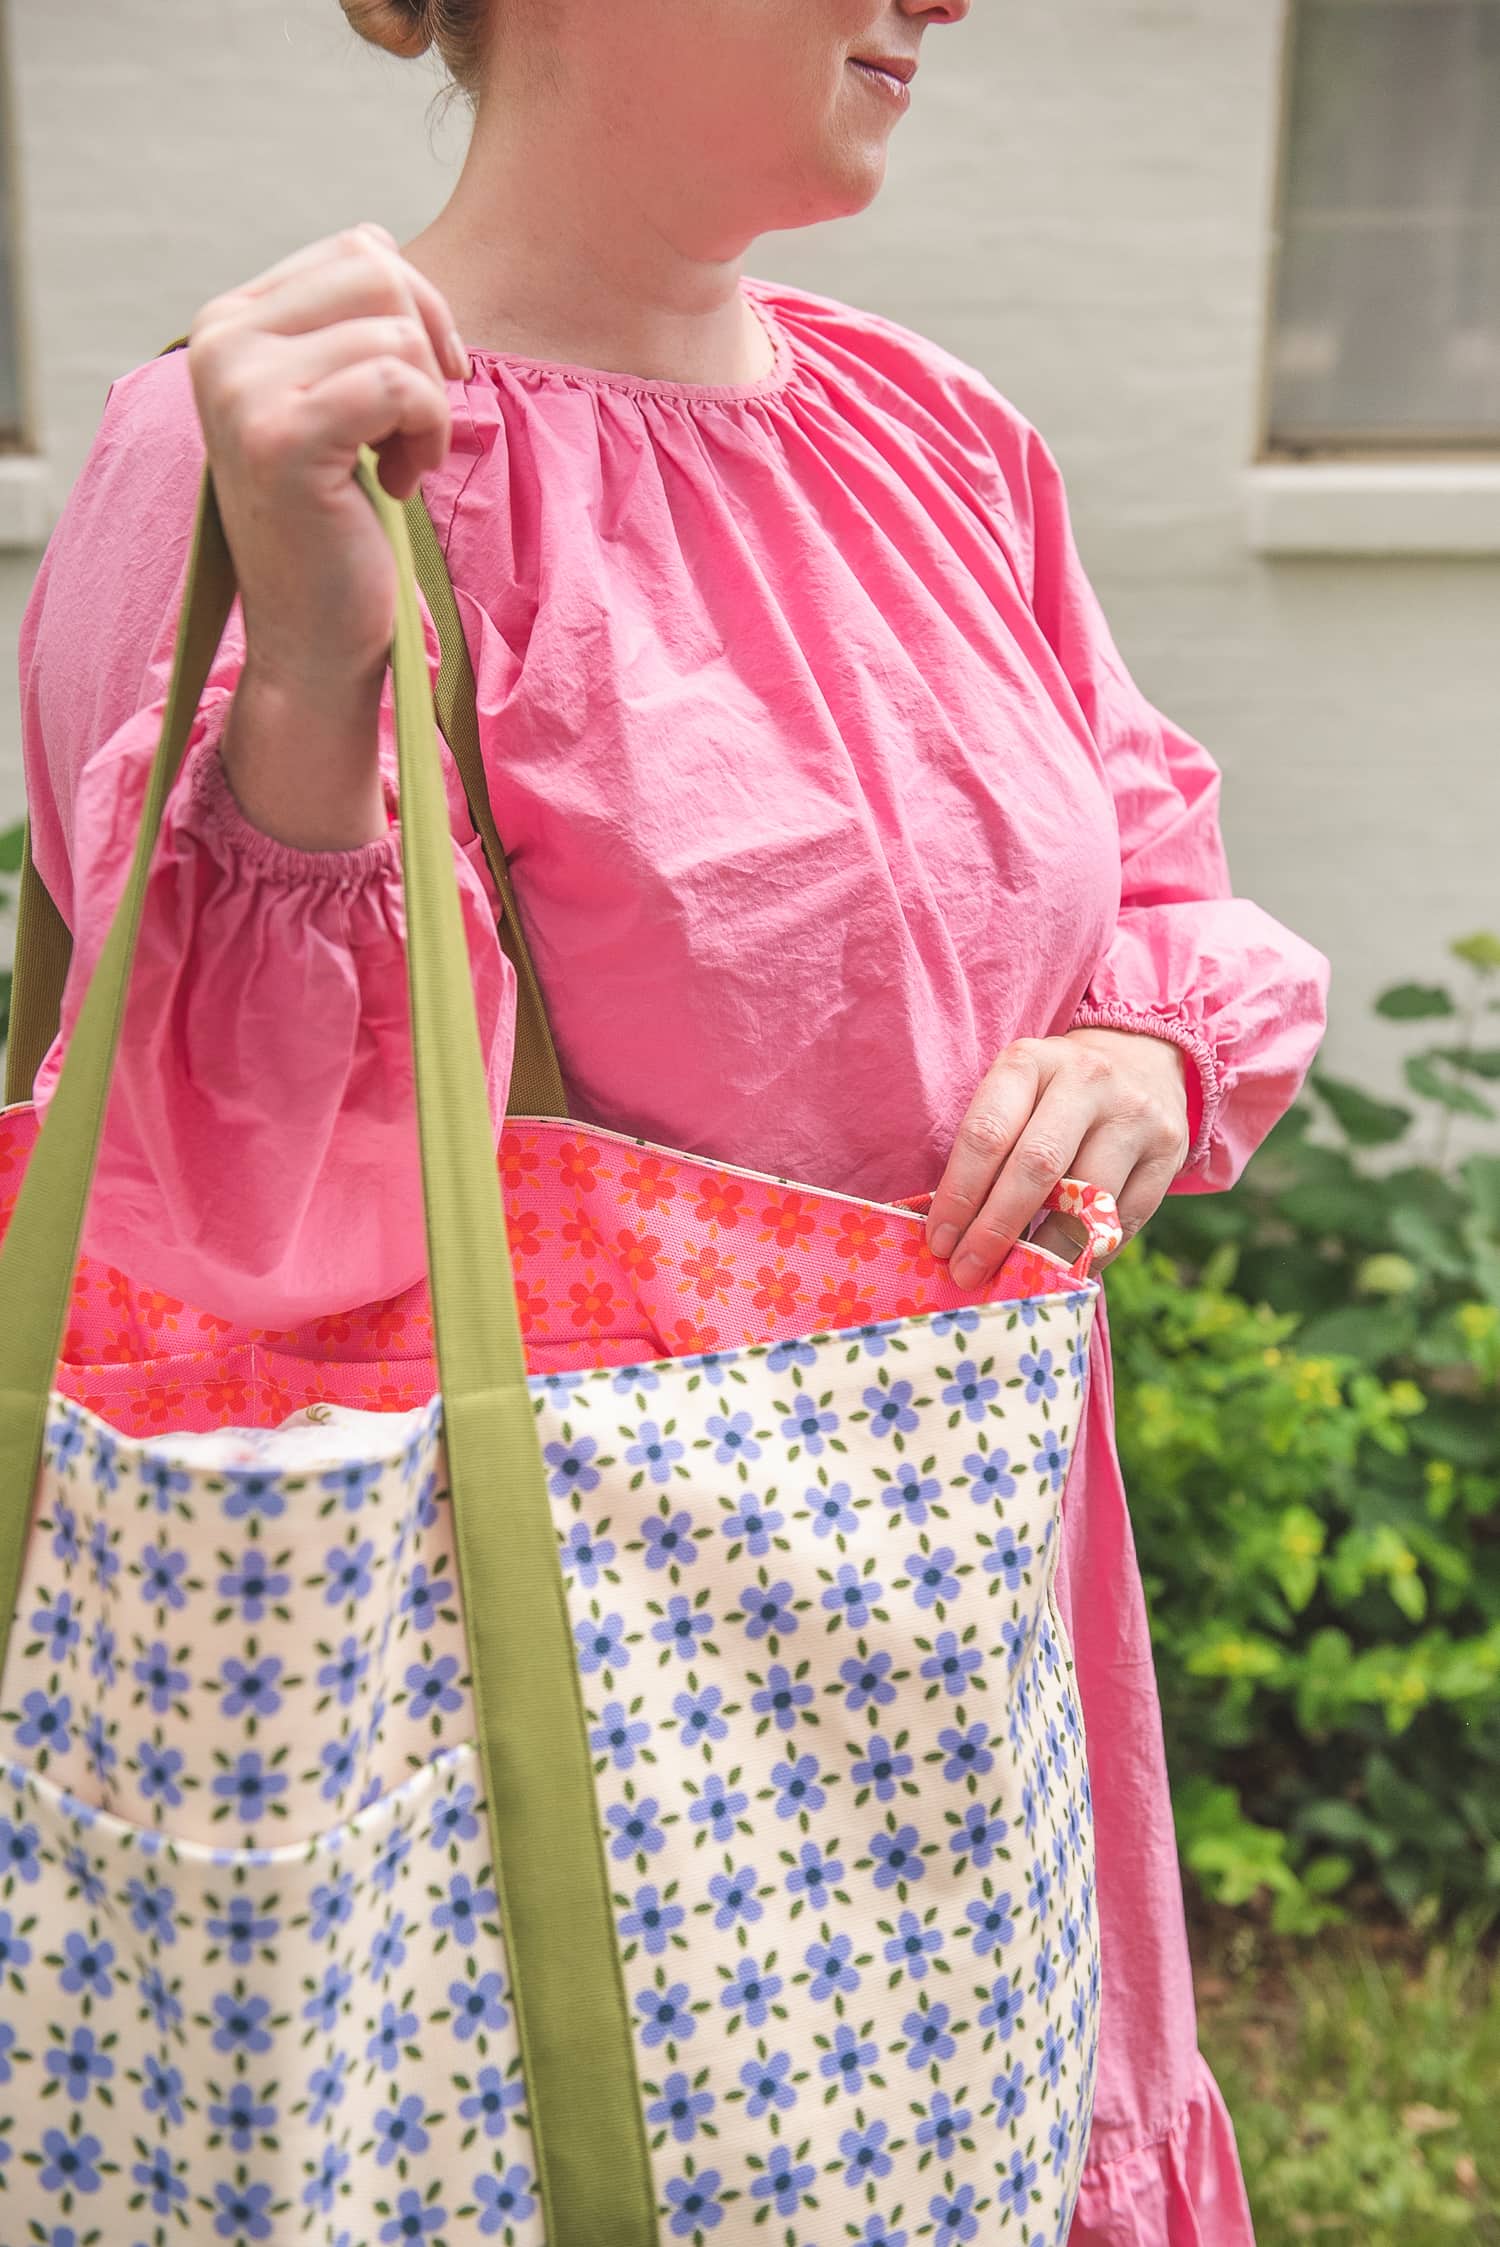
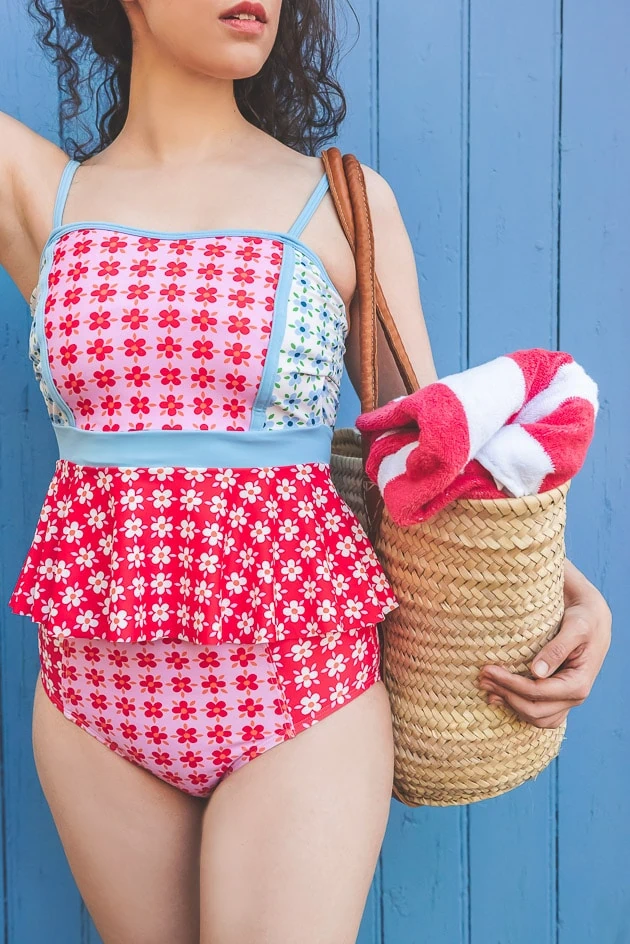
You understand I really like the concept of a coloration blocked the whole lot so we used the white Margrethe cloth for the skin with a coordinating inexperienced stable for particulars, after which the pink Margrethe and pink for the within. I used to be basing the entire thing off of this peplum swimsuit that I ADORE–it suits so properly. The peplum clearly wanted an identical bag for it and so we needed to oblige. Let’s get making!
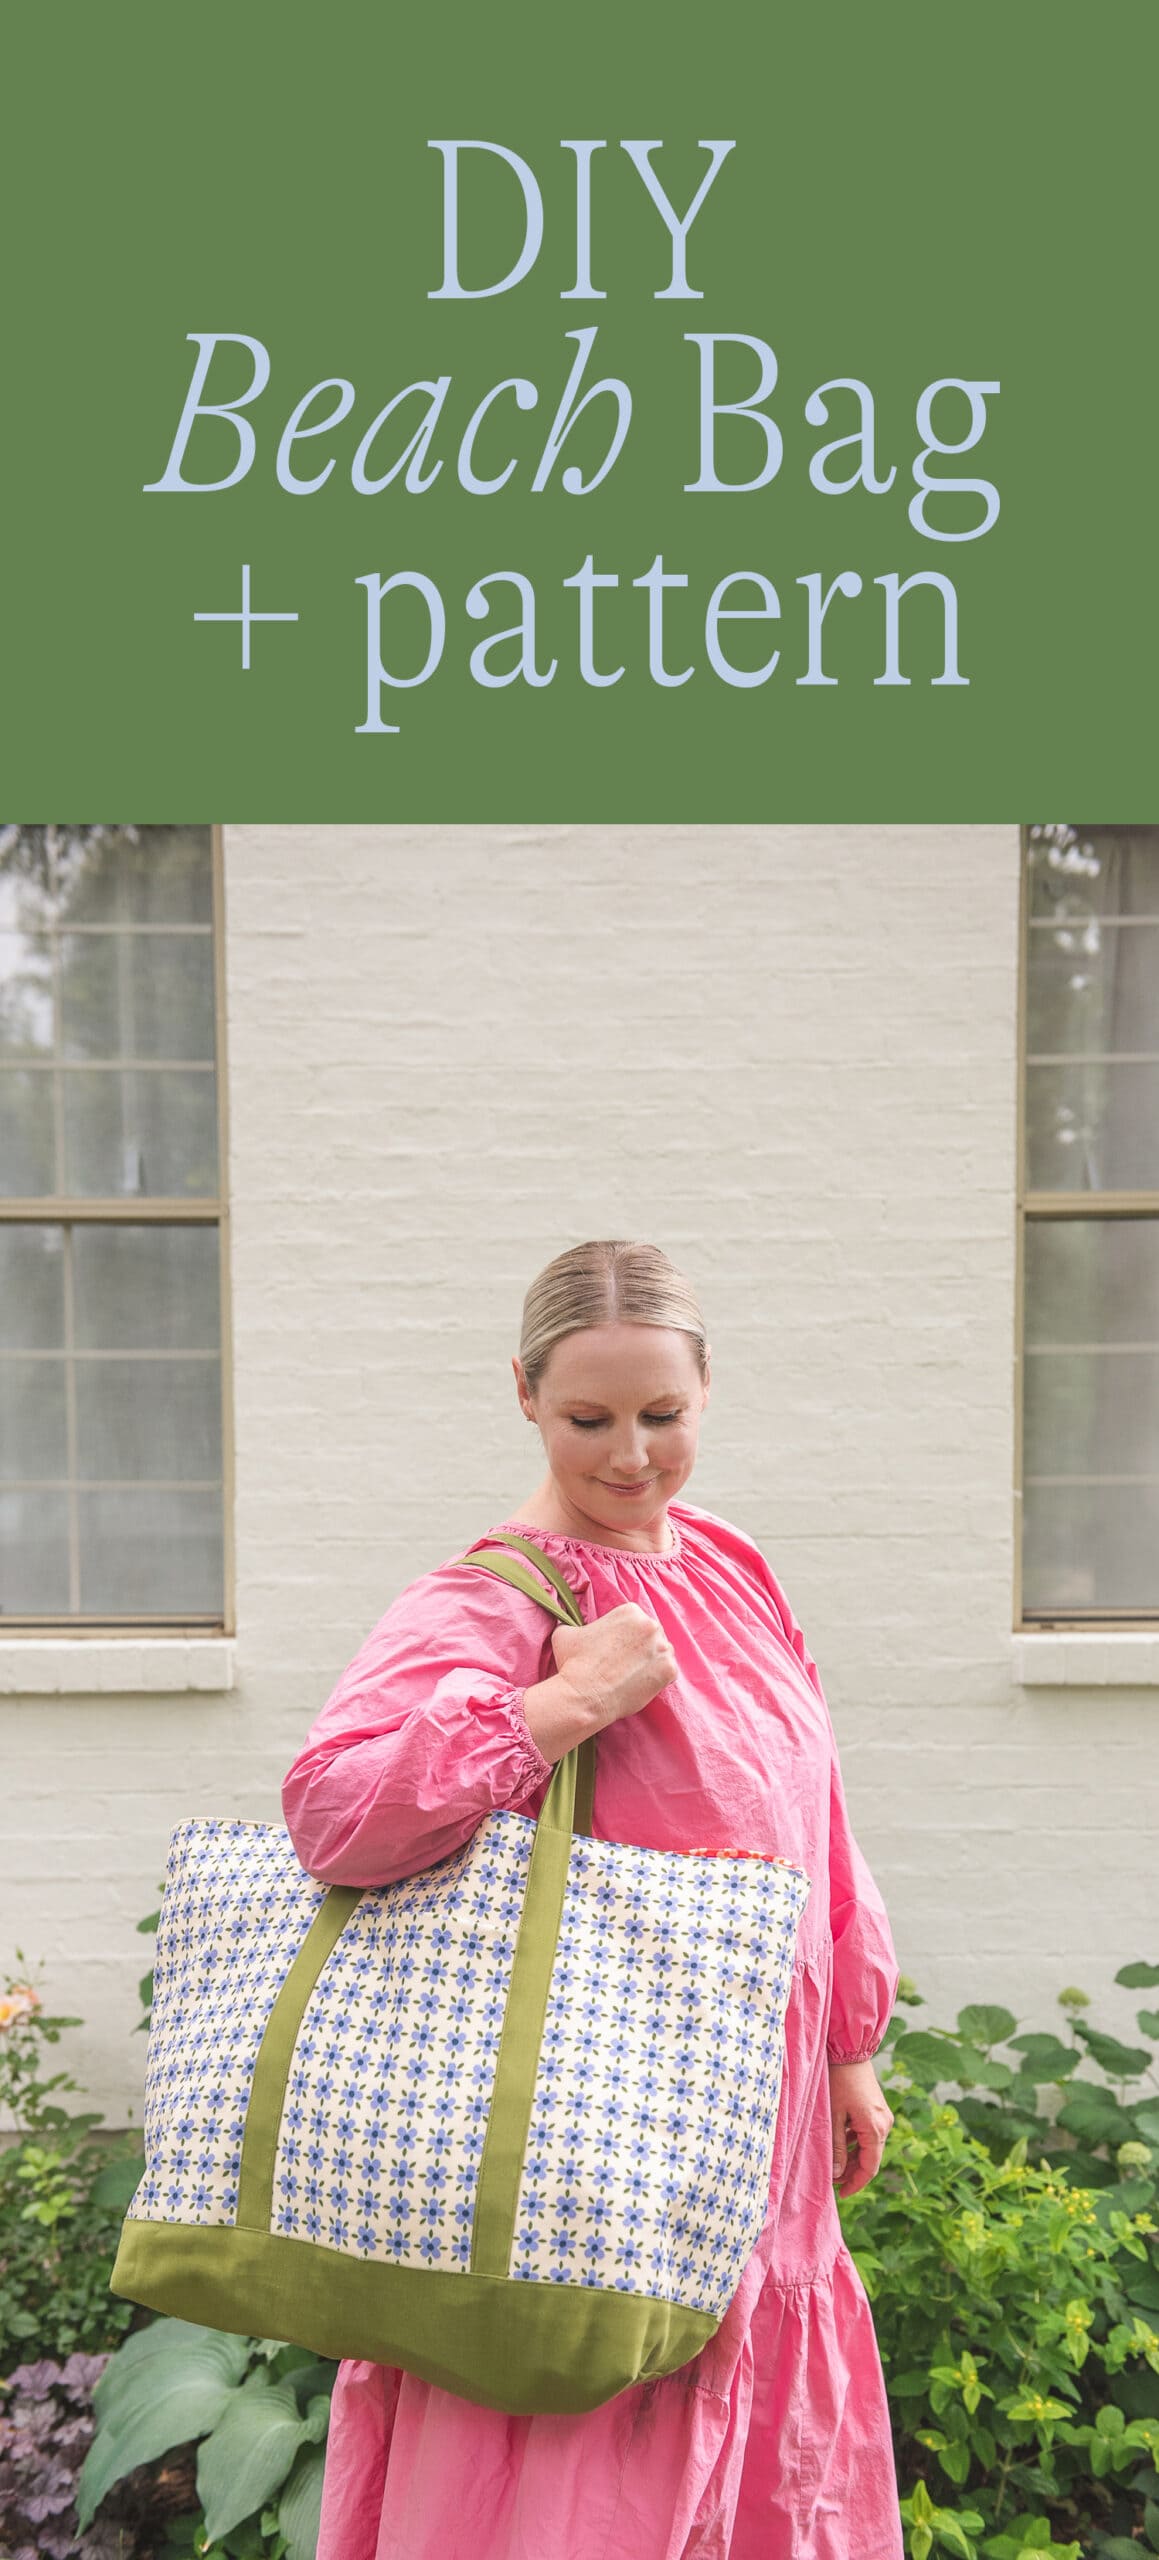
DIY seaside bag
Problem:
Intermediate
Time:
4 hours
Directions
- Print out sample! Tape the paper items collectively by matching numbers collectively and reduce out the precise sample shapes.
- Minimize out the entire cloth sample items utilizing your printed paper sample!
- Keep in mind to clip the notches into the center backside of the skin & inside pockets, in addition to the outer shell bag items.
- PRESSING AND PINNING: I discover it a lot simpler to press and pin EVERYTHING in the beginning if you are at your ironing board. This protects quite a lot of forwards and backwards time!
- Take the 2 exterior pocket items and with mistaken aspect up, fold the highest hem over two instances utilizing a 1cm/0.4” seam allowance. Press into place and pin shut!
- Take the entire inside pocket items and with mistaken aspect up, fold the highest hem over two instances utilizing a 1cm/0.4” seam allowance, press, and pin shut. YOU WILL DO THIS TO ALL SIDES OF THE INSIDE POCKETS. Fold all 4 sides of all pockets twice to create clear hems and pin.
- Take the 2 lengthy deal with items and fold in half lengthways and press.
- Open the handles again out and there will likely be a fold line down the center of the material.
- Fold the 2 edges of the handles in the direction of the fold line within the center and press. Do that with each handles.
- Now fold and press the handles in half lengthways alongside the unique center fold line. Every deal with ought to be about 3cm/1.2” large.
- Pin alongside the size of the deal with to arrange for stitching.
- Take the 2 tie items and do the identical actual factor with these small strips as you probably did with the handles. Keep in mind to pin down the folds.
- HEMS: Keep in mind to coordinate thread coloration with the colour of the material. With this bag, the one thread that will likely be seen would be the high stitching on the hem of the pockets, and the highest stitching on the handles. You’ll want to sew with matching thread coloration to the colour of the handles and pocket materials.
- OUTER POCKETS: Sew alongside the underside of the hem fold utilizing a 0.3cm/0.1” seam allowance. Snip extra thread and press. Repeat with the opposite pocket.
- INNER POCKETS: Sew alongside the underside of the hem fold utilizing a 0.3cm/0.1” seam allowance. Snip extra thread and press. Repeat with all different pockets, however don’t sew the edges and backside of the pockets fairly but. That will likely be sewn onto the internal shell lining at one time, so depart the pins within the sides and bottoms. Put aside.
- HANDLES: Prime sew down every size of the deal with utilizing a 0.3cm/0.1” seam allowance. Snip extra thread and press! Repeat with the opposite deal with.
- ATTACHING HANDLES AND FRONT POCKETS:
- Take out one outer shell bag piece and the outer pocket.
- Place the pocket proper aspect up on high of the outer shell cloth proper aspect up. Line up the underside edges and notches! The notches make sure that the pocket is sitting precisely in the midst of the bag physique piece.
- Take one deal with and place it down the aspect of the sting of the pocket, overlapping the pocket barely by 1cm/0.4”. Line up the uncooked fringe of the deal with with the underside of the bag.
- Place the opposite finish of the deal with down the opposite aspect of the pocket with a 1cm/0.4” overlap.
- Pin the deal with into place!
- Sew down either side of each handles to connect the bag, pocket, and deal with all collectively. GO SLOW to make it possible for these stitches sit neatly on high of the highest stitches sewn beforehand. Sew from the underside of the bag till about 1.5 inches away from the highest. PRESS!
- Repeat this with the opposite aspect of the bag with the opposite deal with!
- SEWING THE BOTTOM BASE TO THE OUTER BODY:
- Take one physique piece (the outer shell piece with the completed deal with and pocket) proper aspect up and place the underside base piece proper aspect down on high of the bag. Line up the underside edges and pin into place.
- Do that with the opposite physique piece and the opposite fringe of the underside base piece. Line up the underside fringe of the physique piece with the bottom and pin into place.
- Sew each backside edges of the bag to the bottom piece utilizing a 1cm/0.4” seam allowance. Press the seam in the direction of the bottom piece. Flip proper aspect up and press properly alongside the highest seam. That is necessary as a result of the following step you may be high stitching.
- Prime sew alongside the bottom piece utilizing a 0.3cm/0.1” seam allowance. Repeat on the opposite aspect.
- Take the bag and fold it in half so the handles are touching and the proper sides are collectively.
- Guarantee that the underside seams sit straight on high of eachother for a really neat end.
- Pin both sides of the bag into place.
- Sew down both sides of the bag utilizing a 1cm/0.4” seam allowance. Press seams open.
- On one aspect, begin to pinch the nook of the aspect and the bottom collectively to create a gusset.
- Line up the perimeters and sit the aspect seam open. Pin the perimeters collectively.
- Repeat with the opposite aspect.
- Sew the underside corners utilizing a 1cm/0.4” seam allowance, repeat on the opposite aspect, and press.
- The outer physique piece is completed! Set it apart.
- INNER BODY PIECE:
- Time to stitch your internal pockets to the internal physique items!
- Line up backside notches of the physique and the pocket so the pocket is sitting straight in the midst of the physique piece (not sewn collectively but). Sew across the sides and backside, leaving the highest open/unsewn. Repeat with the opposite pocket.
- To complete, sew a straight sew by way of the center of this big pocket as soon as it’s hooked up to the physique in an effort to create two pockets!
- As soon as the internal pockets are sewn to each physique items, it’s time to sew the internal backside base. This course of would be the very same approach as the way you hooked up the outer backside base to the aspect items. (See steps 22-29)
- The internal physique bag ought to look precisely just like the outer physique bag, simply with out the straps.
- Sew the 2 water bottle pockets on both sides seam of the bag. Line up the center of the pocket so the aspect seam of the bag is sitting straight within the center. Sew alongside the edges and backside, backstitching in the beginning and the top so the pocket stays additional safe to deal with these water bottles!
- Flip the outer bag piece (with the straps) inside out – sample aspect dealing with contained in the bag.
- Place the internal bag piece, proper aspect out (sample aspect dealing with exterior the bag), INSIDE of the outer bag piece, so the coloured sample sides are dealing with one another.
-
Pin the 2 items collectively across the perimeter of the highest of the luggage. Be sure the straps are tucked down in order that they don’t get sewn shut.
Be sure so as to add within the aspect tie items! Pin these to the 2 aspect seams with the ties tucked in between each physique items (not protruding).
Go away a 6 inch opening in between one aspect of straps so the bag may be turned inside out as soon as accomplished stitching! - Sew round utilizing a 1cm/0.4” seam allowance.
- As soon as sewn, flip the bag proper aspect out. Attain into the opening and pull the internal bag out, and voila! You have got a ravishing seaside bag! Nearly accomplished!
- Press this high seam so it’s crisp, able to be high stitched.
- Be sure your stitching machine has a coordinating thread coloration to match the outer physique bag. This final step is high stitching the 2 baggage collectively right here on the high.
- Press and pin the outlet opening closed.
- Prime sew across the whole perimeter of the highest of the bag utilizing a 0.3cm/0.1” seam allowance. Be sure the straps are UP (not flopped down) so additionally they are included within the high stitching. Clip extra threads.
- You might be completed! You have got efficiently made your personal seaside bag!
There you’ve it! The cutest seaside bag in all the world (if I do say so myself ;). Keep tuned for the cutest equipment to go together with it within the coming week! I can’t wait to share them with you!
I can’t wait to see what you do along with your seaside bag. Present me the whole lot with the hashtag #LarsMakes. You possibly can see extra patterns over in our store!
[ad_2]