
[ad_1]
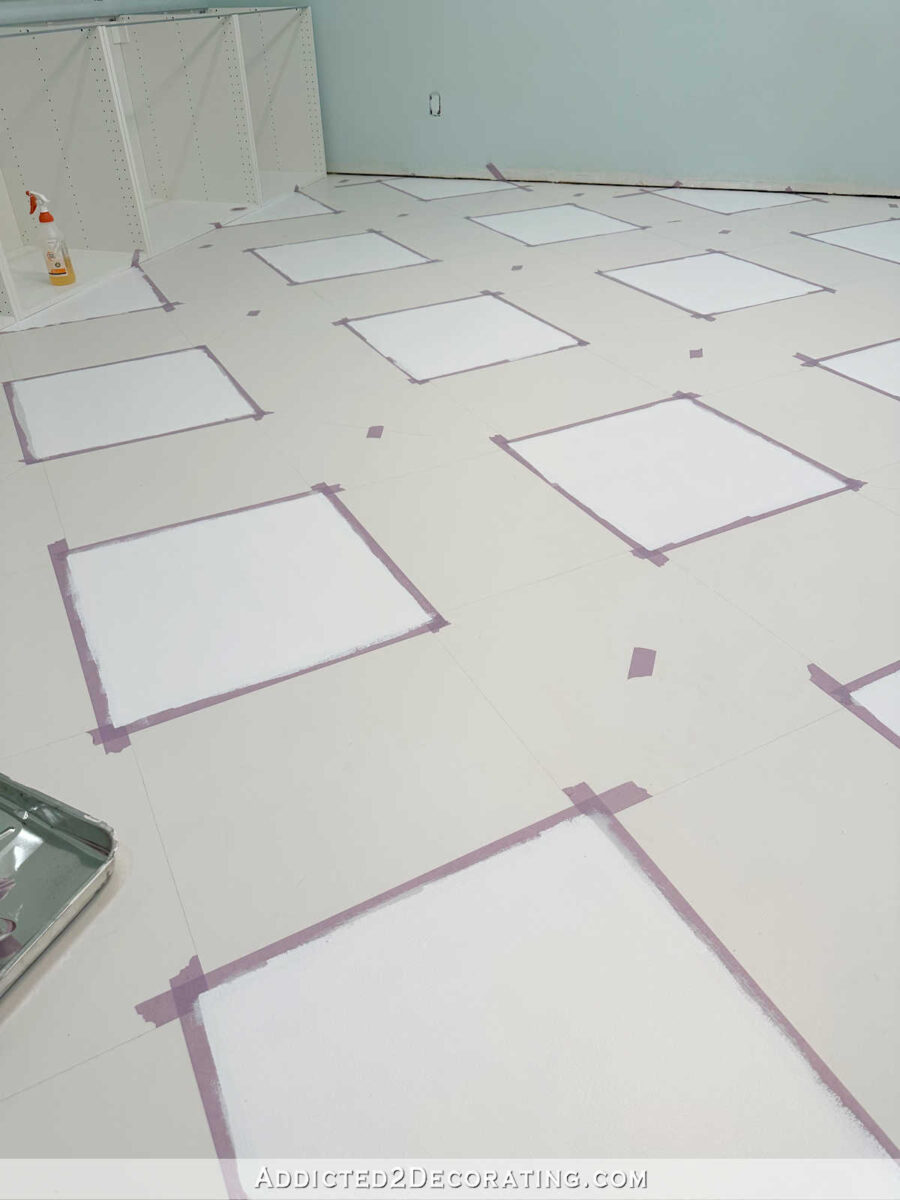
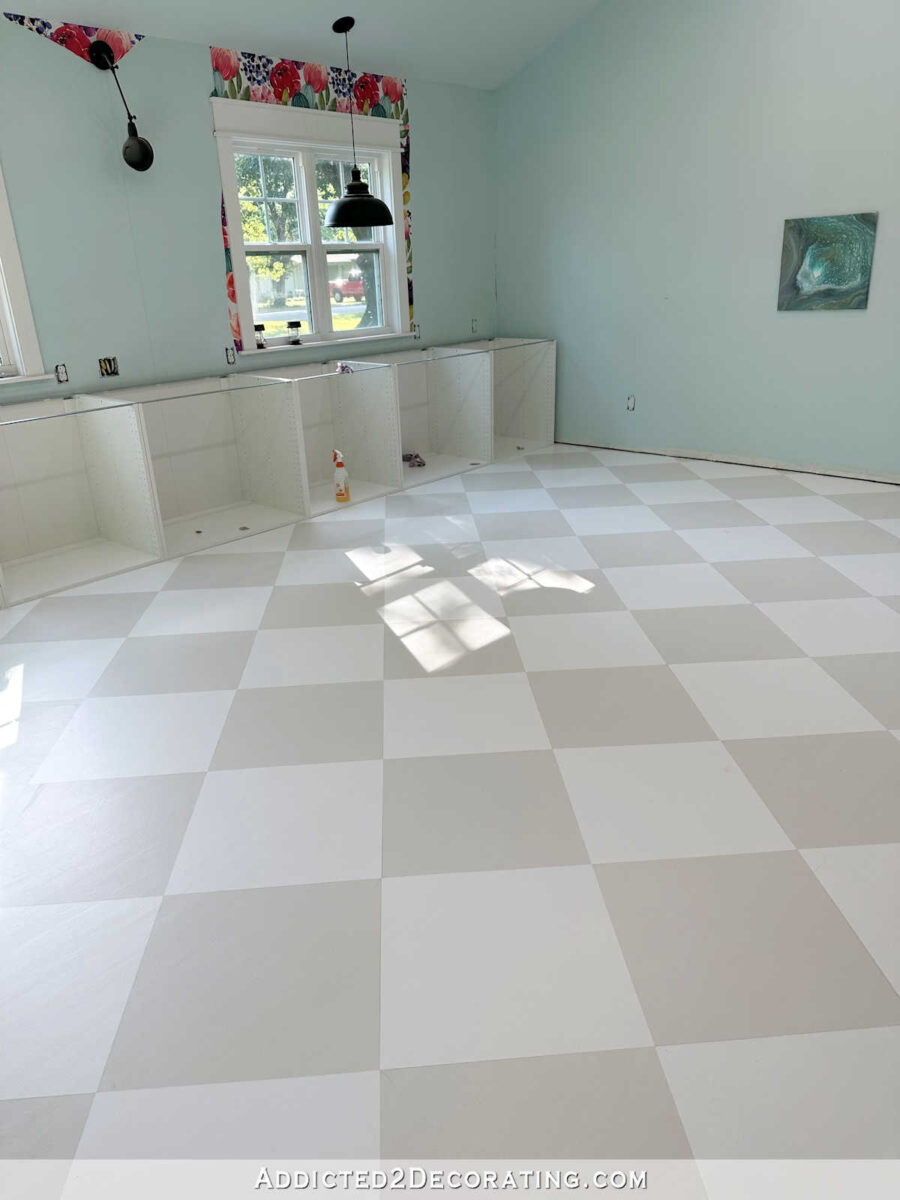
As of final evening, I’m about midway performed with portray a checkerboard ground within the studio. Right here’s the way it seems thus far…
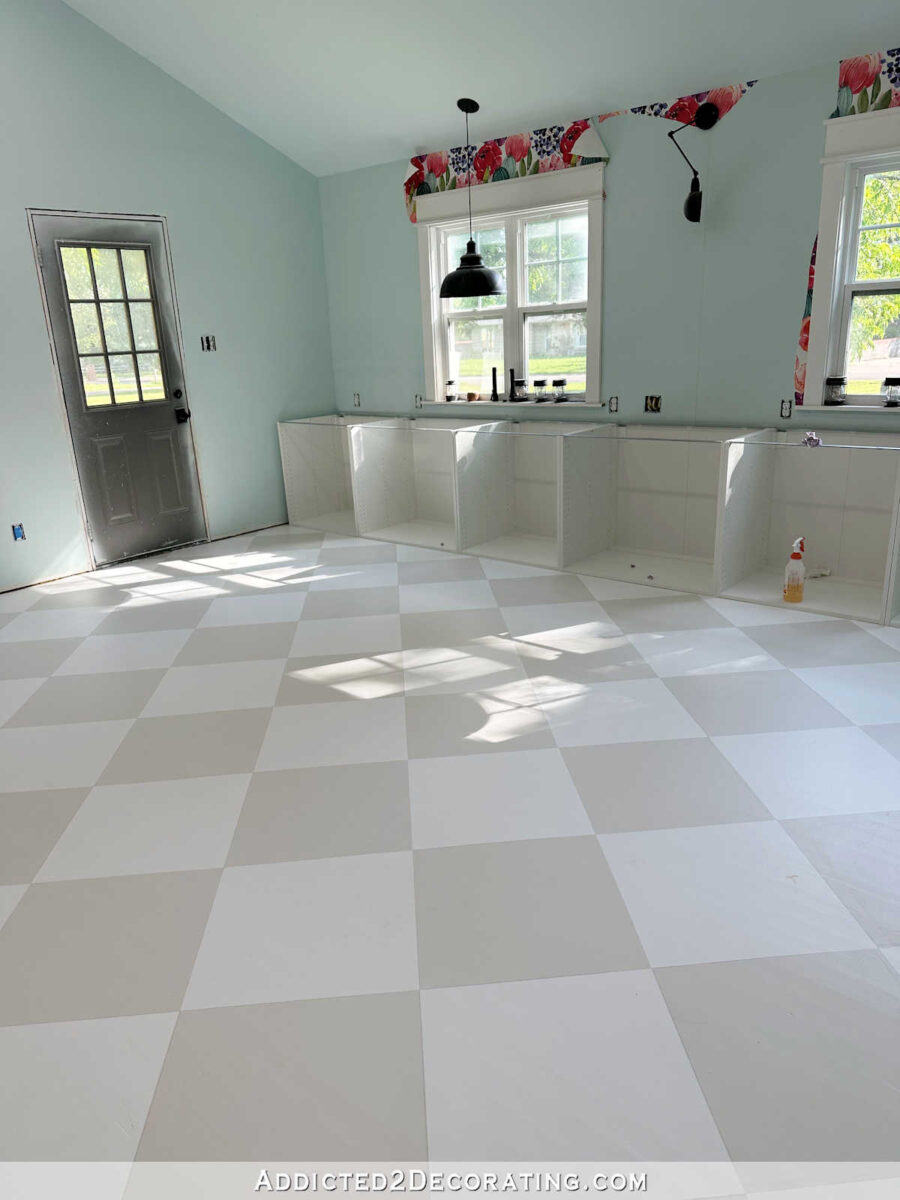
I’m actually happy with the way it’s turning out thus far. The principle room, which is about 19.5′ x 21′, is about 2/3 completed. So now I’ve to place protecting paper down on this completed space, transfer my massive rolling work tables and different objects to this aspect of the room, after which begin on flooring in the remainder of this room, the again entry, the storage closet, and the lavatory.
The ground on this room is purple oak hardwood flooring, and since it is a studio the place I’ll be utilizing paint, resin, alcohol inks, and so forth., I needed a ground that would very simply be spot sanded and retouched after I drip issues on the ground. Paint appeared like the apparent reply. So let me present you the way I did it.
I began by sanding the ground to offer the earlier end some “tooth”. Hopefully this may give the paint and primer extra sturdiness than it will have had I painted proper over the slick water-based polyurethane ground with out sanding first.
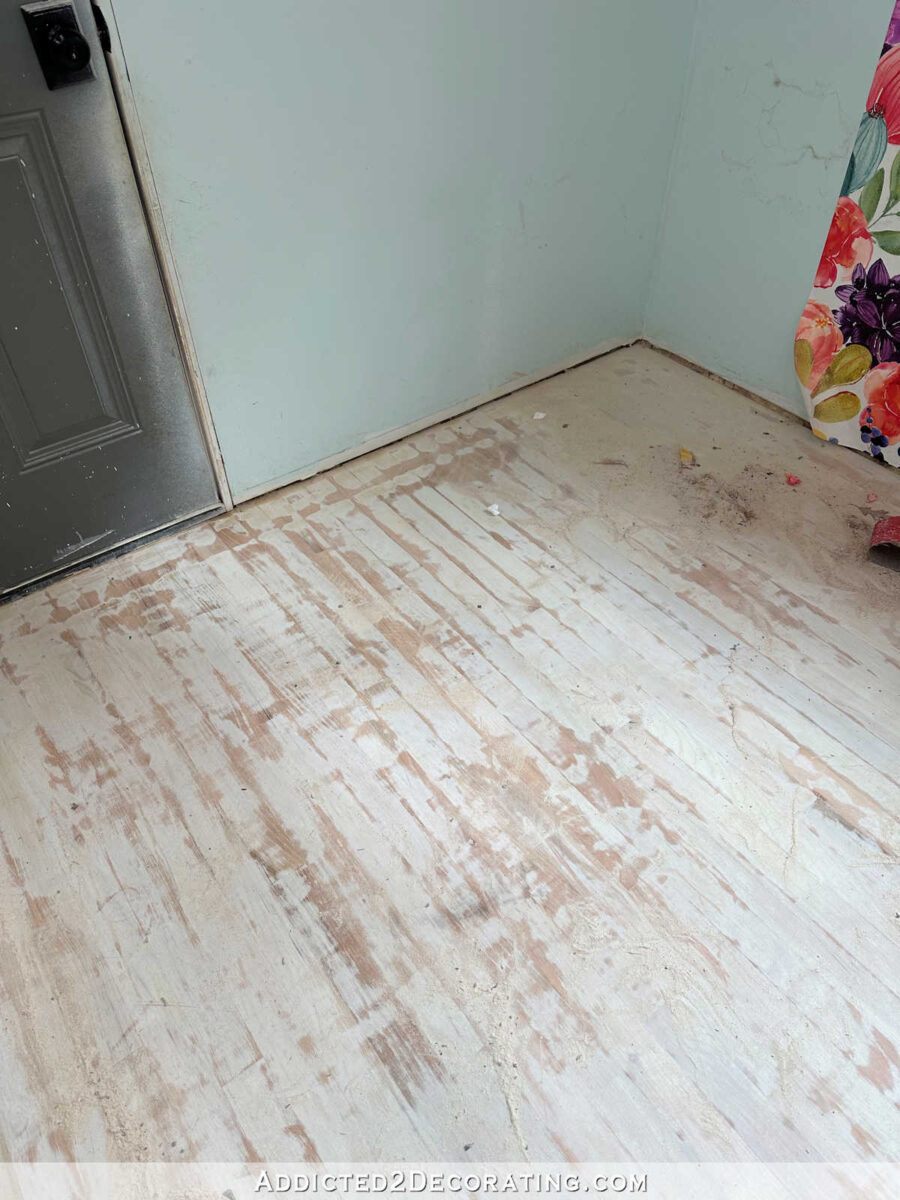
Some flooring most likely wouldn’t must be sanded fairly that a lot, however I used to be additionally attempting to do away with some water harm and different imperfections within the ground, so I did somewhat extra sanding than was most likely obligatory (as a result of I’m a perfectionist).
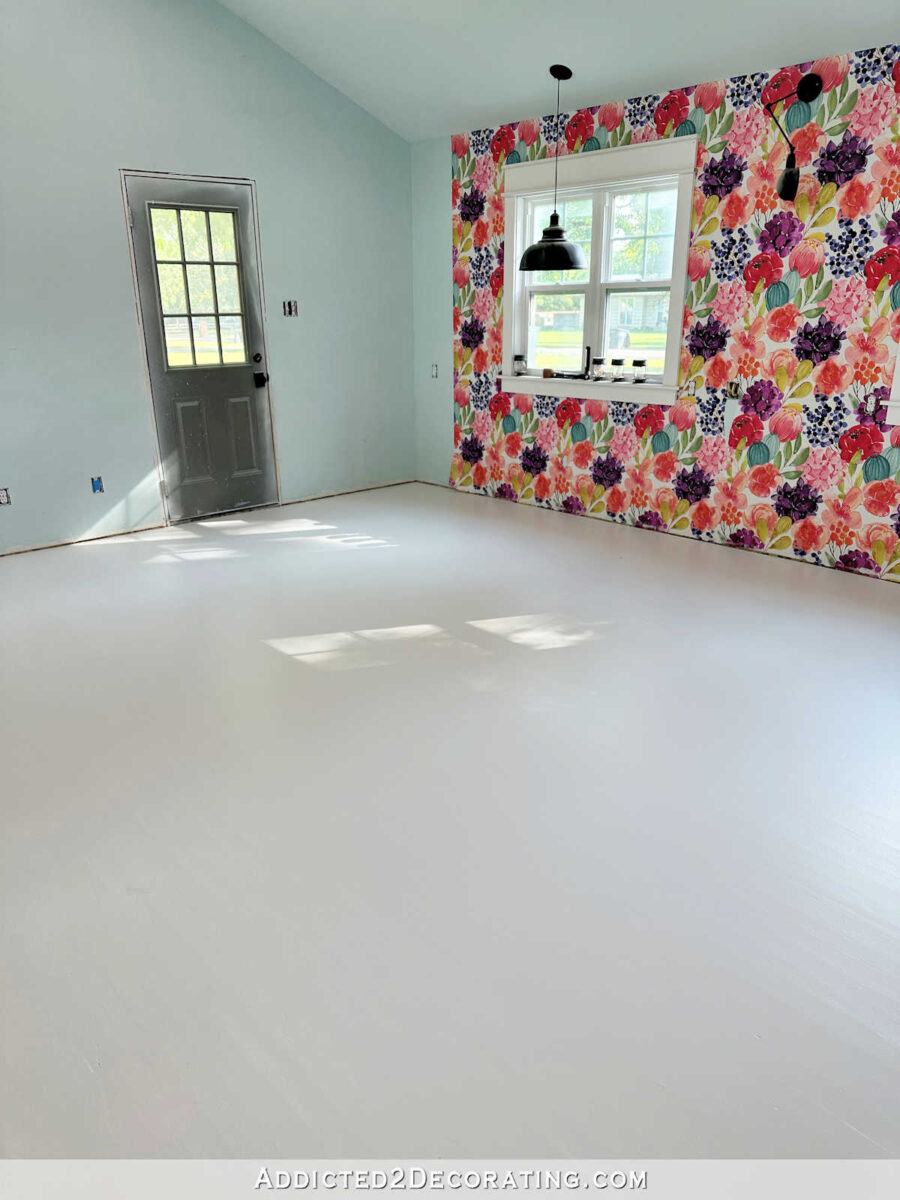
Then I gave the ground two coats of Zinsser B-I-N Shellac-Based mostly Primer. This was solely my second time utilizing this product, however after getting used to the skinny consistency, I used to be more than happy with the way it carried out the primary time I used it (on my entrance porch ceiling), so I made a decision to keep it up on this venture as effectively.
After which I gave the ground two coats of paint, which I rolled on utilizing a 3/8-inch nap curler (these are those I take advantage of). And since the ground is a really giant space, I used a typical curler than you’ll use to color a wall. The paint I selected to make use of is Behr Porch and Patio Flooring Paint within the low-luster end. I began with the darker colour, which is Benjamin Moore Basic Grey, which I had them colour match within the Behr paint.
I let that dry for about 36 hours whereas I put my cupboards collectively and put them into place alongside the entrance wall of the studio. I needed to place the cupboard in place first as a result of the cupboards aren’t completely centered on the wall because the home windows aren’t completely symmetrical on the wall. And I’d reasonably have the checkerboard ground design centered on the cupboards reasonably than being completely centered within the room and barely off with the cupboards.
So as soon as the cupboards have been in place, I measured and marked the middle of the center cupboard utilizing my tape measure and a pencil, after which continued marking the remainder of the ground utilizing that very same measurement, utilizing a straight edge (a framing sq.) till I had a line drawn perpendicular to the middle level on the center cupboard.
Subsequent, I used my sq. sample (I used a leftover FLOR carpet tile as my sample, however you may lower a sample out of cardboard, poster board, and so forth.), and lined up two factors completely alongside that line near the cupboards, and traced the sq..
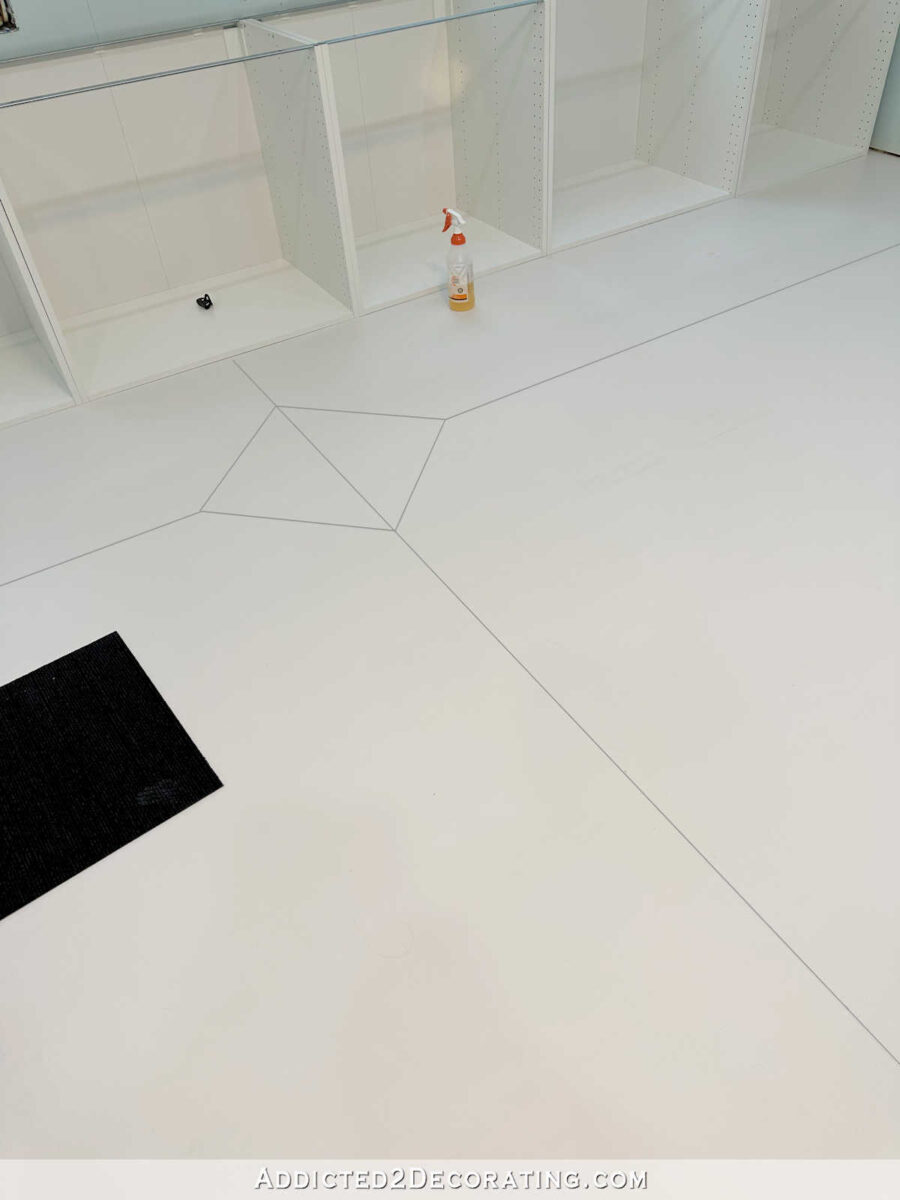
Then utilizing the opposite two factors on the sq., I used these as my information to measure and mark a line equidistant from the cupboards that ran parallel with the cupboards. Once more, it was extra necessary to me that the checkerboard design appeared proper with the cupboards reasonably than it being completely centered within the room. Rooms are virtually by no means completely sq., so if the design was barely off in one other space, it will be approach much less noticeable than it will be if the design was off with the cupboards on the primary focal wall of the room.
As soon as I had that line drawn parallel with the entrance of the cupboards, I then used my sq. sample (the carpet tile) to proceed the sample on that parallel line.
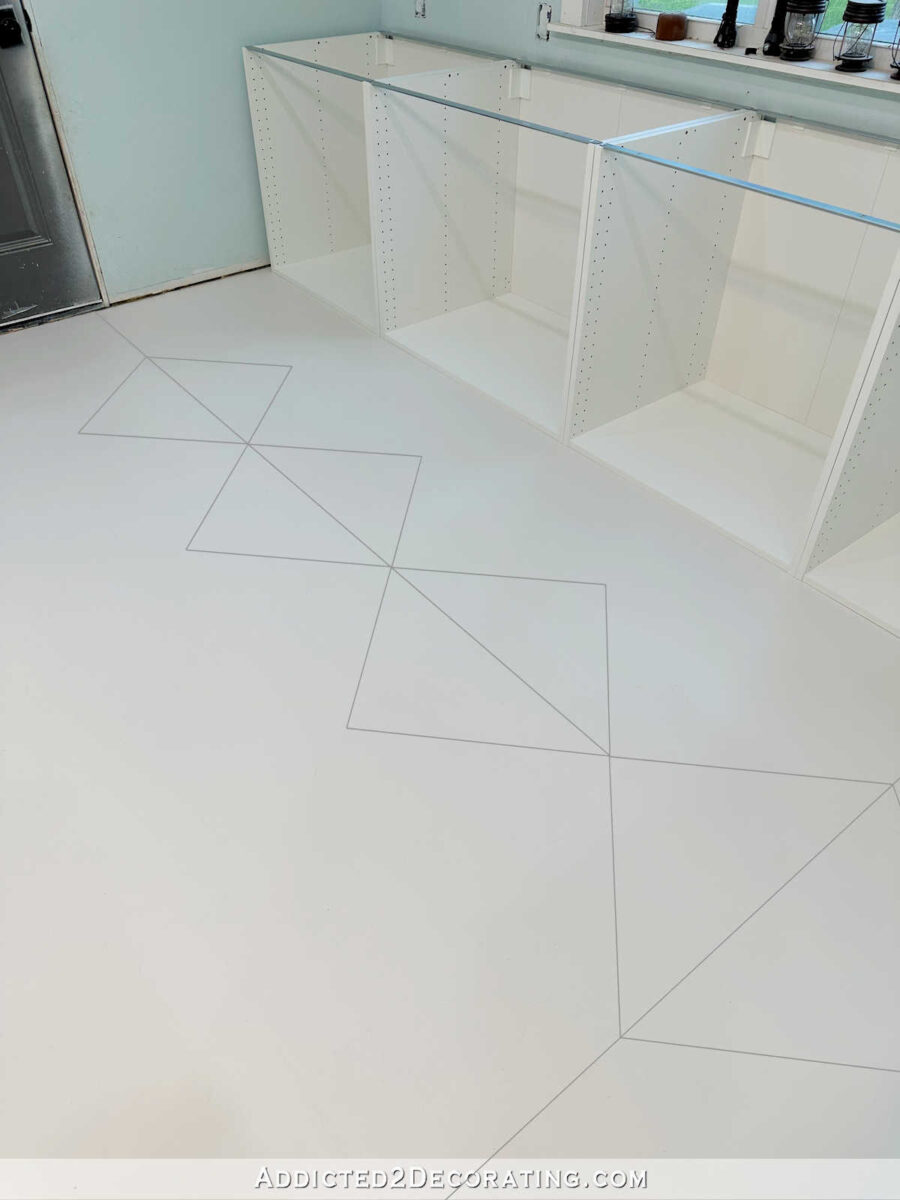
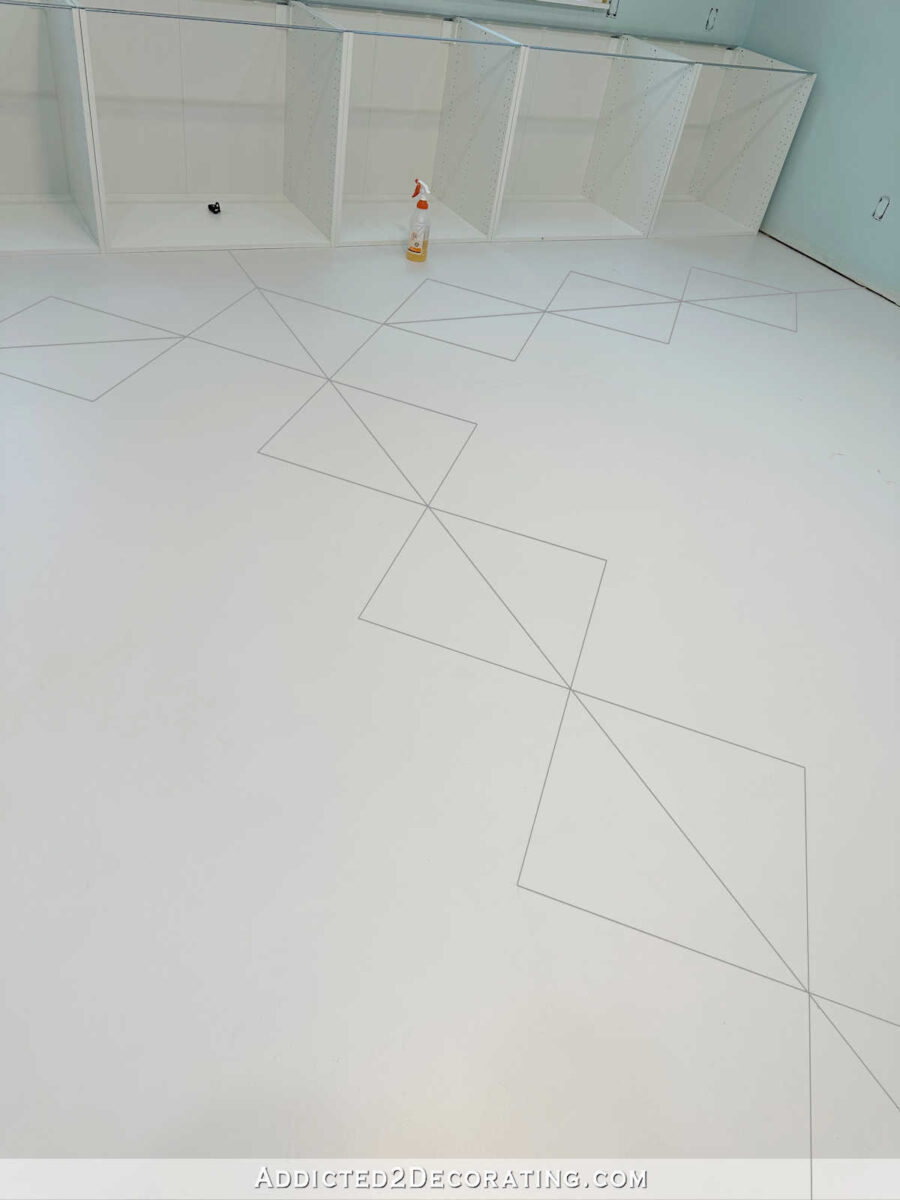
As soon as I had the squares traced on the middle perpendicular line and the all throughout the parallel line, I went again and simply fill in the remainder of the squares utilizing my sample.
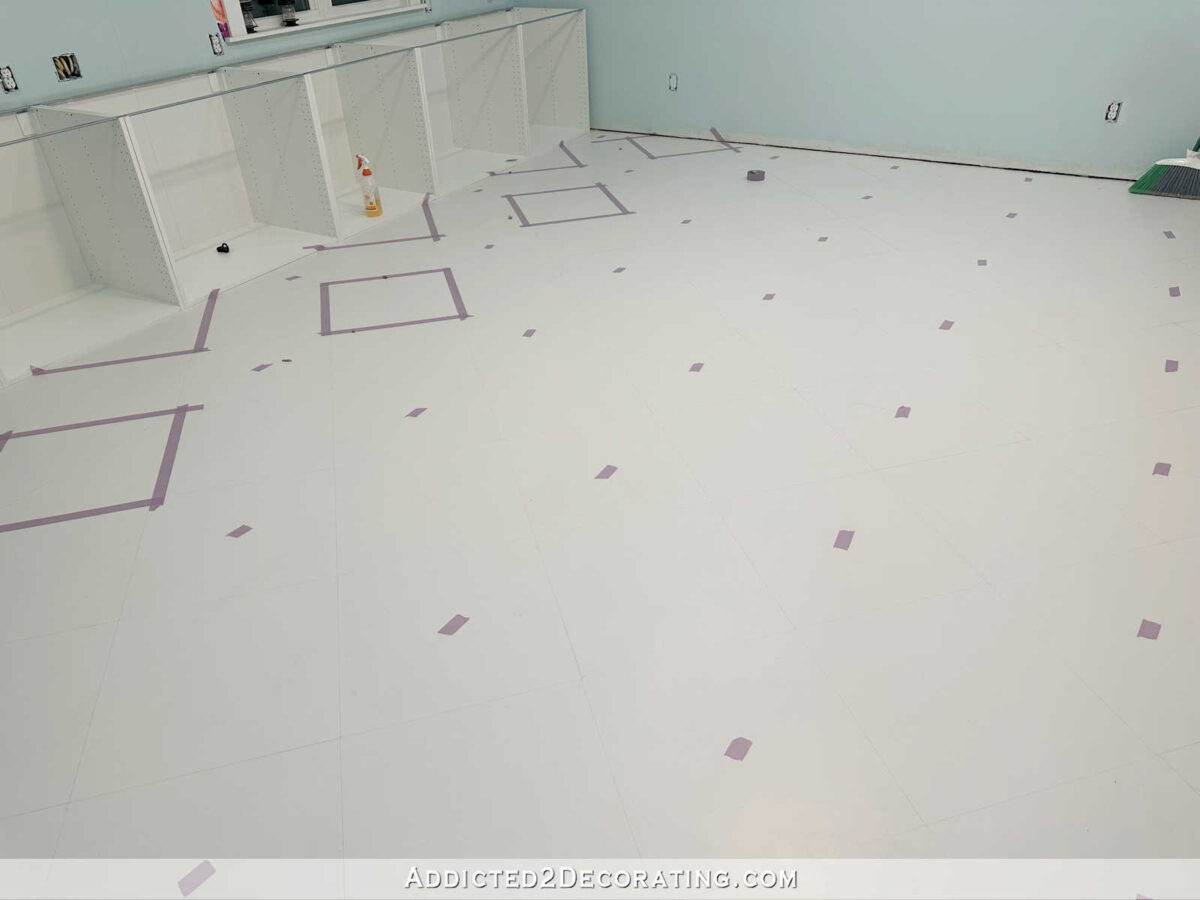
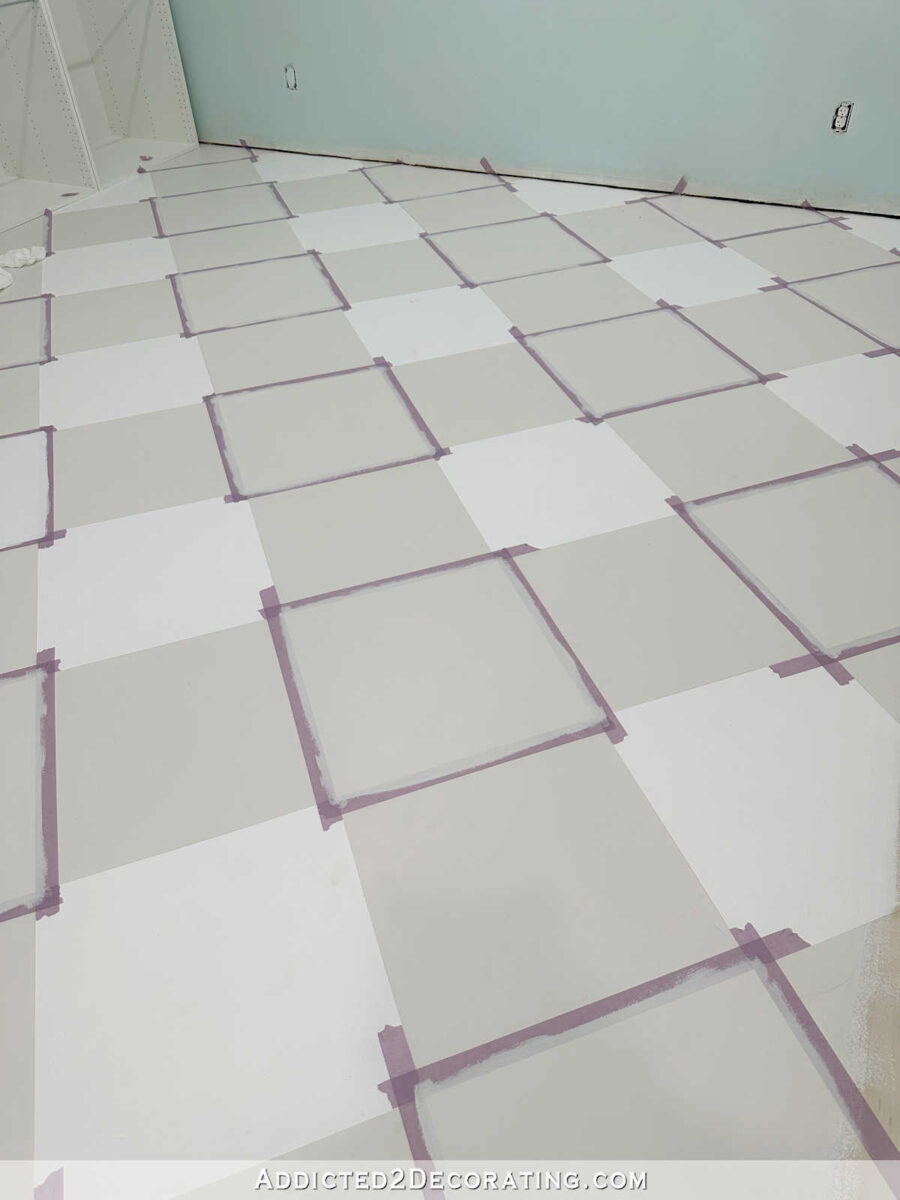
After I had the entire squares traced, I used painters tape to mark off the entire squares that might be painted my distinction colour (Behr Polar Bear), after which I started taping off the squares to be painted. It’s not environment friendly to attempt to tape off each single sq. to color them all of sudden. It’s a lot simpler to tape off each different one and paint these, after which when these are dry, to return and tape off the remaining and paint these.

Earlier than I might paint, I first wanted to do away with any pencil marks. Pencil marks will bleed via paint, so it’ll prevent an enormous headache to do away with them as a substitute of attempting to color over them. And don’t ever attempt to erase them with a pencil eraser or perhaps a high quality artwork eraser. These will simply smudge the graphite on paint, and depart you’ll a multitude. I at all times do away with my pencil marks utilizing a Magic Eraser. They work so quick and make simple work of eradicating pencil marks. And I didn’t simply take away the pencil marks going via the center of a few of the squares, just like the one you see right here…
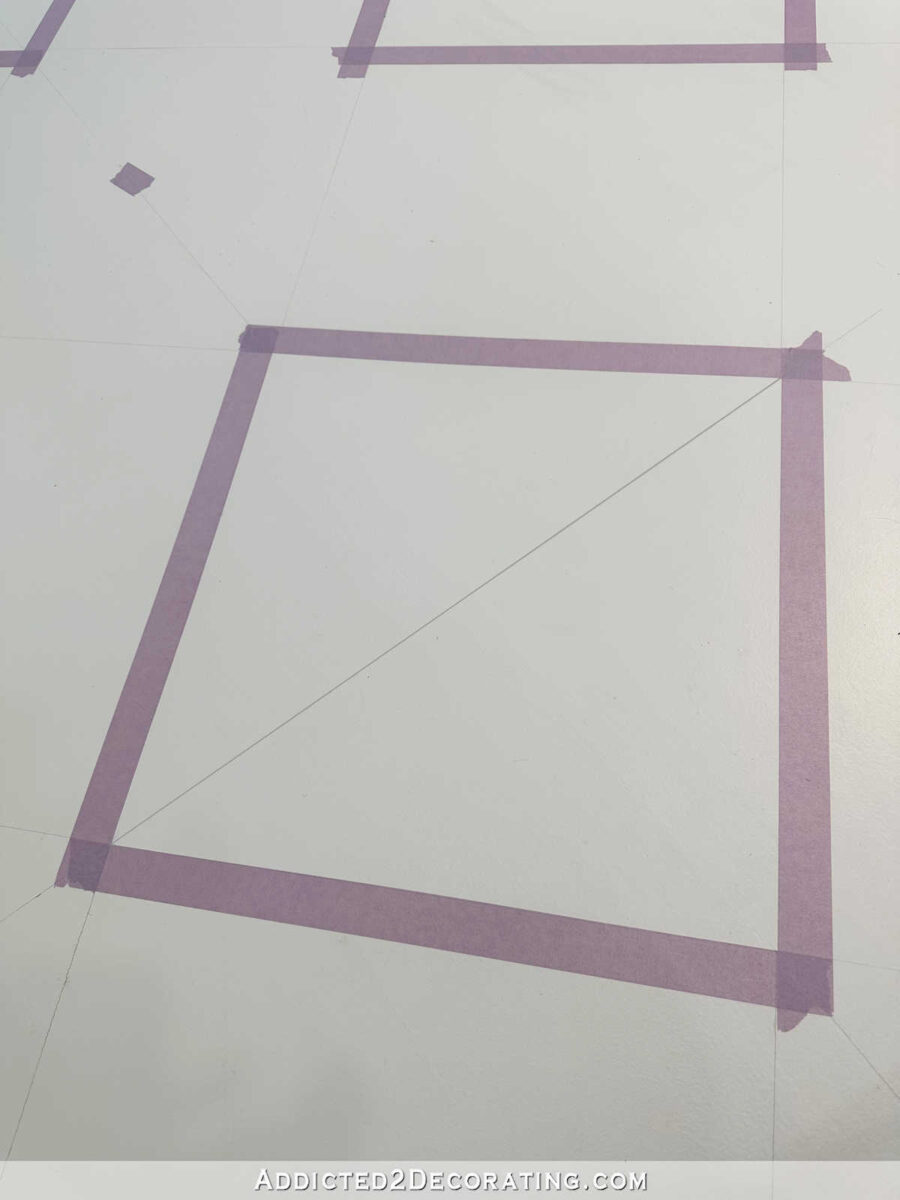
However I additionally eliminated the marks alongside the taped edges. That approach I can do away with pencil marks and burnish the tape in order that it’s caught very well to the ground multi function fast step. You’ll be able to see how effectively the Magic Eraser eliminated the marks from the identical sq. pictured above…
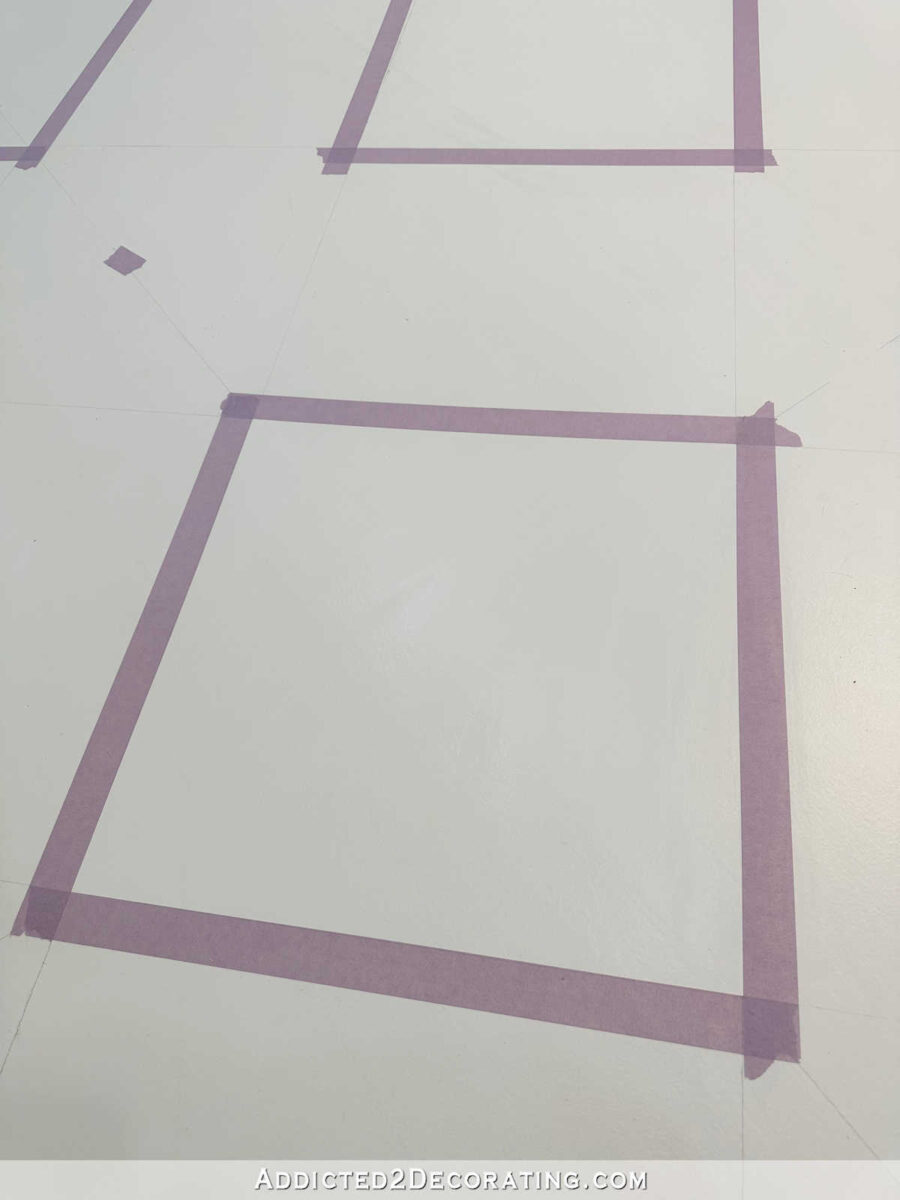
After which I did yet another step earlier than portray the squares. To make sure that the perimeters of the distinction squares could be very crisp with no bleed via, I used the unique paint colour (Basic Grey) and painted over the perimeters of the paint to seal them in order that the Polar Bear couldn’t bleed beneath the tape.
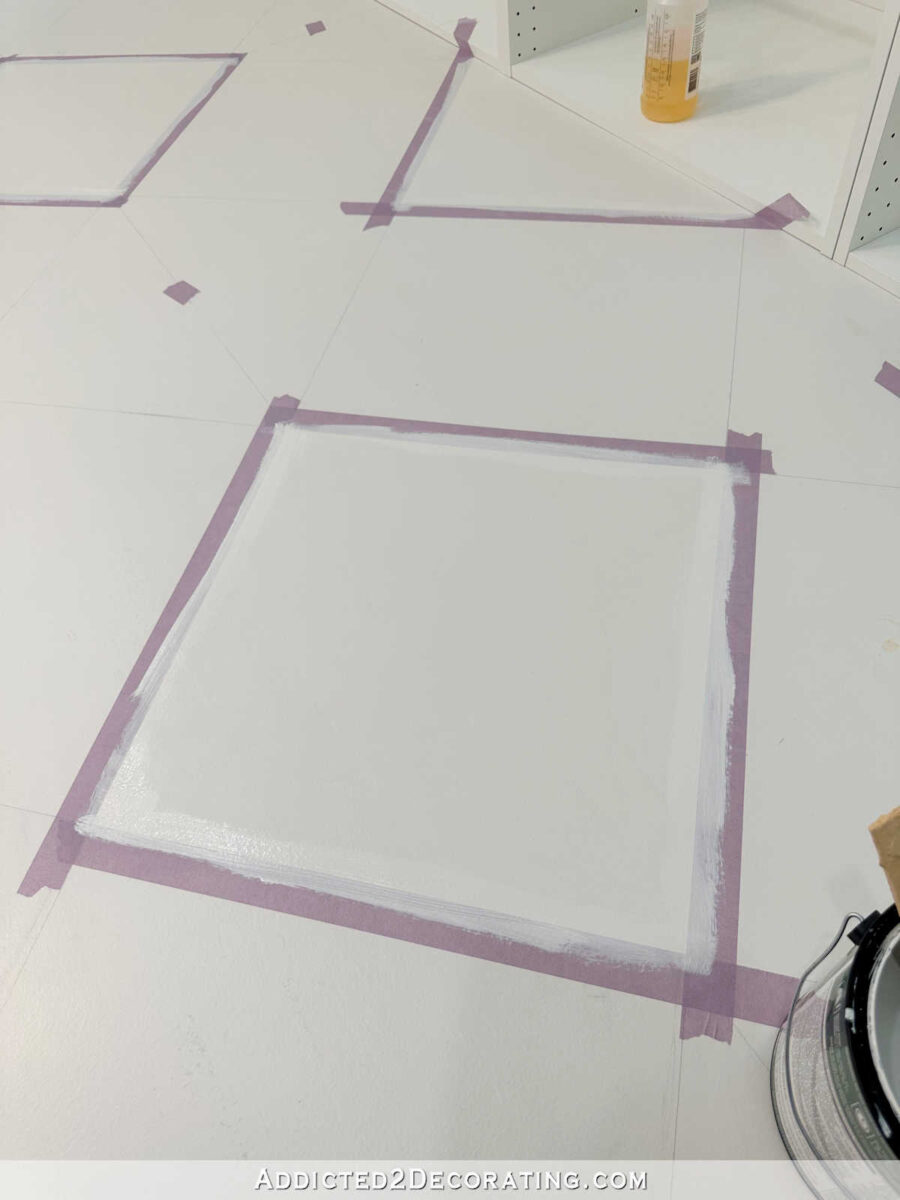
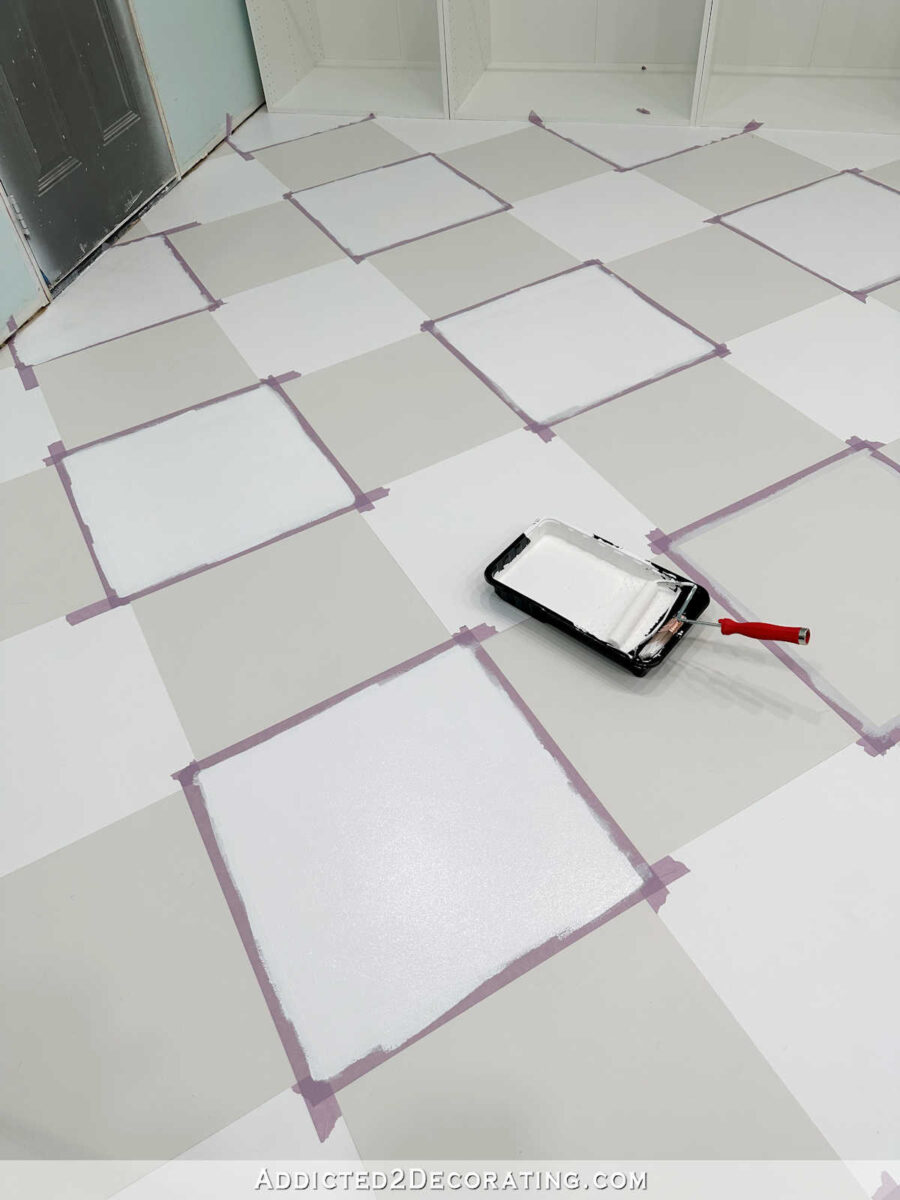
This course of went in a short time. I gave the squares a primary coat of paint, after which allow them to dry for about 40 minutes.
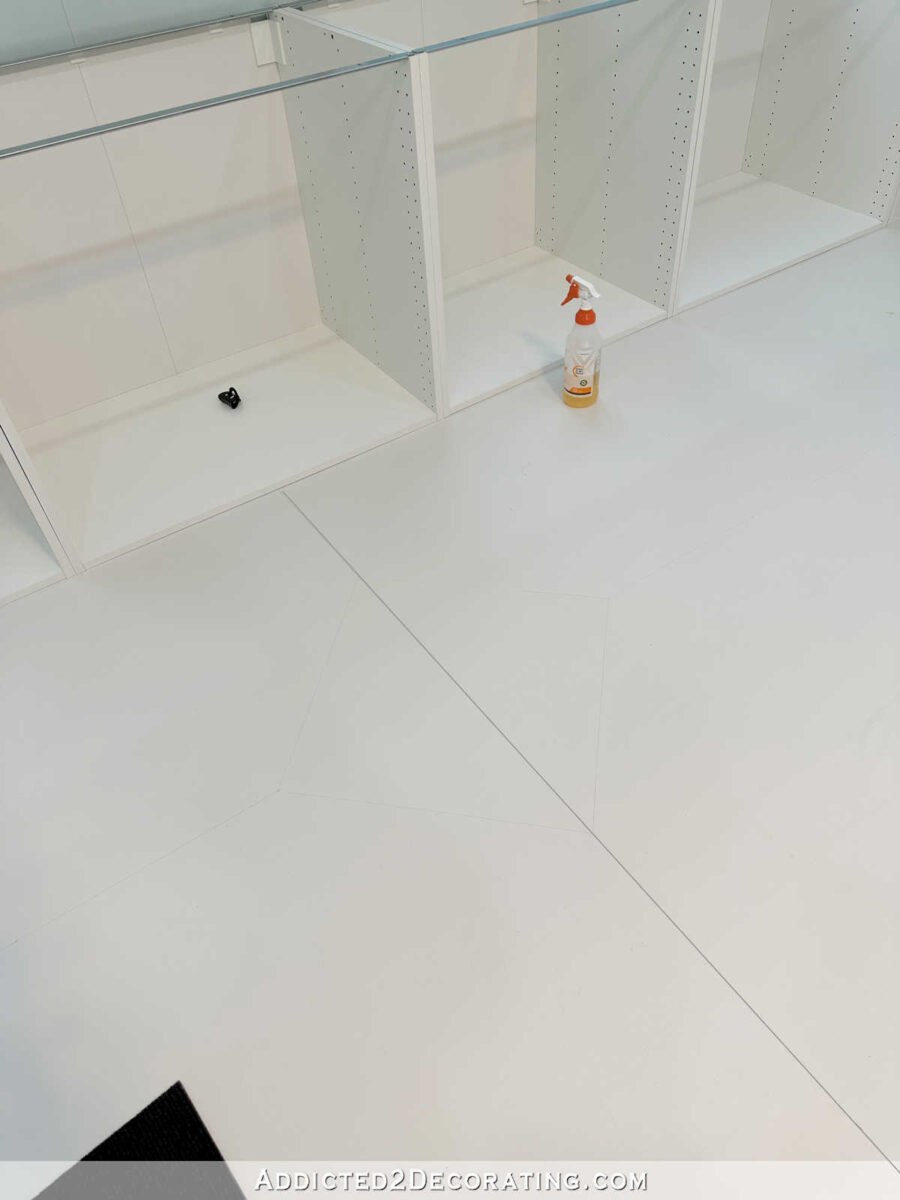
Then I rolled on a second coat. Instantly after portray the second coat, and whereas the paint was nonetheless very moist, I eliminated the tape. You’ll be able to see how completely crisp the perimeters are…

I let that first set of squares dry for about 24 hours, after which I taped off the remainder of the distinction squares and repeated that very same course of — eradicating the pencil marks, sealing the perimeters of the tape with the primary colour…
Adopted by two coats of the distinction colour, and eradicating the tape whereas the second coat was nonetheless very moist.
And there it’s! My new painted checkerboard ground in my studio. I do know it’s a model new painted ground, and it hasn’t even totally cured (I believe full treatment takes about 30 days), however I’ve already been very impressed with the sturdiness of this paint.
Cooper has even been in right here (my hyper 100-pound canine who received’t let me contact his toes, so I can’t clip his claws), and the ground held up completely to his craziness.
I don’t plan to do a transparent coat on the ground as a result of that might simply complicate the touch-up course of, and would defeat the complete function and my reasoning for having a painted ground within the first place. In order that signifies that as soon as I get the remainder of the pencil marks off of aspect of the room (the pencil marks that have been hiding beneath painters tape), I’ll be able to put protecting paper over this aspect of the room, get all of my stuff moved over to this aspect, and get began on the remainder of the ground. It’s been a sluggish course of, however at the very least I’m making progress!
[ad_2]