

[ad_1]
Issues are transferring proper alongside in my studio, and I’m so excited to see all of this come collectively! Once I constructed the countertop out of laminate flooring on the lengthy mural wall, a number of folks had been involved about how I used to be going to trim out the home windows because the countertop seemed to be greater than the underside of the window.

Fortuitously, my home windows have about 2 inches of area on the backside that provides leeway for placement of the underside sill. (Sure, I do know it’s technically known as a stool, however I gained’t name it that. I’ll name it a window sill, and also you’ll know what I’m speaking about.) So after I made the ft for the cupboards, after which put in the countertop, I knew that every thing needed to keep underneath a sure peak in order that the window sill wouldn’t be too excessive and intrude with the opening and shutting of the window. So when the countertop was put in, I nonetheless had loads of room for the window sill.
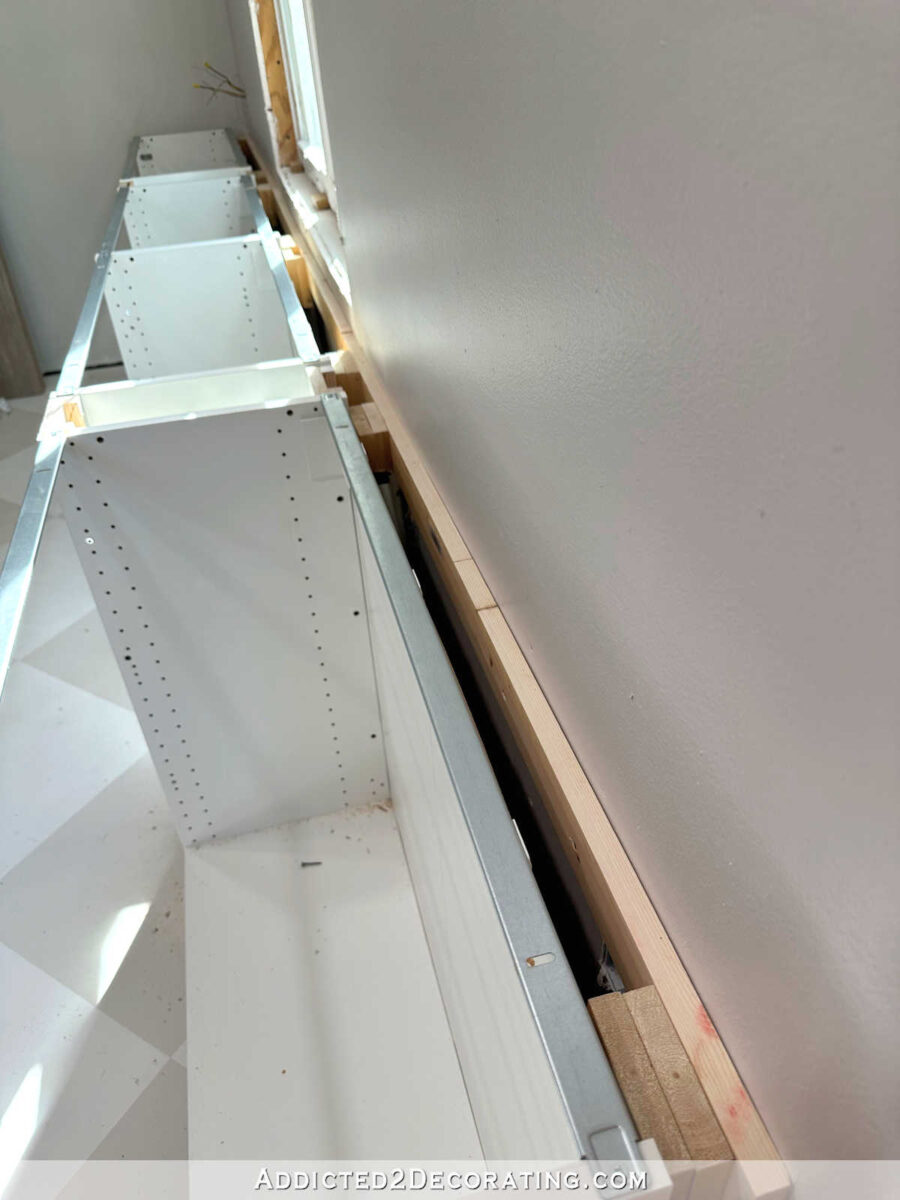
Earlier than I might set up the window sill, I needed to put a couple of spacers and nail them to the underside framing of the window in order that the window sill would have one thing to sit down on that was degree with the countertop. I reduce these out of two×2 lumber, they usually wanted to be about 3/4-inch excessive. I simply nailed these into the tough 2×4 framing utilizing 2-inch 16-gauge nails.

After which I put the window sill instantly onto these spacers and the countertop and nailed it into every one of many spacers, after which nailed it instantly onto the countertop on every finish and within the center.

As soon as the window sill was in place, I might observe with the remainder of the trim. The home windows within the studio had already been trimmed out, and the trim needed to be eliminated earlier than I constructed the countertop. So I didn’t have to start out from scratch. If you wish to see how I trim out all of my home windows and doorways from starting to finish, you’ll be able to see that course of right here. However for these, the window sill was already reduce and the header casing was already put collectively. All I needed to do was trim down the aspect jambs and the aspect casings a bit to suit the brand new peak of the window sill, and the remainder was a breeze.

So in case you examine the present trimmed home windows to the home windows earlier than the cupboards had been put in and the countertop was constructed, you’ll be able to see that I needed to sacrifice the aprons on the backside of every window.
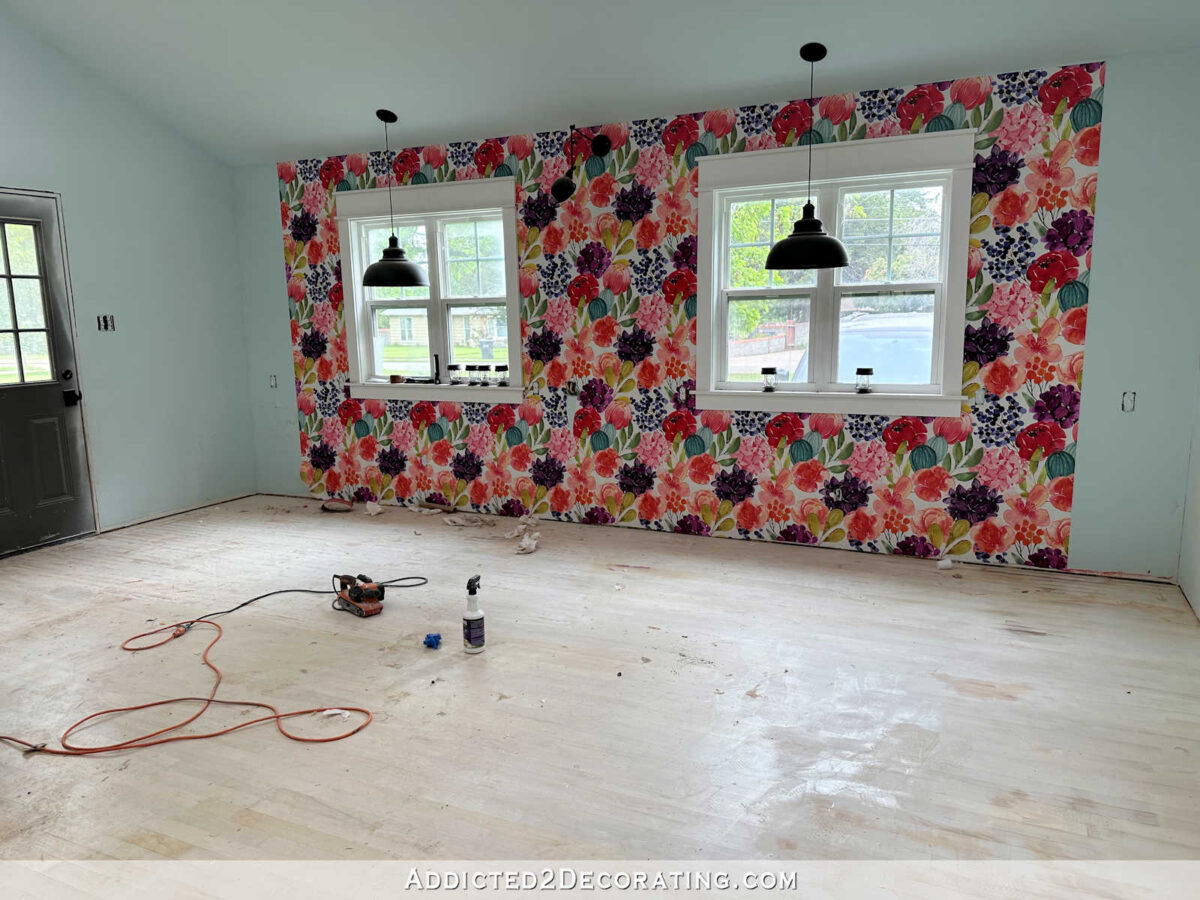
However I’m completely effective sacrificing these aprons for the right peak countertop. And people counter tops actually are the right peak (about 33 inches) for somebody my peak (5 ft) to face and work. And I’ve been placing them to make use of a lot already!
I did the identical factor when I constructed the cupboard underneath the window in our grasp toilet and determined that I needed that cupboard to be greater than the self-importance counter tops and likewise needed to realize these few inches of drawer peak on the cupboard.
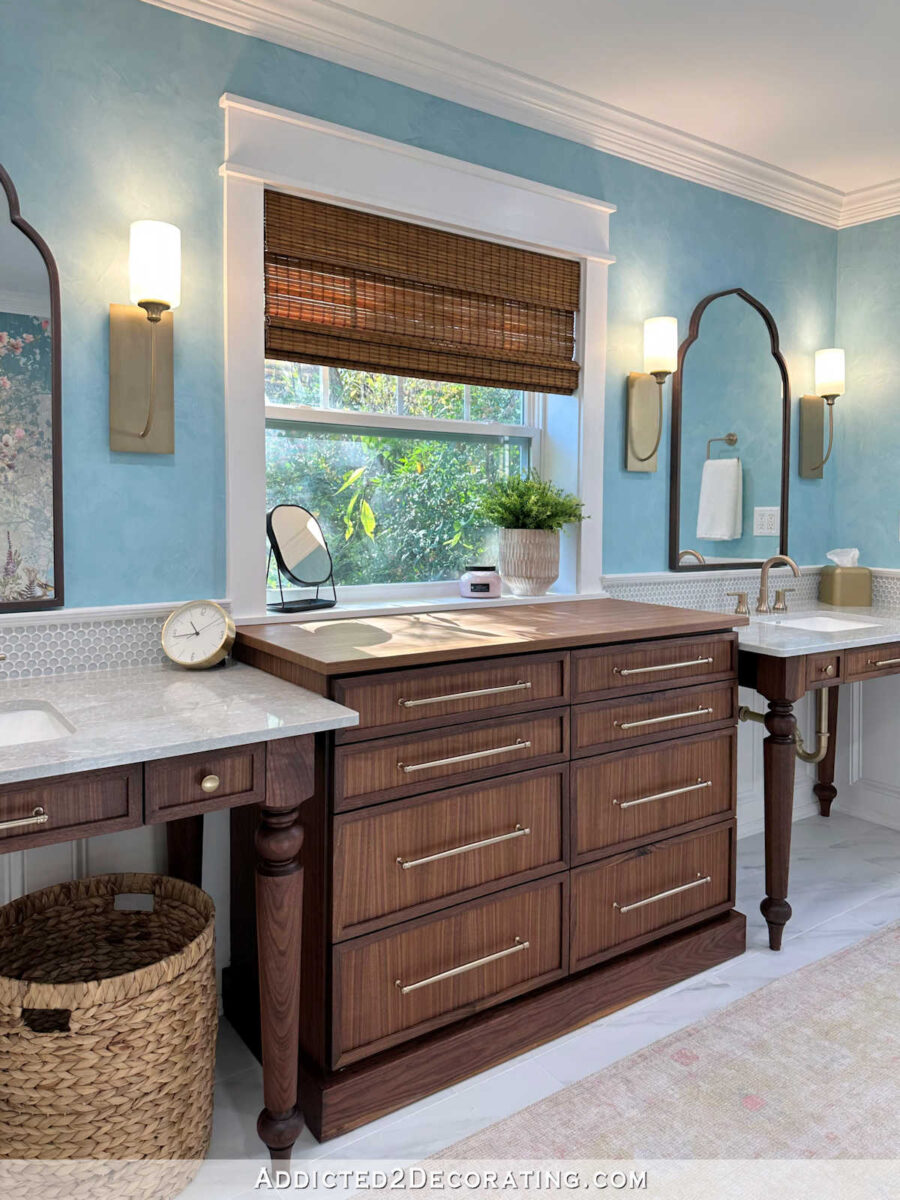
I’ve by no means missed the apron on that window in our toilet, and I gained’t miss the aprons on the home windows within the studio, both.
Now let’s transfer on to the workplace space cupboards as a result of that is probably the most thrilling improvement over the past couple of days! My new order of IKEA cupboards arrived yesterday, and I used to be so anxious to tear these packing containers open and begin placing issues collectively.
I imply, can all of us simply admire how lengthy I’ve been ready and planning this? Once more, take a peek on the date on this drawing.
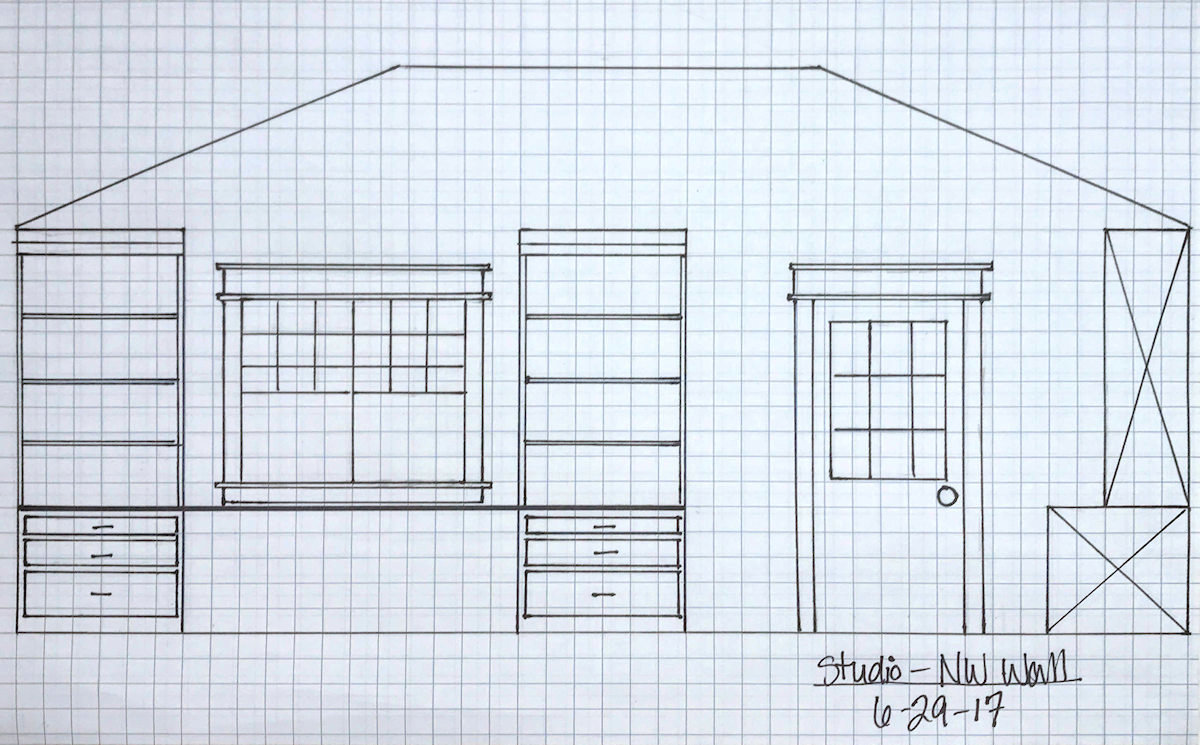
Sure. Sure, that does say 2017. Six years, y’all! I’ve been planning and dreaming about this for six years! I really feel like issues work out in the best timing, although. Had I been capable of do the cupboards six years in the past, I might have ended up with 30-inch-high counter tops, which I’ve found wouldn’t have been almost as helpful to me, and I might have ended up with a complete lot much less storage than I’m going to have now. So the design has been tweaked in excellent methods, which means that every one of this was most likely properly well worth the wait.
And even simply inside the previous few days, the design has been tweaked once more. A number of of you had been confused with my description of the adjustments, so now you’ll be able to really see them.
Earlier than placing the remainder of the cupboards in place on this wall, I first needed to take away the half-finished countertop that I had began. I had initially deliberate for the countertop to span the complete width of the bottom cupboards.
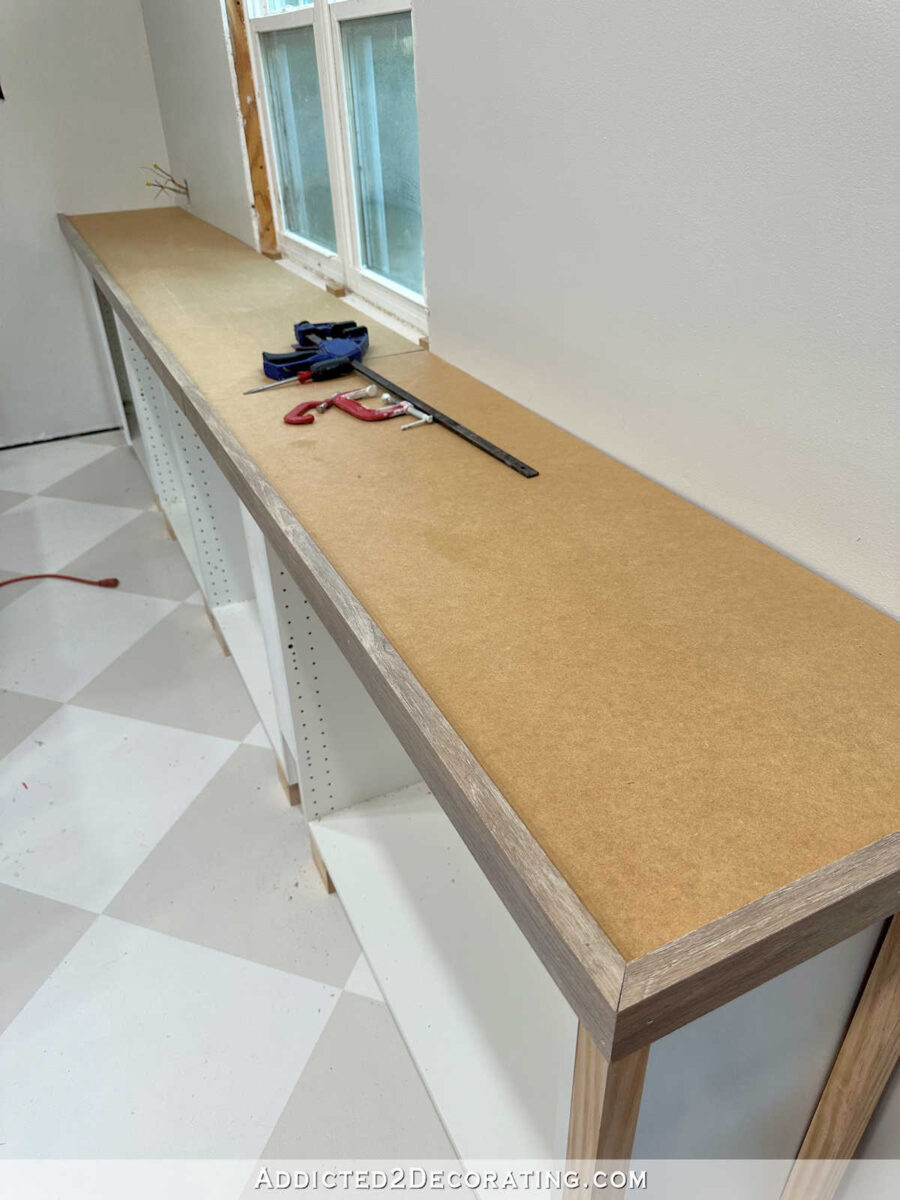
As soon as that was eliminated, I used to be again thus far with simply the bottom cupboards.
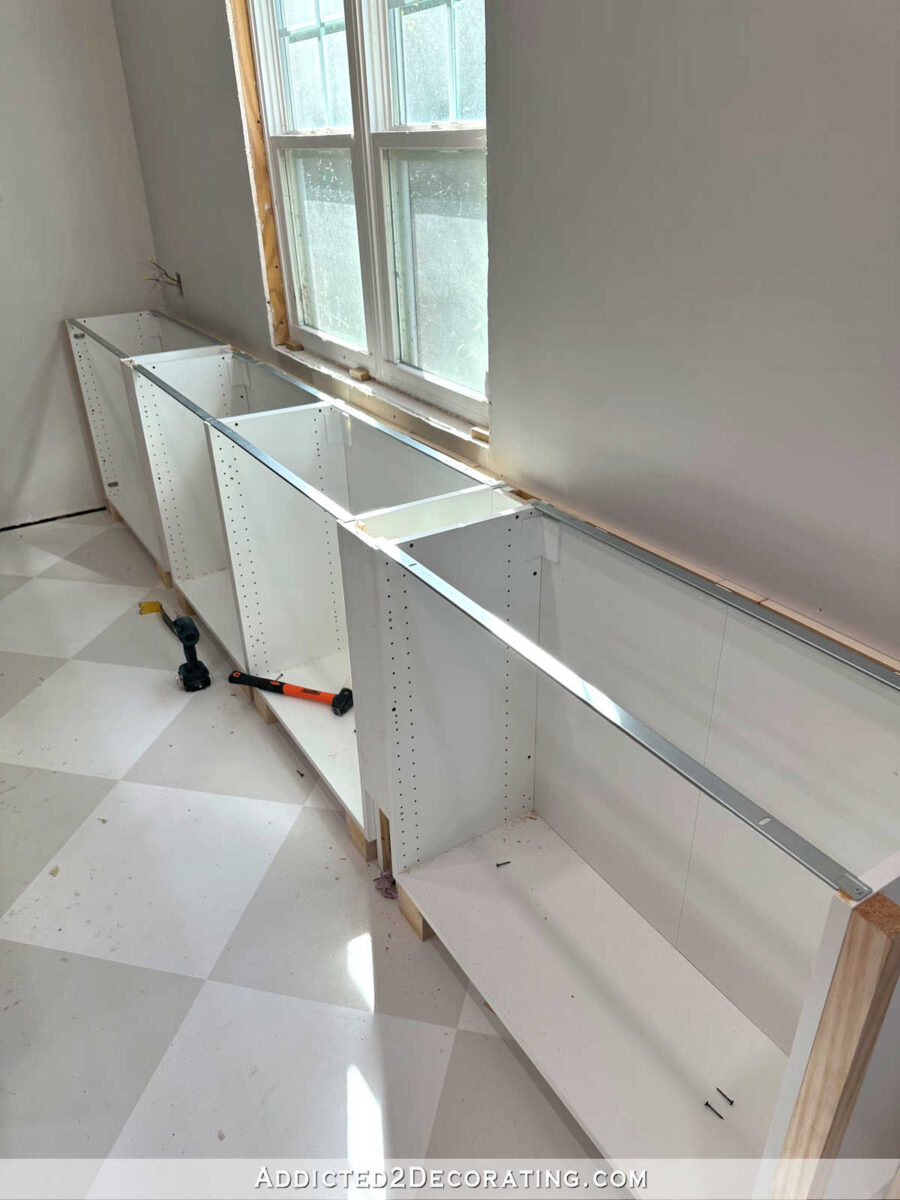
Once I put in these decrease cupboards, I did so utilizing spacers behind the cupboards in order that the bottom cupboards would stand out a couple of inches additional than the higher cupboards, with the uppers and lowers separated by a countertop.
With my new tweak within the plan, I didn’t actually need that area behind the cupboards, however I made a decision to maintain it anyway. Uninstalling all the cupboards to take away these spacers was busy work that actually served no goal since that area wouldn’t have an effect on the stacking of the opposite cupboards in any means. So I made a decision to avoid wasting myself the busy work, go away the spacers behind there, and transfer on to the opposite cupboards.
The subsequent sections to go in place had been the 20-inch-high drawer sections. These will include two drawers.
If I had to do that another time, and I knew I used to be going to do that specific design from the start, I might have ordered wall cupboards to make use of because the decrease cupboards as a substitute of ordering base cupboards. The bottom cupboards have these metallic rails with screw holes in them which might be used to screw the countertop to the bottom cupboard.

Had I ordered a wall cupboard as a substitute, it might have include a strong piece for the highest as a substitute of these rails. But it surely’s effective, and it’s performed. I simply used the screw holes in these rails to screw the underside cupboard to this new cupboard utilizing 1/2-inch screws as a substitute of the screws that include the cupboards to screw cupboards collectively. (The screws that include IKEA cupboards to screw the cupboards collectively are longer and meant to undergo two 3/4-inch panels.)
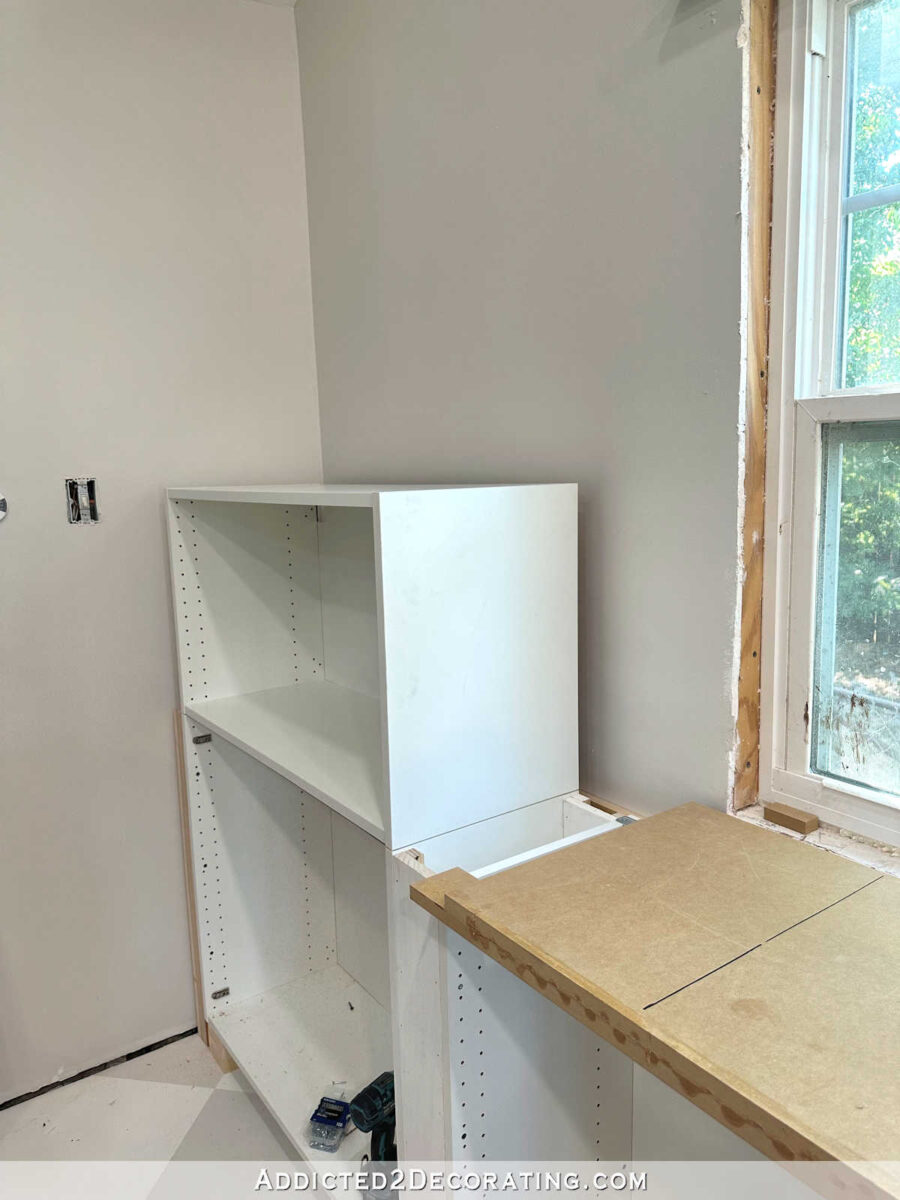
Subsequent up, I wanted to assemble the 36″ x 40″ cupboard and put it into place. Working on my own makes these items difficult generally, and I needed to provide you with a technique to stack that cupboard on high of the others on my own. I knew that if I put the cupboard collectively on the ground, like I did all the remainder of the cupboards, there could be completely no means I might hoist that cupboard up there on my own. It’s not too terribly heavy, however it’s not mild, both, and it’s very cumbersome.
So I positioned one of many items of MDF that was initially used for the bottom of the countertop again onto the decrease cupboards as a brief countertop, and I assembled the cupboard up there as a substitute of on the ground. It wasn’t fairly straightforward placing such a big cupboard collectively on such a small area, however I managed. That means, slightly than attempting to carry the assembled cupboard all the way in which from the ground to the highest area, I simply needed to lean the cupboard over, and standing on the ladder, pull the cupboard up and over simply 20 inches in order that it was sitting on high of the brand new 20-inch-high cupboard.
My first try wasn’t profitable. As I used to be attempting to tip the cupboard into place, it obtained wedged underneath the sloped ceiling. 😀 And after I say it was wedged in there, I imply it was wedged in there. I used to be starting to suppose I’d need to name somebody to assist me get it unwedged.

However I lastly managed to get it unwedged alone, and get it screwed to the cupboard beneath it. After which I repeated that entire course of on the opposite aspect, and ended up with this…
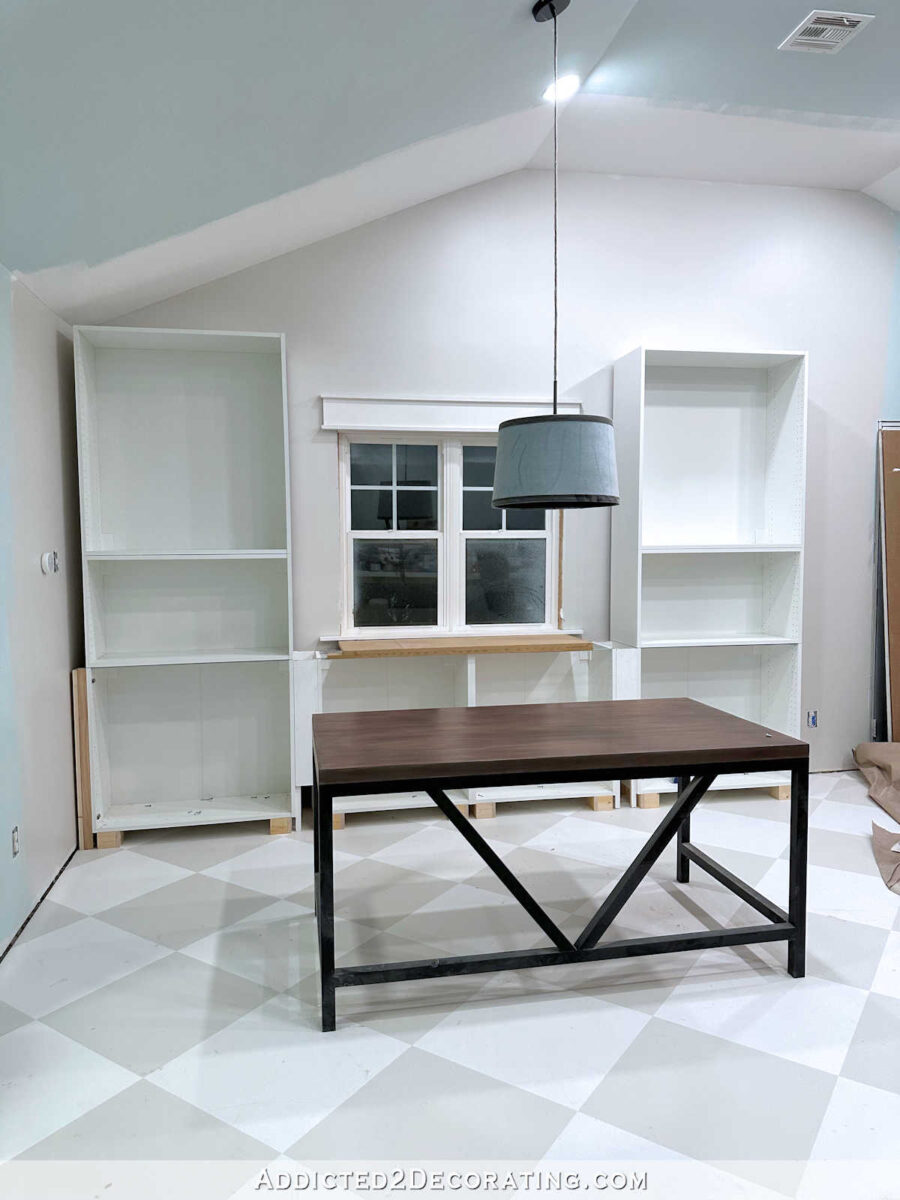
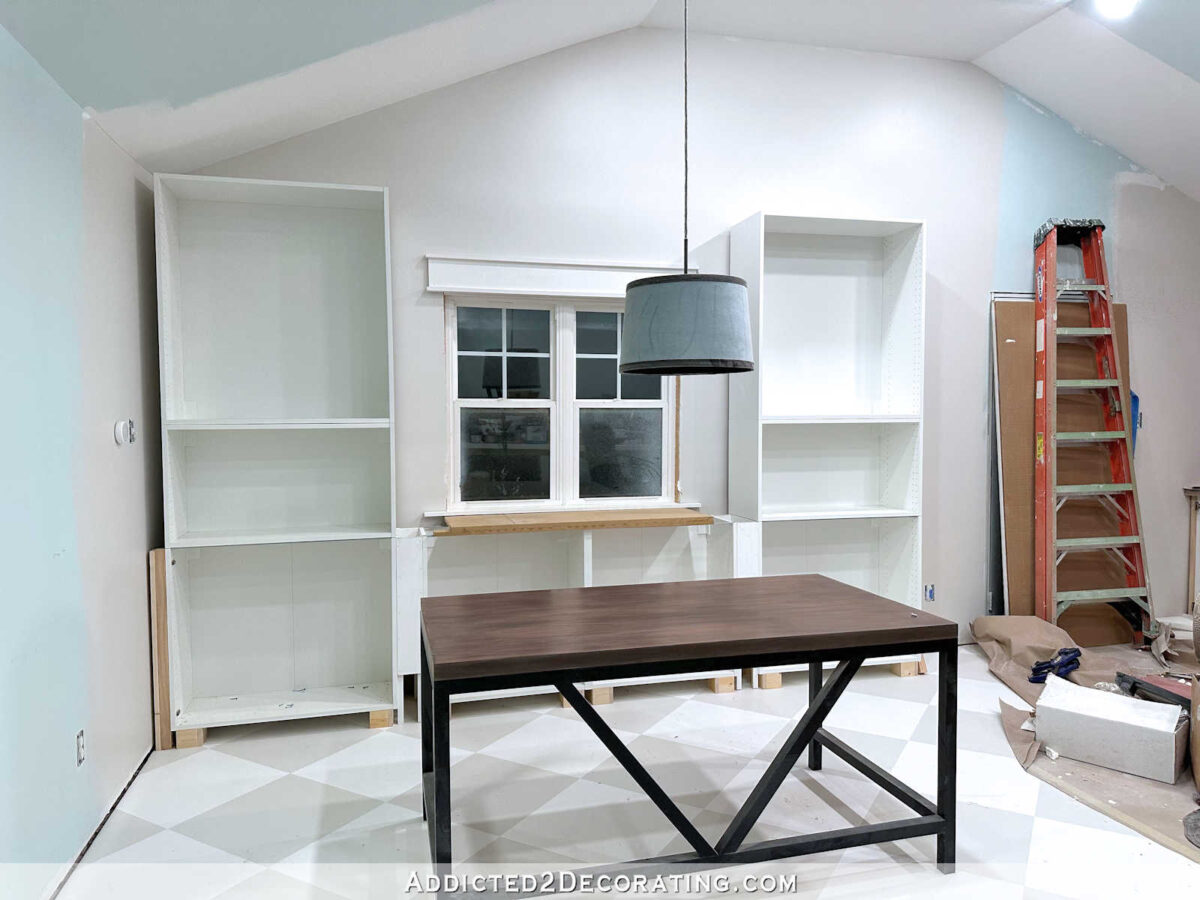
So my drawing is lastly coming to life, and you may see how this space will form up. The 2 exterior decrease cupboards could have doorways, the quick sections above these might be drawers, and the highest sections could have doorways. After which the 2 decrease sections beneath the window might be drawers.
These cupboards would require a ton of trim to complete them, together with crown molding across the high.

And now you’ll be able to actually see what I meant in regards to the countertop in my earlier put up. As an alternative of the countertop spanning the complete width of the decrease cupboards, it’s going to solely go in between the 2 tall towers of cupboards within the area indicated by the road/arrows beneath.

As soon as I get the countertop in, I can trim out this window in the identical means I did the opposite two. This new, a lot narrower countertop would require one much less full laminate flooring board than the unique design, and I used to be one board quick on ending the countertop on the mural wall. So all of it works out completely.

So now I’ve these areas between the wall and the higher cupboards.

However that’s not a giant deal as a result of any uncovered sides of IKEA Sektion cupboards have to be completed off with strong panels anyway. So I’ll simply reduce my aspect end panels 2.5 inches wider than I had initially deliberate, and the aspect panels will cowl these gaps. Quite simple!
That is so thrilling to see this come collectively in spite of everything of this time. And I’m completely having fun with the journey as properly.

As soon as last item. I used to be so anxious to see what the paint colour was going to seem like in right here, so I in a short time added a little bit of paint to one of many cupboard doorways earlier than I sanded it. Right here’s just a little peek. It’s an nearly an identical match to the darkish pink in my favourite flower in that mural — the pink hydrangea proper in the midst of the wall. I can’t wait to start out portray!


Addicted 2 Adorning is the place I share my DIY and adorning journey as I transform and enhance the 1948 fixer higher that my husband, Matt, and I purchased in 2013. Matt has M.S. and is unable to do bodily work, so I do nearly all of the work on the home on my own. You’ll be able to be taught extra about me right here.
[ad_2]