

[ad_1]
Ah, summer time! The solar is shining, the birds are singing, and the warmth is slowly melting us like a forgotten popsicle. It’s the right time to lounge by the pool, sip on icy lemonade, and naturally, shield ourselves from these relentless UV rays. And what higher option to keep cool and classy than with a DIY reversible bucket hat? Bucket hats are the hat of the summer time–we needed to check out our personal model! With a contact of creativity, and a stitching machine that hasn’t misplaced its sense of journey, let’s dive into this enjoyable and sensible venture!
Summer season Materials
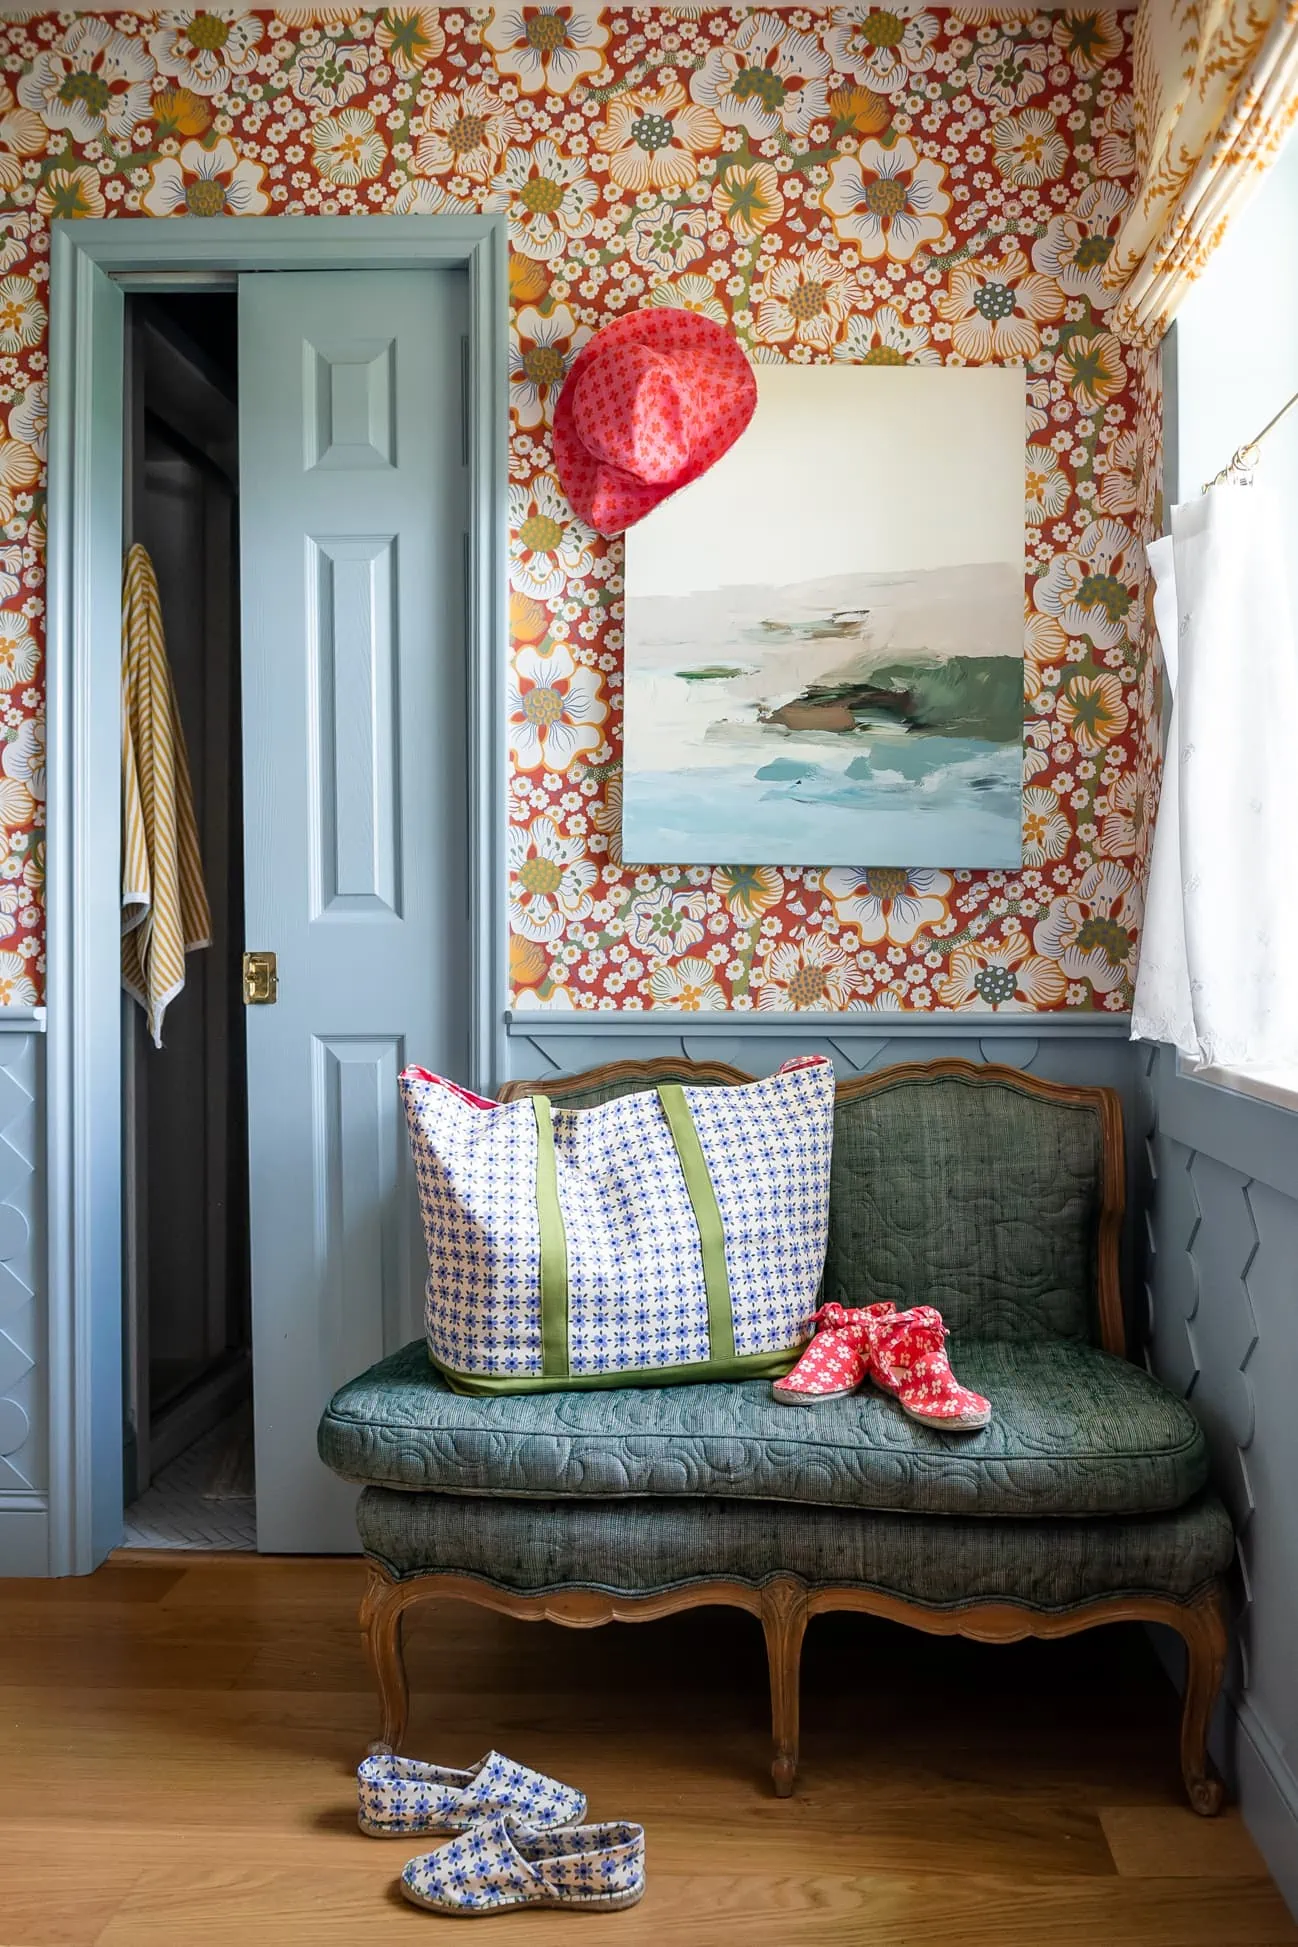
This bucket hat is among the summer time equipment we’ve been making with our Lime Ricki swimsuit assortment (seen above). We turned all of the patterns into our Spoonflower store, which you’ll be able to store right here. We already confirmed you the right way to make espadrilles and subsequent up is a seaside bag! Keep tuned!
DIY Reversible Bucket Hat
Issue:
intermediate
Time:
3 hours
Directions
Brim
- After slicing out the crown of the top, headband, and brim items, iron on the fusible interfacing to 2 of the outer brim items.
- Pin the outer brim items (with the interfacing) proper sides collectively on the sides and sew.
- Repeat this with the liner brim items.
- Press the seams open and high sew alongside either side of the seam. Put aside.
Headband
- With proper sides collectively, pin each of the outer headband aspect panel items collectively alongside the aspect seams and stitch. Repeat with the liner headband aspect panel items. Flip and press the seams open. Topstitch alongside either side of the seams.
Attaching the cap
- Pin the outer cap and headband aspect panels collectively, proper sides collectively, on the high opening. It’s curved, so it could really feel wonky, however it is going to sew collectively completely. Sew round, closing the highest of the hat. Flip proper aspect out and press the seams.
- Repeat this with the liner cap and headband aspect panels.
Attaching the brim
- Seize your outer brim piece (with the interfacing), and with proper sides collectively, pin it to the underside opening of the hat (outer headband panels).
- Sew all the best way round. Press seams open and high sew.
- Repeat this with the interior brim piece and interior headband + cap piece.
- You’ll now have two hats! We simply should put them collectively in an effort to make this superbly reversible!
Making it reversible
- Flip one hat inside out, and place it inside the opposite. Proper sides ought to be collectively.
- Ensuring the proper sides (sample displaying) are touching one another, pin the sting of each brim’s collectively. Go away a 6 inch opening so you’ll be able to pull it proper aspect out. If you happen to sew it fully shut, you gained’t be capable to pull the opposite hat out to have it’s proper aspect of the material displaying!
- Sew across the edge.
- Put your hand contained in the opening and pull the interior hat out. Punch it into the hat, creating the reversible look! Press down the seam alongside the sting of the brim, in addition to within the hat.
Ending it off with the traditional bucket hat topstitching
- Our bucket hat wouldn’t be full with out the traditional high stitching across the brim.
- Sew a number of rows of evenly spaced topstitching throughout the width of the brim to complete the hat off. For a cleaner look, begin and finish your stitching at a aspect seam to take care of a clear high stitched look alongside the back and front!
- Snip extra threads and you might be completed! Get pleasure from your new summer time bucket hat!
I LOVE how mine turned out and I can’t wait to see what you do with yours! Tag us with #LarsMakes so we are able to all see them!
[ad_2]