
[ad_1]
Tie-dye is a kind of enjoyable and simple craft tasks anybody can have success with! In truth, the primary time I tie dyed was at a slumber get together in fifth grade (I used to be 12 years previous). And I nonetheless love tie-dye immediately.
This class craft is simple to do, however you’ll have extra success with some primary info and a step-by-step newbie’s information.
Love tie dye? Then you may additionally need to attempt: Shibori Tie-Dye, Resist Dye Fundamentals, and The best way to Double Dip Dye (just like ombre).
Tie-Dye Fundamentals
The historical past of tie-dye dates again hundreds of years, with proof of comparable methods present in numerous cultures world wide.
Nonetheless, the trendy type of tie-dye that’s mostly related to colourful patterns and designs on clothes emerged within the Nineteen Sixties throughout the counterculture motion in the USA. I all the time consider the Grateful Lifeless once I consider tie-dye. 🙂
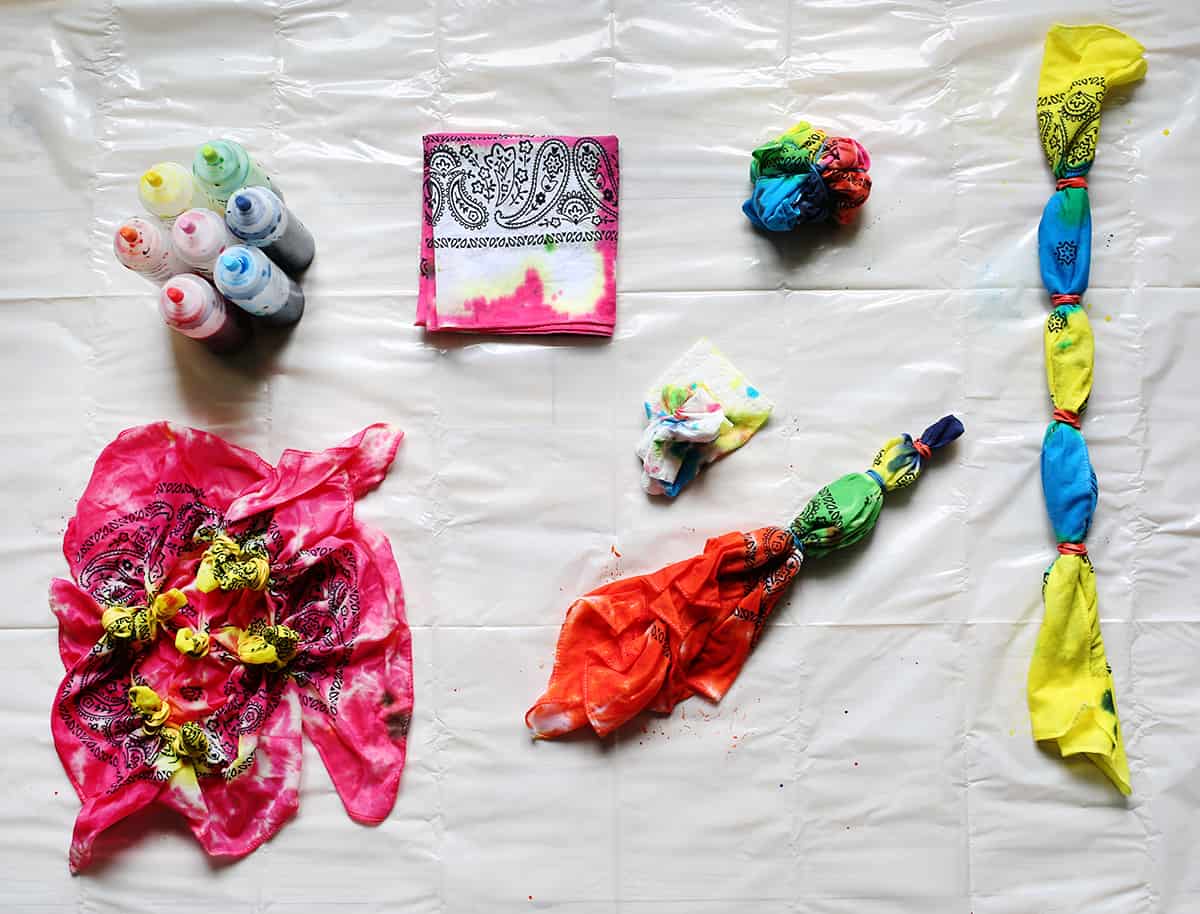
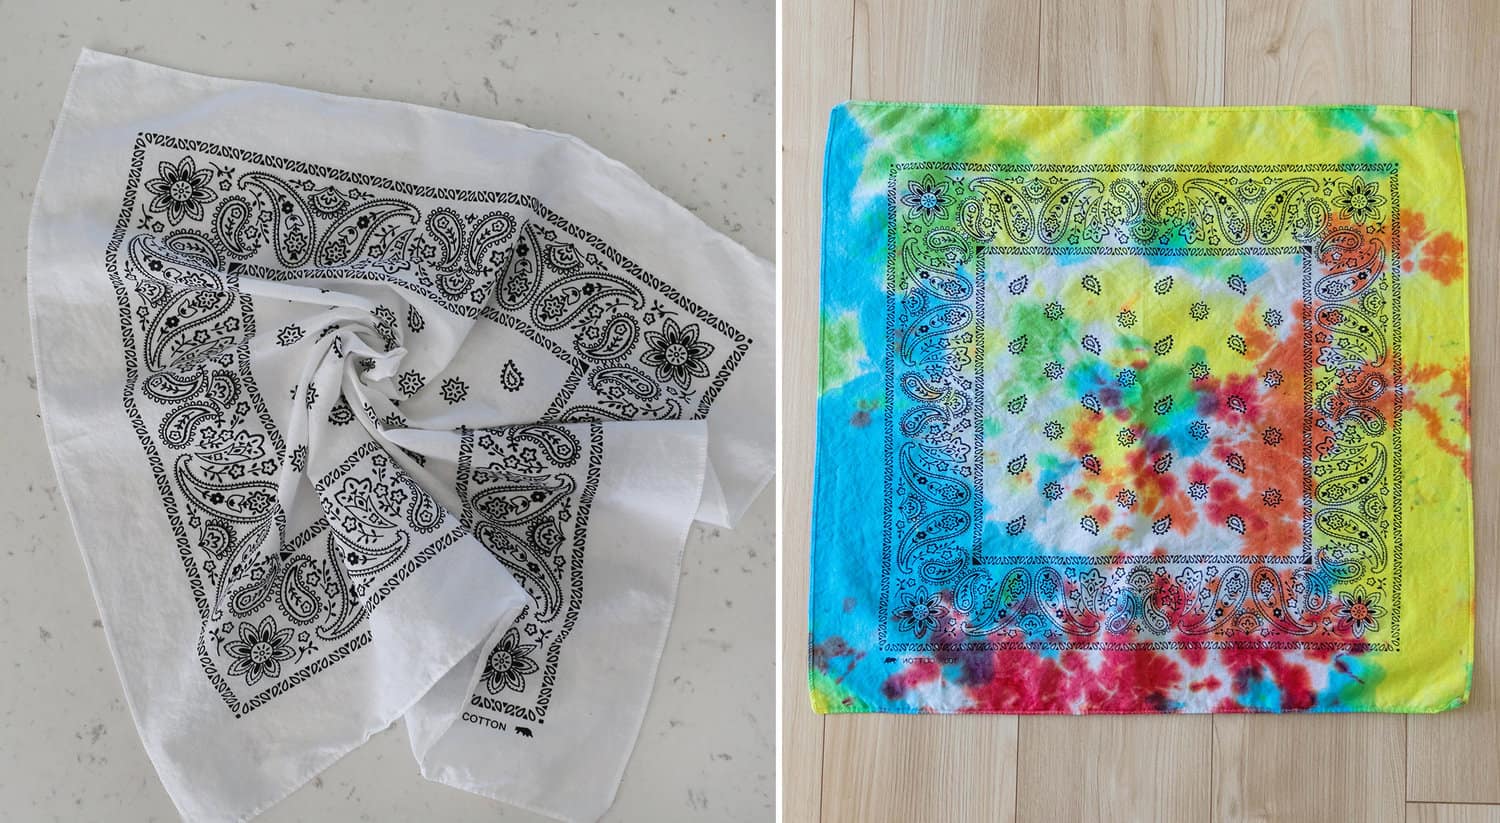
The fundamental thought is you cowl areas of material by tying them off with rubber bands. Then, you dye the remainder of the material, probably in a number of colours. The tied-off areas don’t get colour, since they aren’t uncovered to the dye.
There are lots of totally different patterns and variations of this primary method. However the primary piece of recommendation I’d give to anybody who’s simply making an attempt out tie-dye for the primary time is that this: It is going to be imperfect.
Tie-dye, like many tasks, is about experimenting and having fun with the method whereas additionally at occasions being stunned by the outcomes. If you would like a superbly curated look, tie-dye is probably going not the most suitable choice, because it’s meant to look messy, colourful, and enjoyable!
Basic Tie-Dye – The best way to
One you may have gathered your provides (extra on this beneath), tie-dye has three primary steps: put together your material, dye it, after which as soon as finished, wash it earlier than use.
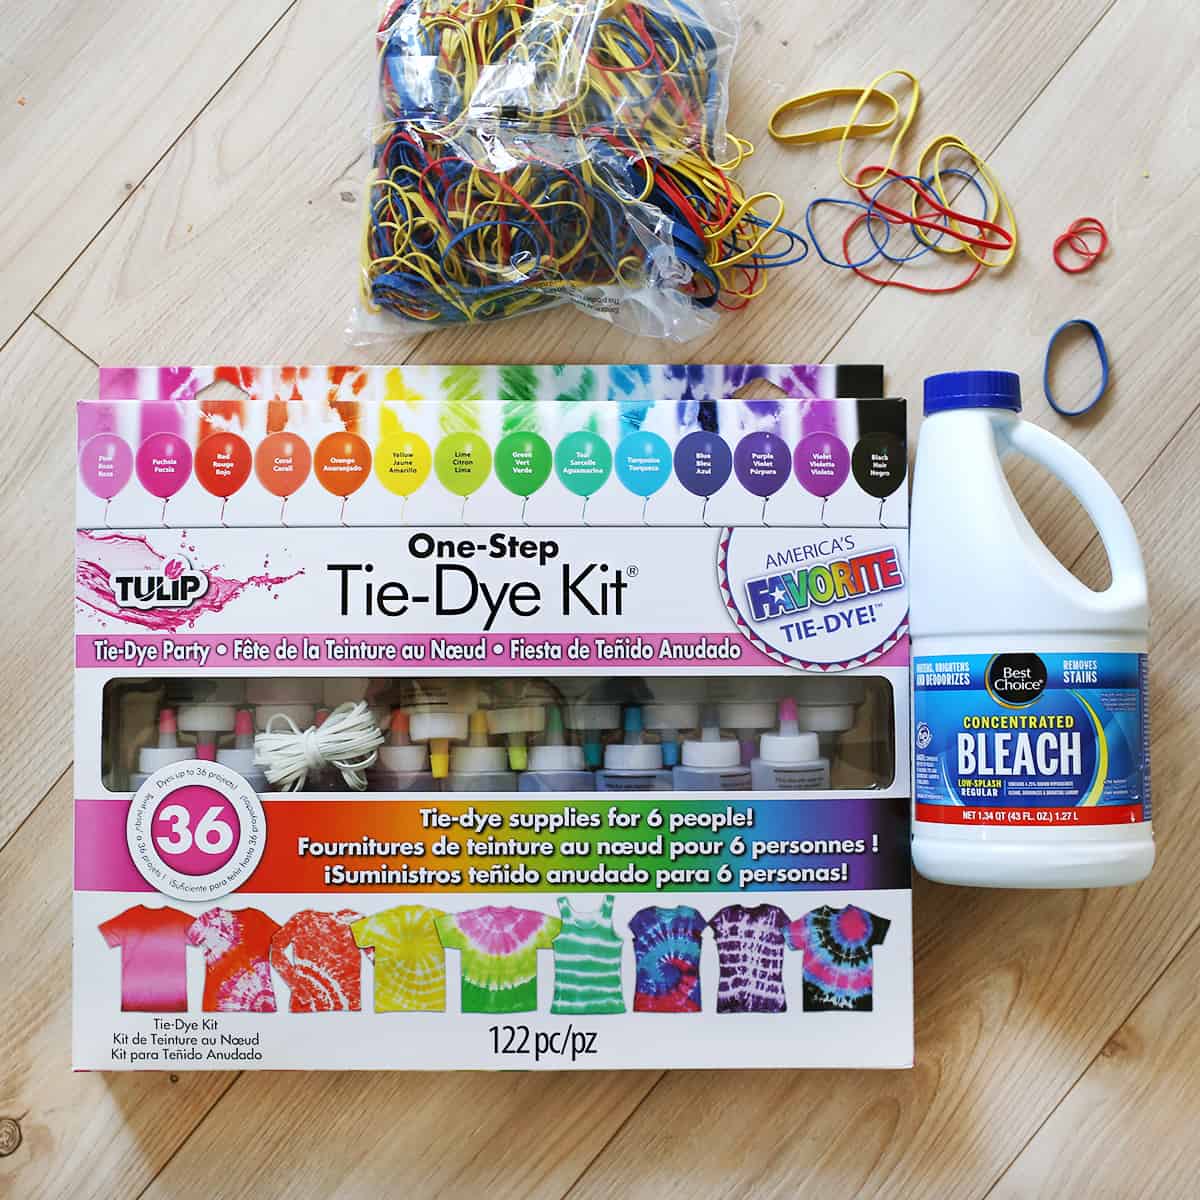
Provides
- Dye – I like Tulip one-step dyes and the tie-dye package. No soda ash or presoaking required. That is actually the most suitable choice for newbie’s IMO.
- Rubber bands
- Gloves & drop material to guard areas
- Clothes or gadgets to dye – white cotton is finest however different materials can work as effectively. You may tie dye so many various clothes like sweatshirts, T-shirts, socks, bandanas, overalls, and extra!
- Laundry detergent
Preparation
Start by washing the clothes you intend to dye. If they’re belongings you already personal and have washed earlier than, you possibly can skip this step. However something new or if you’re uncertain (like an merchandise you thrifted), go forward and wash it as you usually would and absolutely dry earlier than dyeing.
Dye
Scrunch up your merchandise as desired after which add rubber bands. See beneath for patterns you possibly can attempt.
Then, combine your dyes in line with the bundle directions (the package I used had me merely add water to the bottles and shake).
Cowl your space with a drop material to guard it from any dye spills. I additionally suggest sporting disposable gloves as you’re employed to guard your arms.
Add dye to the ready material and permit to soak for the advisable time. The dye I used urged 4-6 hours.
Wash
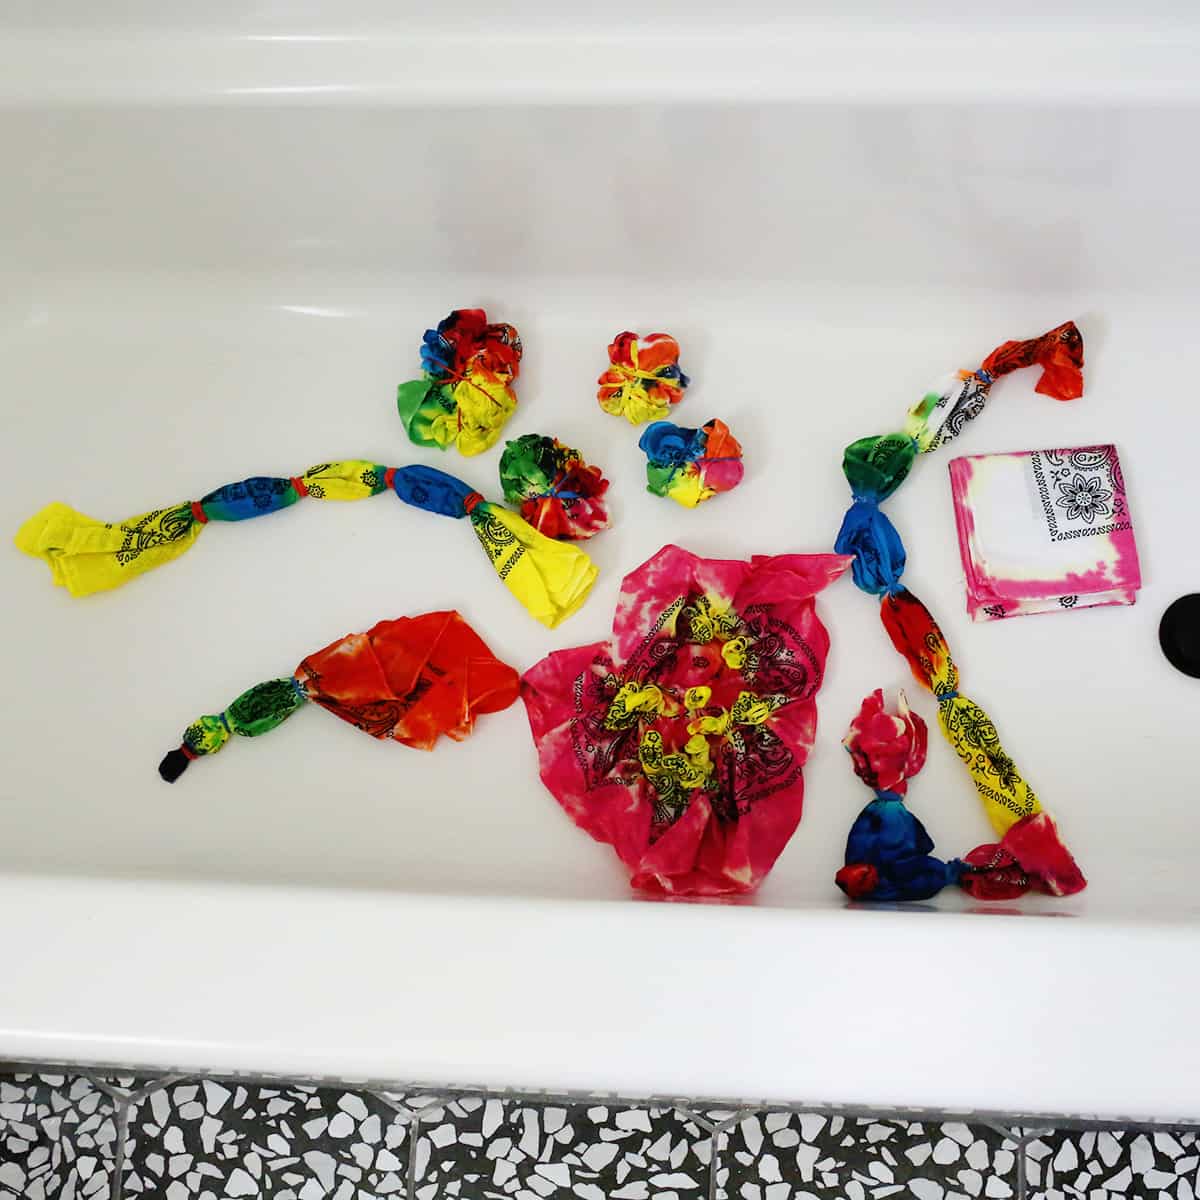
Earlier than throwing your tie-dye clothes within the washer, give them rinse within the bathtub or kitchen sink. I like to recommend sporting gloves once more for this step. Take away the rubber bands and rinse till the water runs clear. Then, wash them within the washer, or as you usually would.
I do know it could not appear mandatory, however I do suppose it’s finest to clean newly dyed gadgets separate from different clothes the primary time. Even if you happen to rinse it effectively, the dye may destroy different clothes you aren’t eager to dye.
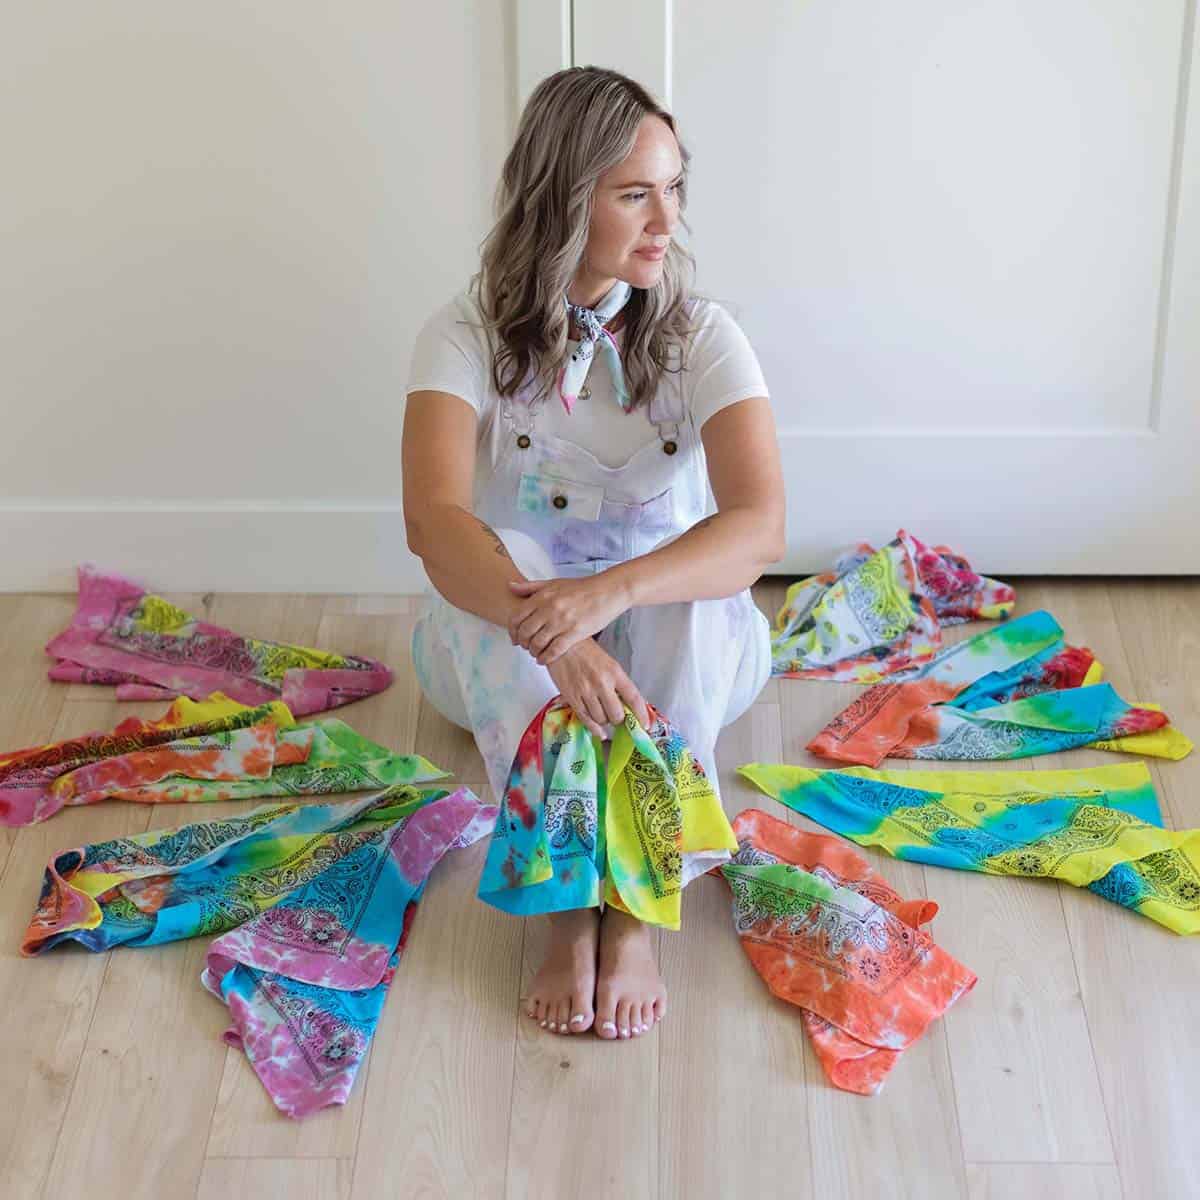
Tie-Dye Patterns
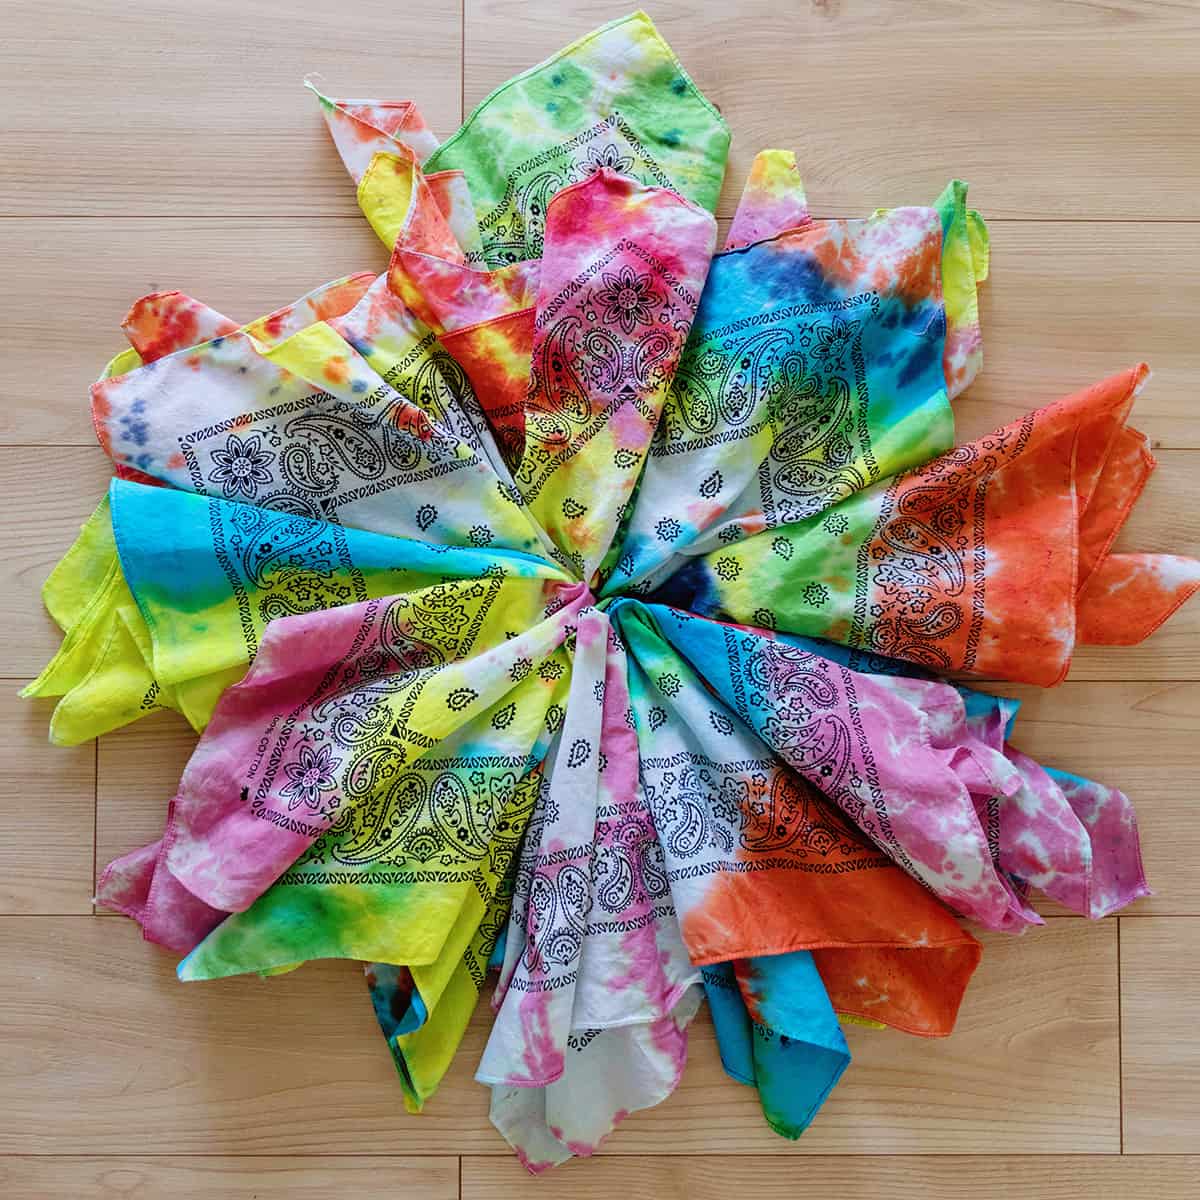
Whereas I like to randomly bunch up my undertaking and be stunned by the ultimate outcomes, it’s additionally actually enjoyable to create traditional tie-dye patterns. Listed below are 5 primary patterns to attempt.
Bullseye
Pinch a piece of material of the garment. Pull the material up thus far, creating a material cone. Wrap rubber bands across the cone of material.
You may add as many or as few rubber bands as you need. If you go to dye, add a distinct colour to every part (between the rubber bands).
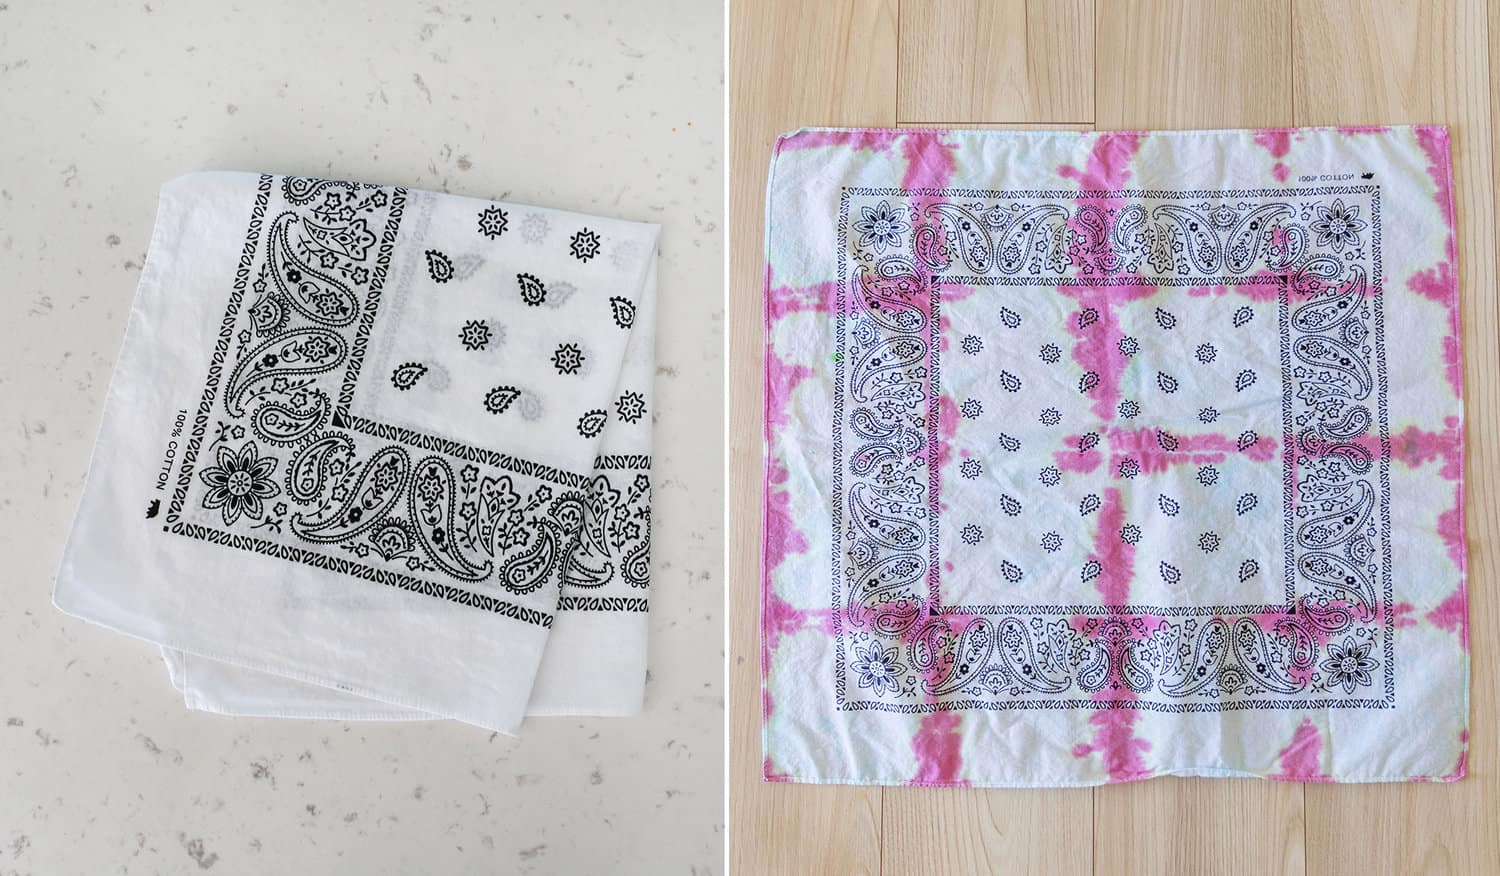
Folded
Fold the garment right into a sq. or triangle, folding and condensing it down as a lot as you want. If you go to dye add colour to the sides of the folds solely.
This tie-dye sample can use rubber bands or not—it’s as much as you. If you wish to add small items of cardboard within the form of the fold (a sq. or a triangle) on both sides, you possibly can wrap the rubber bands round these earlier than dyeing.

Stripes
Lay the garment flat. Ranging from the underside or one facet, fold the shirt in a sequence of small accordion-style folds. Wrap the folded shirt with rubber bands. Relying if you happen to begin from, a facet or prime/backside will create vertical, horizontal or diagonal strains.
If you go to dye, add colour to every part (between rubber bands).
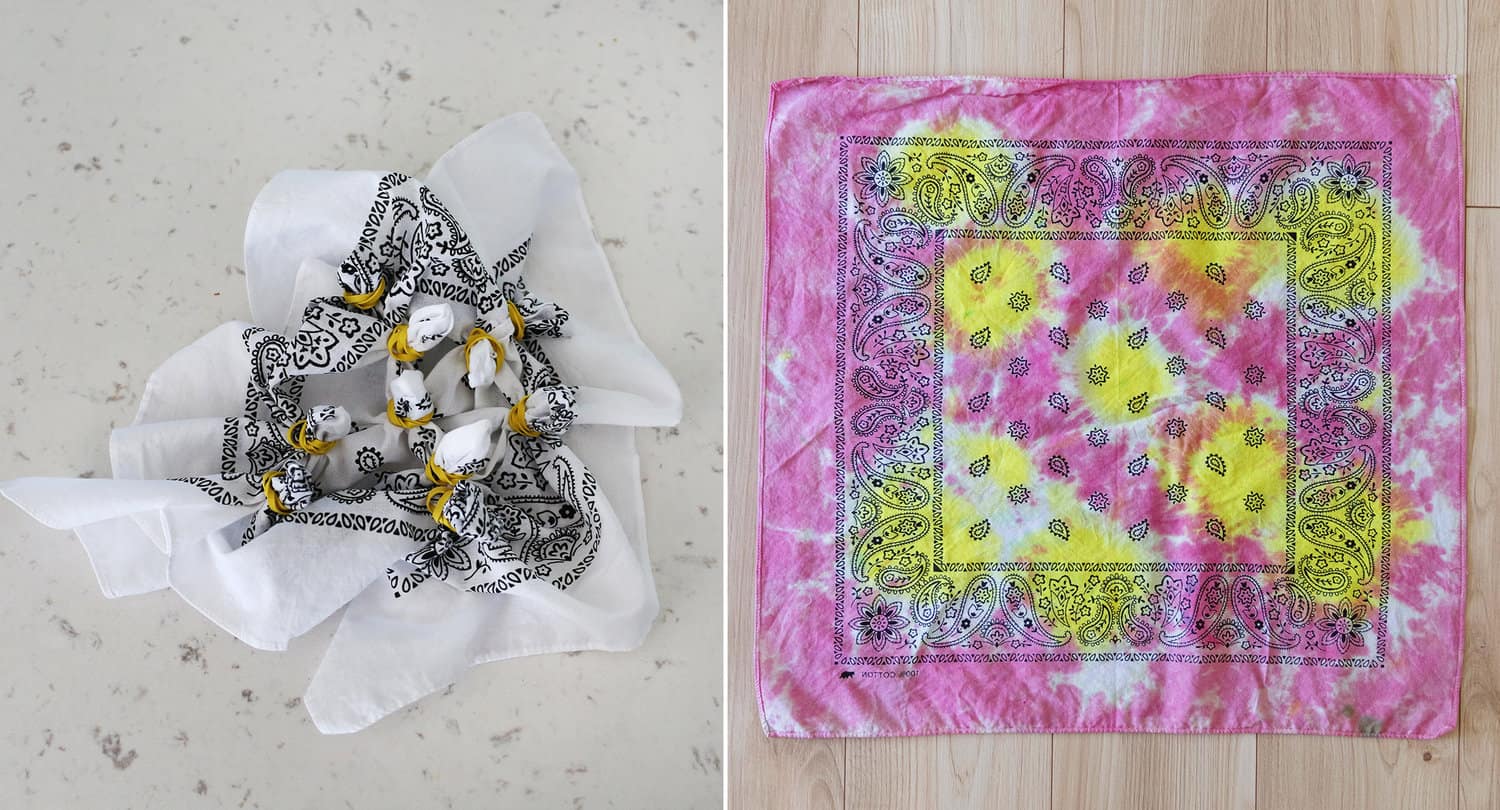
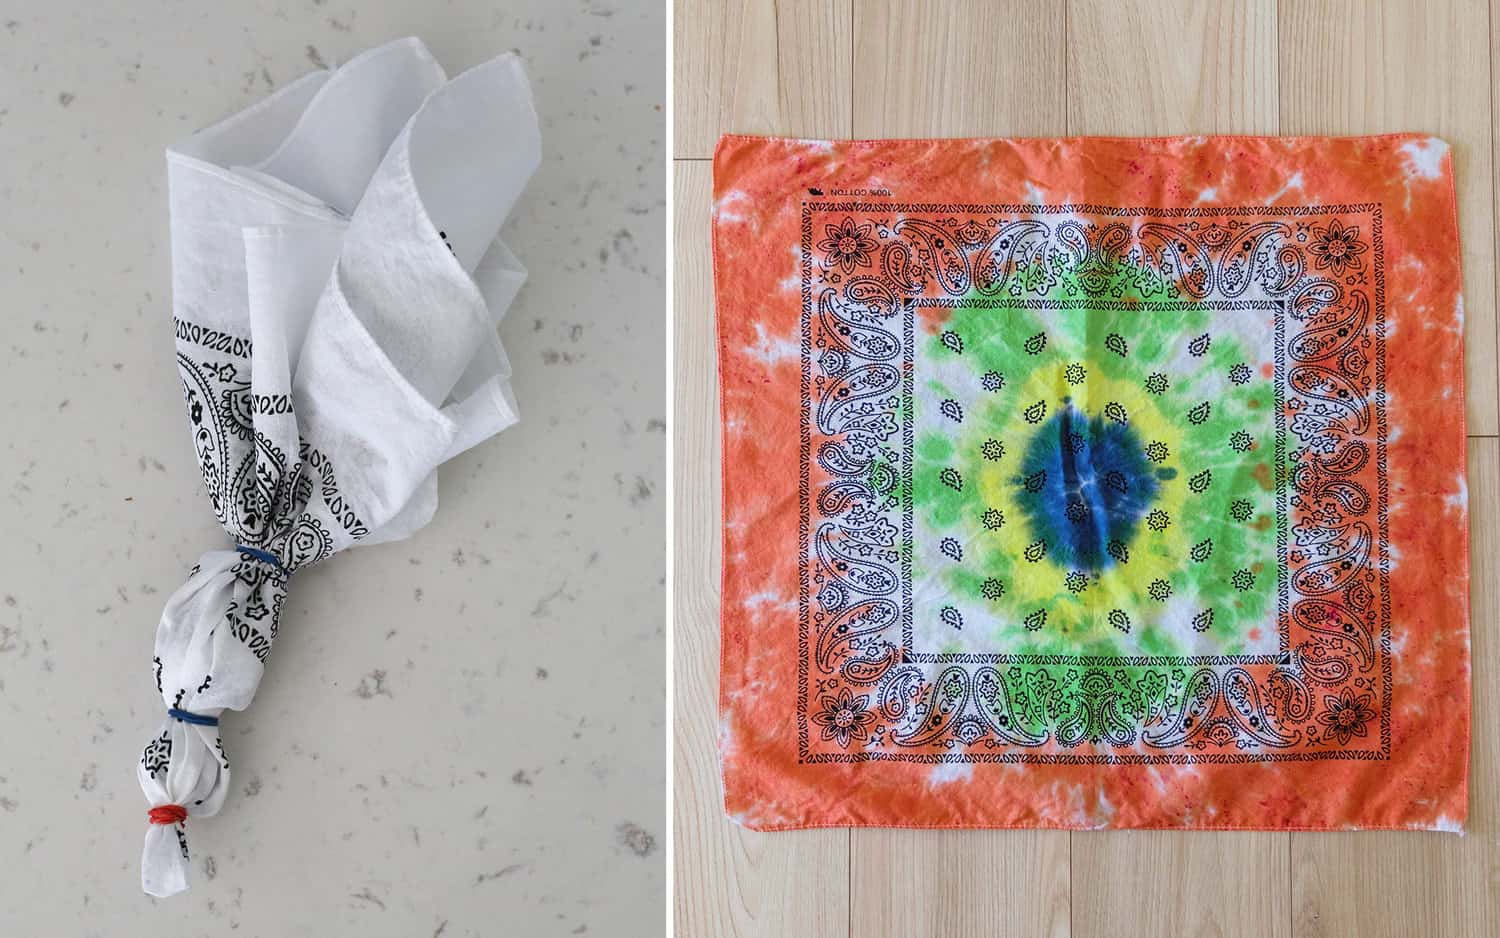
Sunbursts
Pinch a sequence of small sections and pull them as much as create small, small cone shapes. Safe every with a few rubber bands. These form of resemble cow utters. If you go to dye, add a colour to the small cone areas and a distinct colour for the remaining.
Swirl
Pinch a small part within the heart of your garment. Twist the material round this level. Hold twisting, and the garment will turn out to be a disc. It suppose it resembles a cinnamon roll.
Safe the shirt with three or 4 rubber bands, crisscrossing them over the middle of the disc. The tighter you bind the shirt, the extra white there might be. If you dye, add colour to every totally different part on the disc created by the rubber bands.
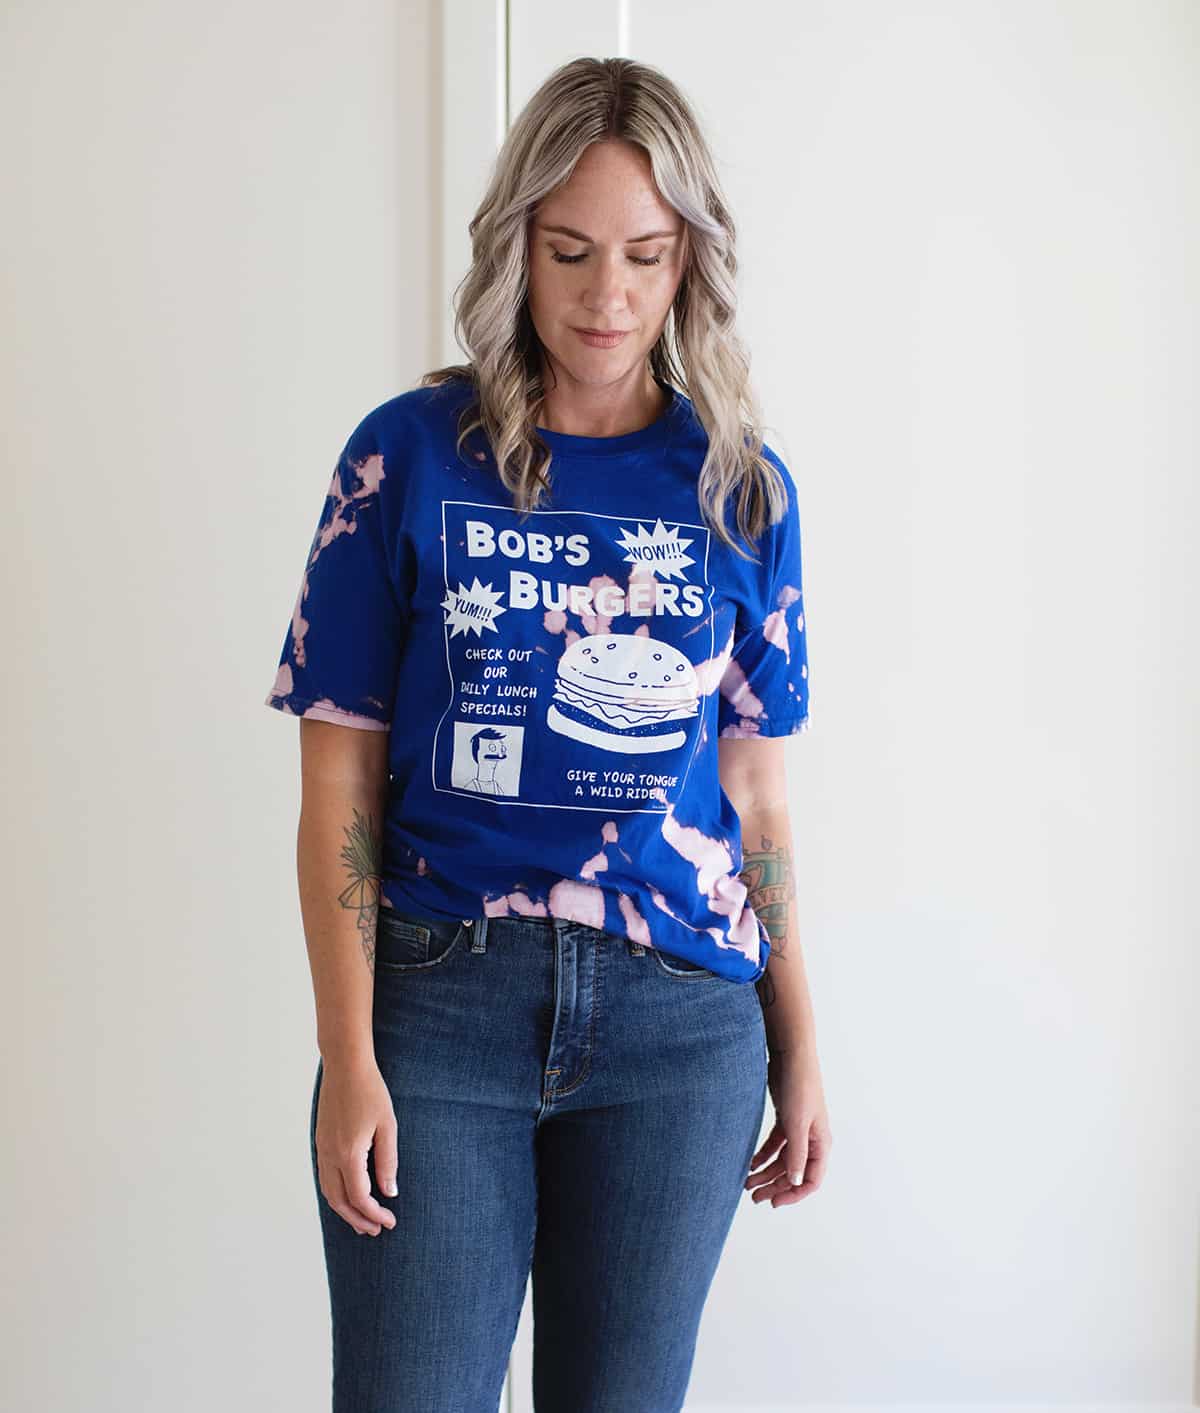
Bleach Tie-Dye
Utilizing bleach to tie-dye is basically the identical method however as an alternative of including colour to a garment, we want to take colour away (by bleaching it off).
All you want is: a coloured garment (once more, cotton is finest however different materials can work as effectively), rubber bands, bleach, gloves, and a drop material to guard your arms and surfaces.
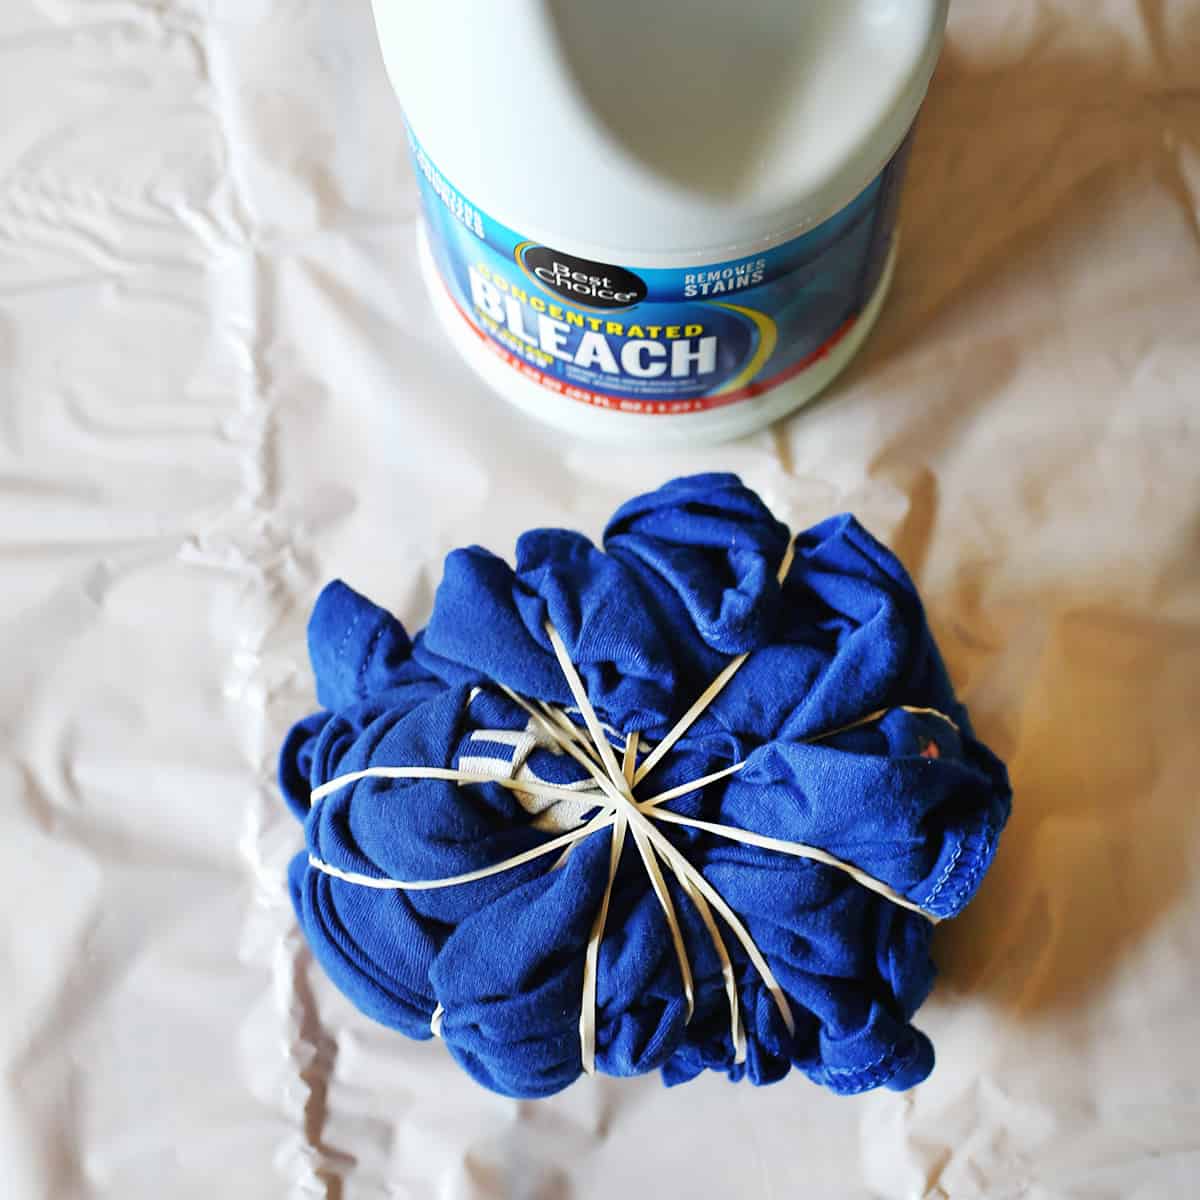
Fold or scrunch your garment and add rubber bands as desired. Then, fastidiously add the bleach to the complete garment or solely sections—as much as you.
It is possible for you to to see the garment change colour so that you’ll doubtless know when it’s prepared. I discovered that 1-2 hours is probably going sufficient, however longer can create an much more intense bleached look.
Similar to traditional tie-dye, rinse the garment (with gloves on) after which wash individually the primary time.

Ice Tie-Dye
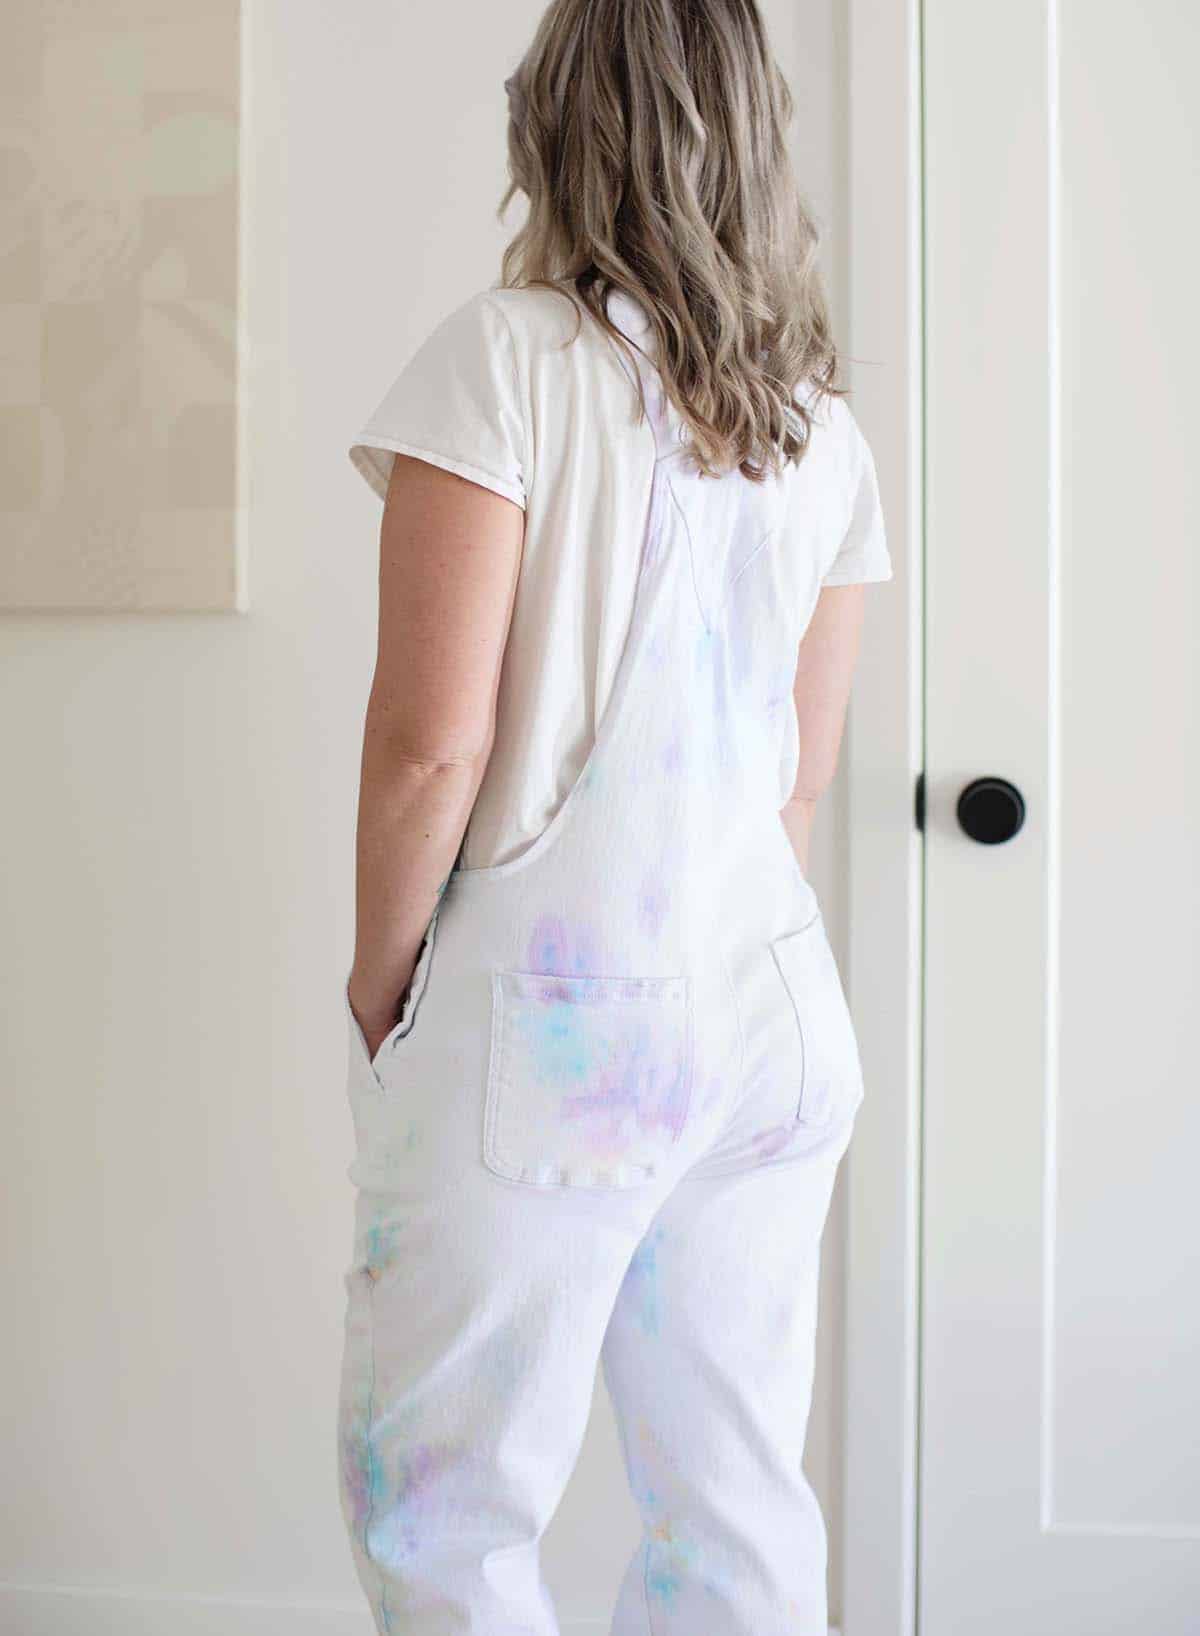
Utilizing ice cubes to tie-dye has turn out to be actually fashionable in the previous couple of years. The method is barely totally different, and in my expertise creates a softer, extra delicate tie-dye impact than traditional tie-dye.
You’ll nonetheless want a white or mild coloured garment (cotton is finest), powder tie-dye (like the package I used all through this publish), rubber bands, gloves, and ice cubes. I additionally suppose a cooling rack is helpful.
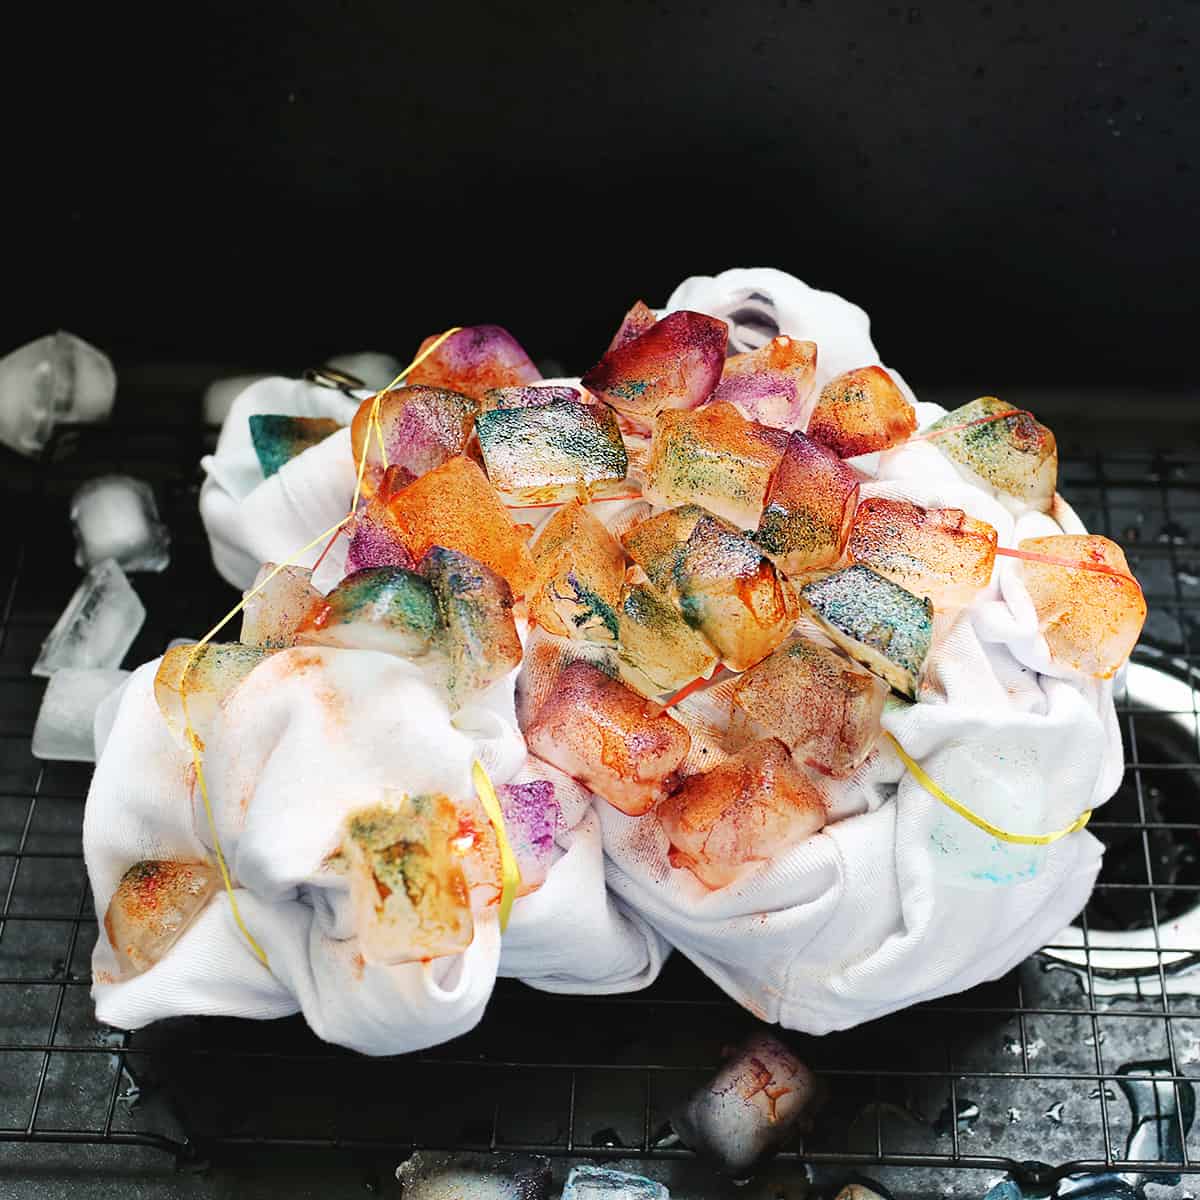
Fold or scrunch your garment and add rubber bands. Place in your kitchen sink on prime of the cooling rack.
Then, cowl the garment in ice cubes and sprinkled with colours of powdered dye. Because the ice melts, it can dissolve the dye powders and saturates the material. Permit the ice cubes to completely soften.
Similar to traditional tie-dye, rinse with gloves on till the water runs clear. Then, wash individually the primary time, so it doesn’t stain different clothes.
Continuously Requested Questions
Ought to material be moist once you tie-dye?
No. Whereas it could rely on what sort of dye you’re utilizing, however most newbie dye kits will encourage you to dye dry materials.
How lengthy ought to tie-dye soak earlier than rinsing?
For traditional tie-dye, 4-6 hours is an effective minimal, however you possibly can permit the dye to set for longer for extra intense colours.
Is it higher to tie-dye moist or dry?
It’s finest to clean a brand new garment first, and permit to completely dry earlier than beginning the tie-dye course of. You may skip this step when you’ve got already owned the garment and it’s been washed earlier than.
Extra Craft Initiatives
When you have extra questions on tie-dye tasks, tell us within the feedback and we will add to the FAQ part of this publish over time. Glad crafting!
Love this publish? Join our e-newsletter for extra concepts!

Get artistic concepts for recipes, crafts, decor, and extra in your inbox!

Get the How-To
traditional tie dye method
Directions
-
Start by washing the clothes you intend to dye.
-
Scrunch up your merchandise as desired after which add rubber bands.
-
Then, combine your dyes in line with the bundle directions.
-
Cowl your space with a drop material to guard it from any dye spills.
-
Put on disposable gloves as you’re employed to guard your arms.
-
Add dye to the ready material and permit to soak for the advisable time. The dye I used urged 4-6 hours.
-
Earlier than throwing your tie-dye clothes within the washer, give them rinse within the bathtub or kitchen sink. I like to recommend sporting gloves once more for this step.
-
Take away the rubber bands and rinse till the water runs clear.
-
Then, wash them within the washer, or as you usually would.
Notes
- If the clothes you’re dyeing are belongings you already personal and have washed earlier than, you possibly can skip washing them.
- See publish for examples of various tie-dye patterns you possibly can attempt.
- I do know it could not appear mandatory, however I do suppose it’s finest to clean newly dyed gadgets separate from different clothes the primary time. Even if you happen to rinse it effectively, the dye may destroy different clothes you aren’t eager to dye.
[ad_2]