

[ad_1]
Do you know you can also make your individual espadrilles?! My thoughts was blown after I made this discovery. It’s like discovering Narnia–consider all of the superb sneakers you can also make with only a quarter of a yard! Is your jaw to the ground too?! All you must do is get the soles (and naturally I’ll let you know the place), obtain our sample(s), discover a cool material material, and begin. We a twist on the standard silhouette and created an ankle tie espadrille sample–as a result of life is all the time higher with a bow.
What are espadrilles?
Nothing completes a summer time get-up fairly like a pair of espadrilles. These quintessential summer time sandals are good for a stroll on the seaside, a day picnic, and wherever else your summer time frolicking might take you. Their comfiness and casual-chic vibe have made them a well-liked shoe in Spain for almost 4,000 years and we are able to completely see why (I imply if one thing ain’t broke, why repair it?). Constituted of an indigenous Spanish grass referred to as esparto, the long-lasting espadrille soles are each practical and comfy, whereas the canvas tops of the shoe make it breathable.
You’ll quickly perceive why the individuals of Spain have cherished these sneakers for actually 1000’s of years. DIY espadrilles are additionally a enjoyable and simple option to incorporate your favourite materials into your summer time wardrobe! We made our personal ankle tie sample as a result of we love bow second. Decide your favourite and let’s get sewin’!
Easy methods to make a pair of espadrilles
Problem:
newbie
Time:
2 hours
Directions
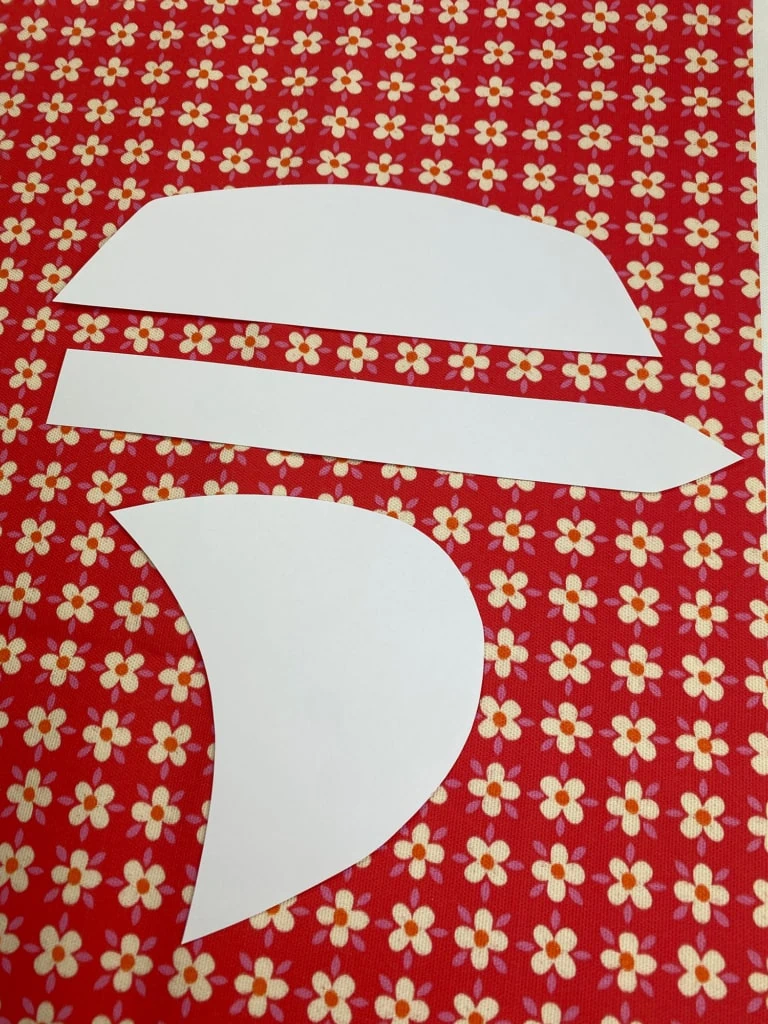
- Print out the sample items.
-
Reduce out FOUR sample items of the highest of the foot piece and the heel piece. (2 items for every shoe). Reduce out EIGHT ankle bow items. If you’re contrasting the outer material and inside material for the shoe, reduce 2 items of outer material and a pair of items of inside material for every sample piece.
If you’re utilizing the identical material for the outer and inside components of the shoe, reduce with the material folded to make the method quicker. (Reducing 2 items in a single slice)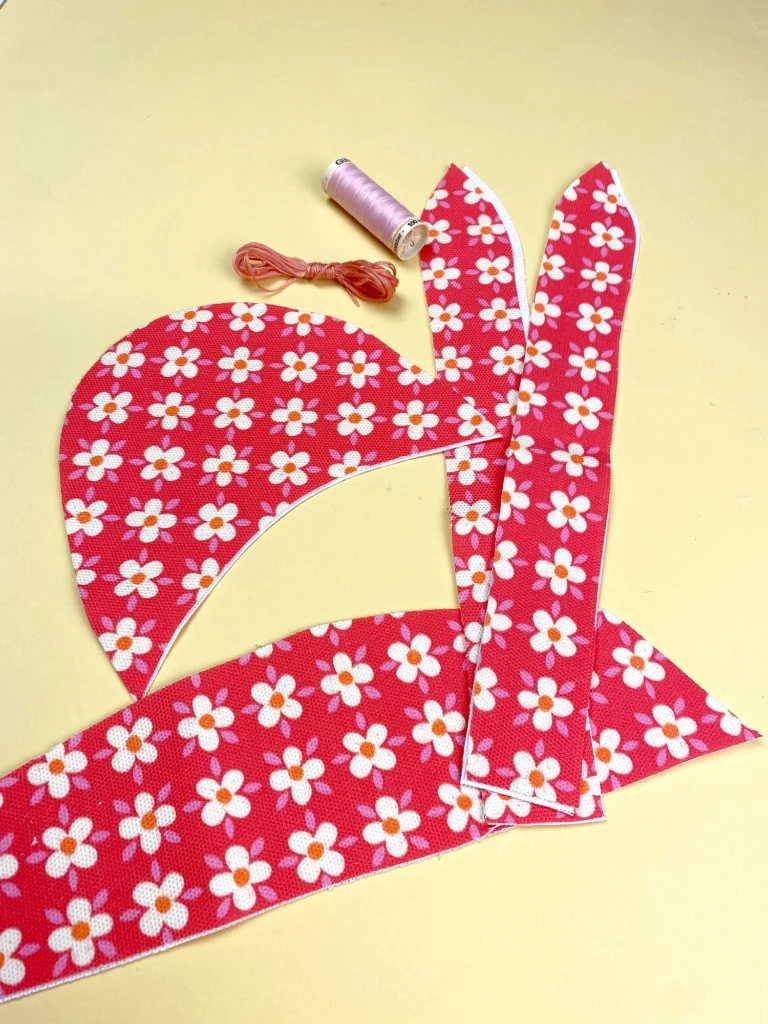
-
Place sample items on high of your material of alternative, pin the sample to the material and reduce the items out. Tip: For slicing double items, be sure that your material is folded in half once you place the sample piece on it, so once you reduce it out, you narrow out 2 items.
-
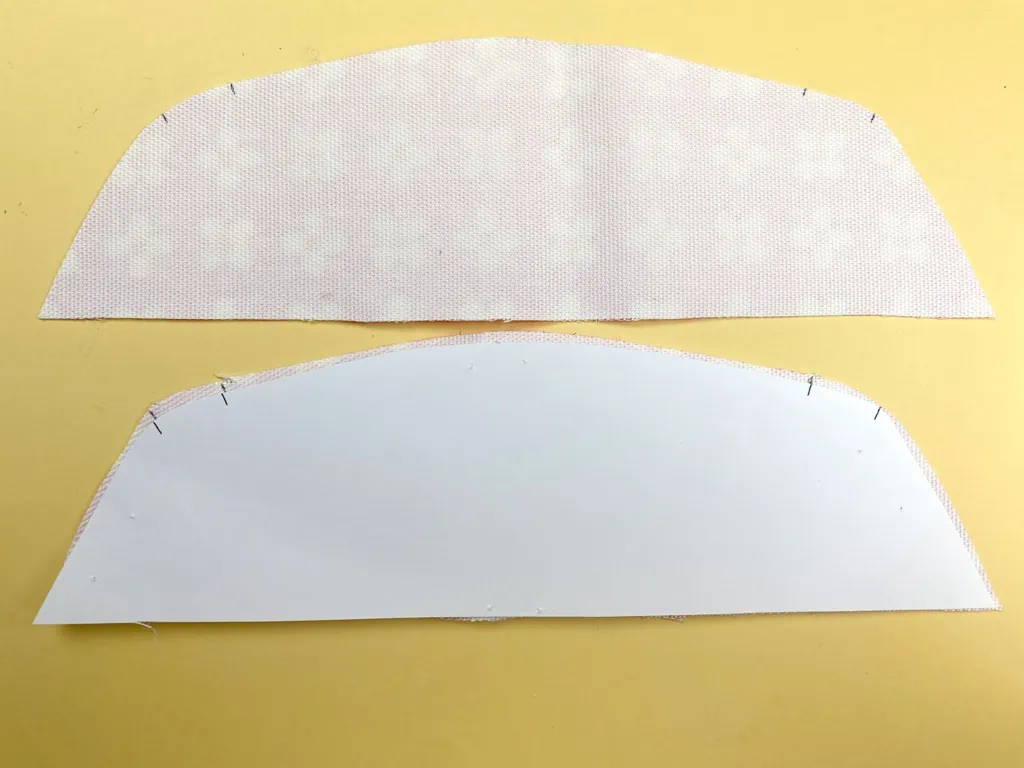
TOP OF FOOT PIECE: Line up the outer and inside high of foot items of each sneakers, proper sides collectively (sample facet going through one another.). Beginning at notch A, sew a ⅜ seam across the sides till you get to notch B. Clip the material from the corners and switch the piece proper facet out. To ensure the corners are good and pointy, you will have to push a pencil or scissors into the material to push out the material. Press all the piece, ensuring your seams are good and flat. Tuck the ⅜ opening gap inside and press. Pin it, and stitch it shut.
-
BOW TIES: Line up the outer and inside bow tie items of each sneakers, proper sides collectively (sample facet going through one another.). This one will likely be barely extra tedious, however you are able to do it! Beginning at notch A, sew a ⅜ seam across the sides till you get to notch B. Clip the material from the corners and switch the piece proper facet out. Tip: insert a bit of ribbon inside your two bow items, and stitch it to the highest level of the bow. When you find yourself turning this piece proper facet out, use the ribbon to drag the purpose out. It is a skinny piece of material and generally it’s exhausting getting your fingers in there, so this makes it barely simpler. To ensure the corners are good and pointy, you will have to push a pencil or scissors into the material to push out the material. Press all the piece, ensuring your seams are good and flat. Tuck the ⅜ opening gap inside and press. Pin it, and stitch it shut. Do that with all 4 of the bows.
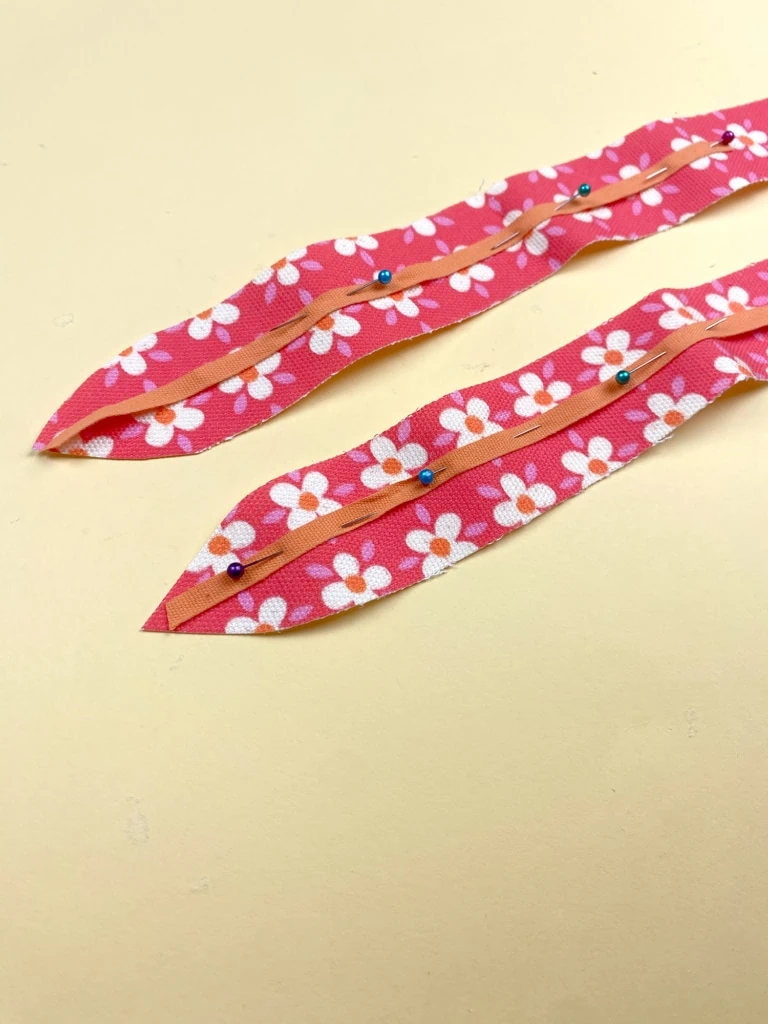
- BACK OF FOOT: Line up the outer and inside again of foot items of each sneakers, proper sides collectively (sample facet going through one another.). Insert 2 bow tie items to the nook edges of the heel piece, the place the notches point out. Ensuring you sew over the bows, begin at notch A and stitch a ⅜ seam across the sides till you get to notch B. (Your entire backside of the heel will likely be open due to the bow’s protruding) This secures the bows to the heel piece. Clip the material from the corners and switch the piece proper facet out. To ensure the corners are good and pointy, you will have to push a pencil or scissors into the material to push out the material. Press all the piece, ensuring your seams are good and flat. Tuck the ⅜ opening gap on the backside inside and press. Pin it, and stitch it shut.
- Subsequent, we’ll pin these items to the soles! Line up the middle of the heel items with the again heart of the soles. Stick straight pins by way of the material layers into the espadrille sole. Use a variety of pins throughout the perimeter of the shoe till you will have all the heel piece pinned down. The heel piece ought to finish across the identical level on either side close to the arch of the foot.
- Do the identical with the highest of the foot piece. On the entrance of the shoe, collect the material a little bit bit so your toes can have some room to maneuver whereas strolling. Pin generously once more throughout the perimeter of this piece. Either side ought to once more finish roughly on the identical level, barely touching the ends of the heel piece.
-
Beginning at one facet of the shoe the place the highest of the foot piece and again of the foot piece are barely overlapping, start hand stitching with a blanket sew. Blanket sew tutorial right here — add a video hyperlink?? I needed to search for the right way to do it so this may be useful
Starting the sew you’ll first stick your needle by way of the material, then down onto the only. And repeat the blanket sew sample.
The soles are comfortable sufficient for the needle to undergo, however generally the thick layers of the material could make it exhausting to push by way of. You should use a thumb thimble for some leverage to push the needle by way of the material and sole so that you keep away from hurting your precise thumb.
Sew across the total perimeter of the shoe till completed. End the stitching by stitching closure knots on the within of the material (so it isn’t exhibiting on the outside of the shoe) and snip!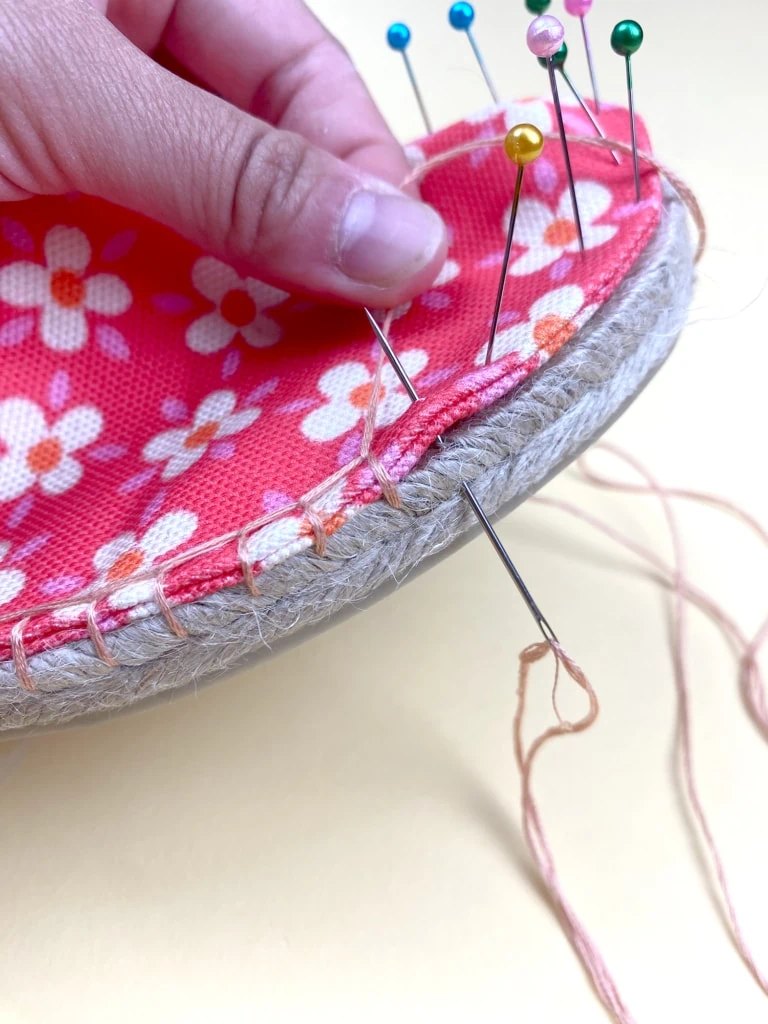
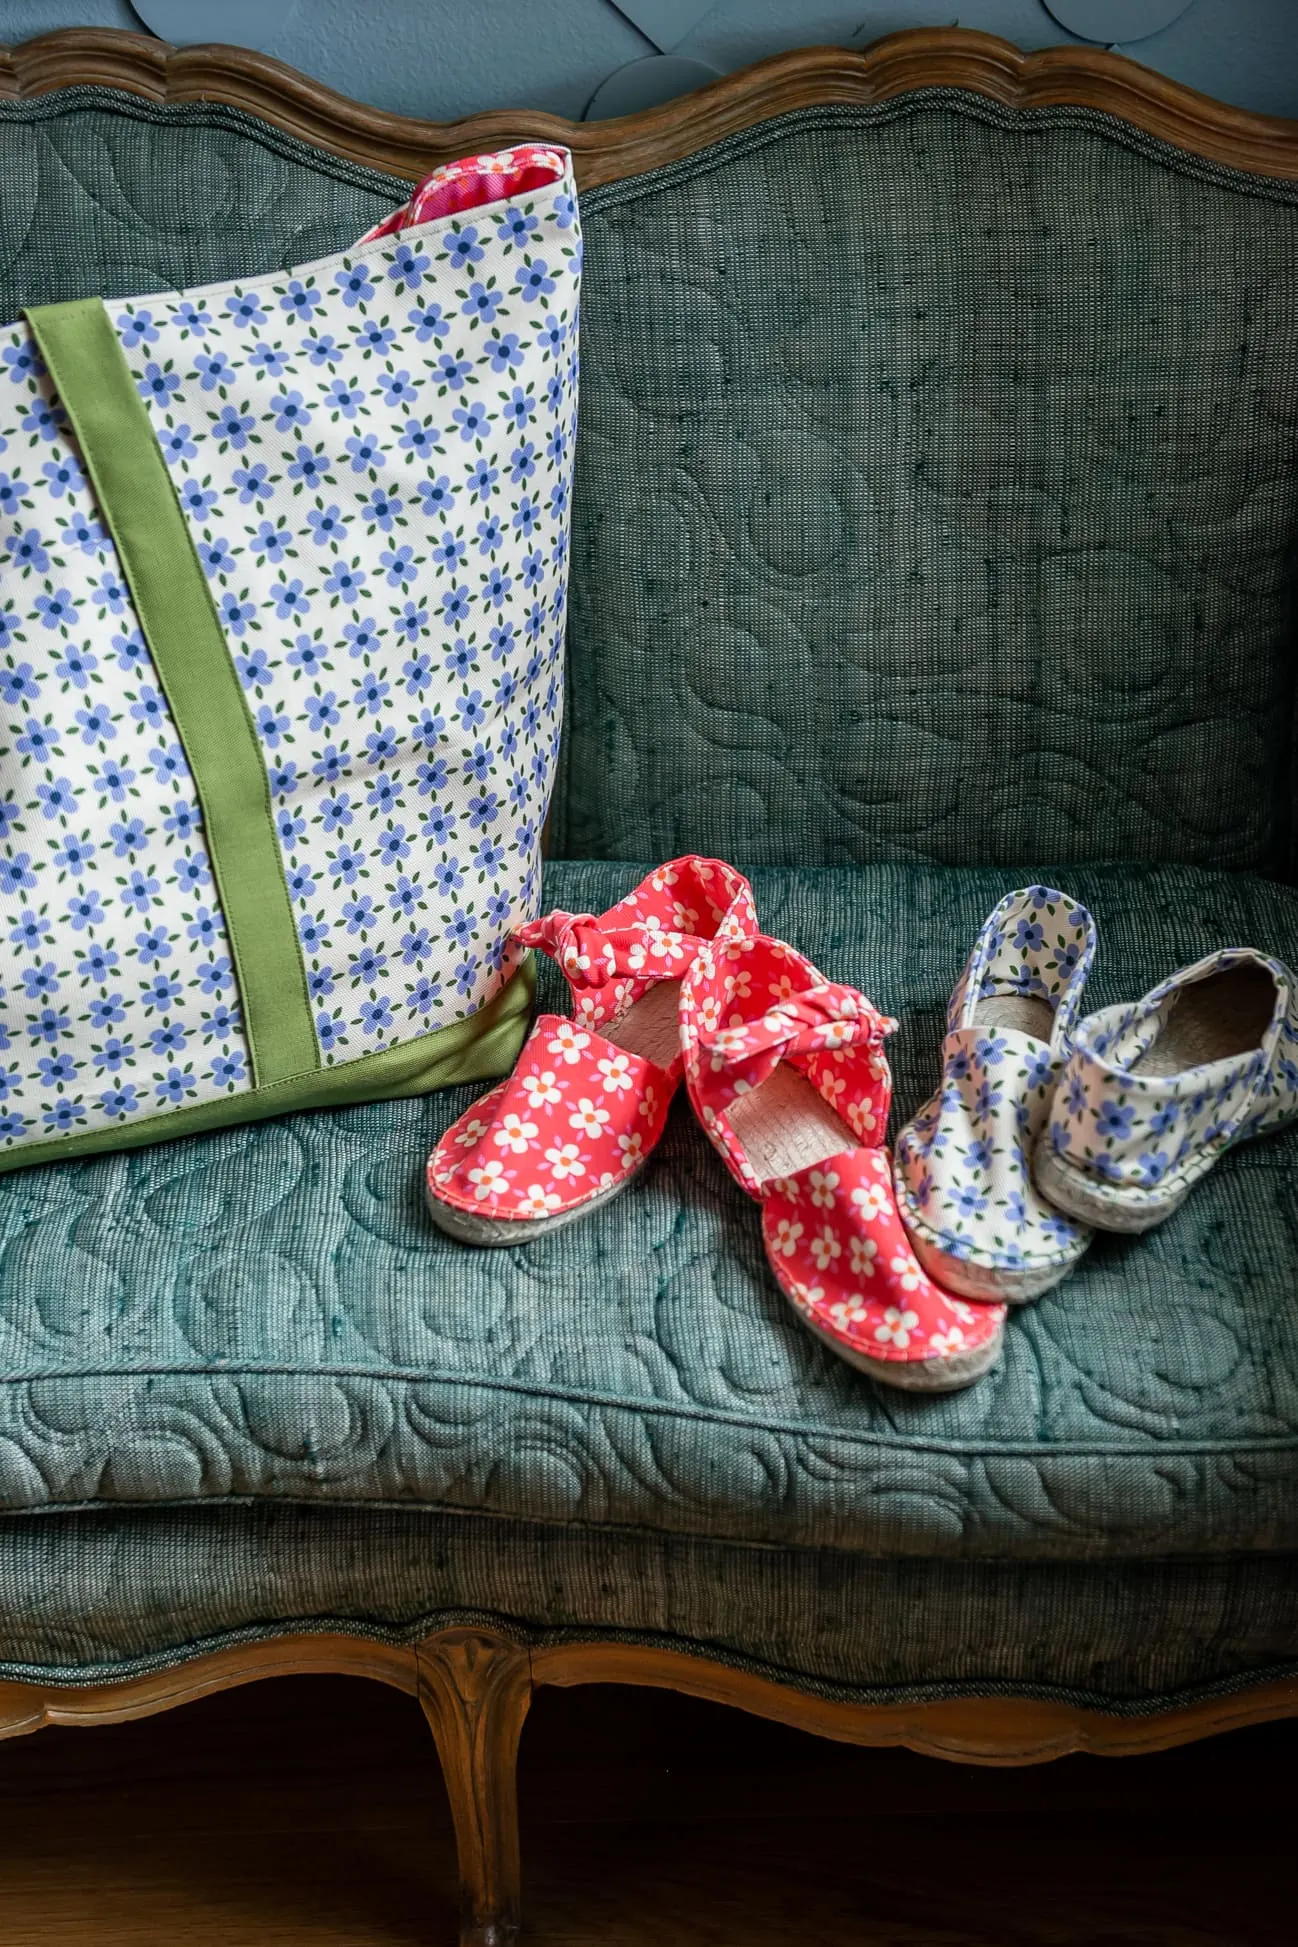
Whether or not you’re lugging your youngsters and what appears like half of your earthly possessions (the floaties, the sunscreen, the diapers, the backup diapers, the swim toys, and infrequently your sanity) to the neighborhood pool day by day or are headed to a elaborate pants outside gala, these cute and comfortable summer time espadrilles will get you the place it’s good to go in model!
We are able to’t wait to see what you create! Tag us with #LarsMakes so we are able to all see!
[ad_2]